Top Office Relocation Solutions to Simplify Your Move
Relocating an office can be a complex process, often accompanied by risks like misplaced documents, damaged equipment, and costly downtime. You can, however, make a stressful relocation into a smooth and well-organized transition if you use the right tactics.
Simple solutions, such as creating a detailed moving checklist, using a reliable transport company, and using sturdy moving containers, can make a huge difference in keeping your move organized and efficient.
Stack Moves helps companies move smarter with durable office moving crates designed to protect your valuable assets and simplify the packing process. Contact us today to get a custom quote for your rental or learn more on how we can support your next relocation.
In this blog, we will go over the most common challenges businesses face during a move and the practical relocation solutions you need to get back to business faster.
What to Consider When Planning Office Relocation

Anything that could potentially impact the success of your move is a factor to consider when relocating your business. Key factors include:
- Budget and Cost Estimation
Before you start your move, it’s important to estimate how much you might potentially spend on your move. Your estimate should include moving services, packing materials, insurance, and possible downtime.
With a detailed budget, you can avoid unexpected expenses that could hinder the relocation process. It also increases your chances of reopening your business without facing any financial difficulty. You should be proactive in looking for ways to reduce your moving costs. A good place to start is to compare quotes from multiple companies and schedule your move outside of peak seasons.
- Timeline and Planning
With a clear timeline, you can execute your move without any delays. Establish key milestones, such as lease signing, furniture installation, and moving day, to track your progress. Be flexible with your timeline in case there are any unexpected issues.
If you’re working with a commercial moving company, they may assign you a project manager to help you stay on track with your timeline.
- Employee Involvement and Communication
For any office move to be successful, its employees have to be involved. When you keep your employees in the loop by making them a part of the planning process, you strengthen their confidence in the relocation process. Open communication also maintains productivity because it sets clear expectations of who should do what and when.
Encourage feedback and assign persons who will answer all questions regarding the move so your employees feel supported. The goal is to make your employees feel like active participants and not passive bystanders in the relocation journey.
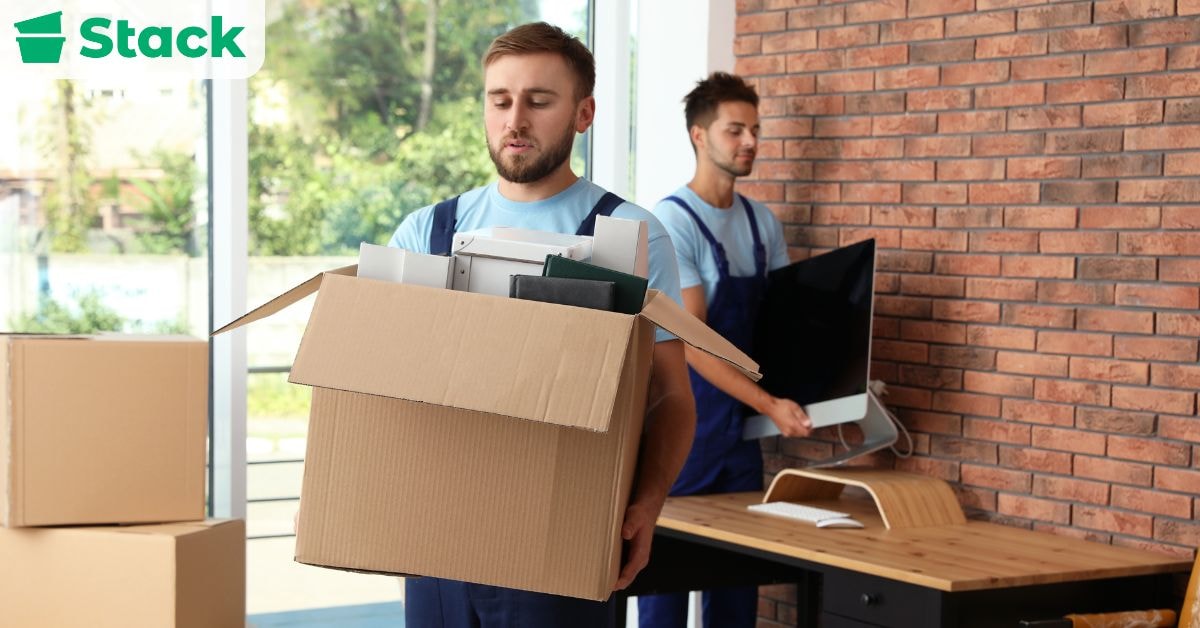
- IT and Infrastructure Planning
Most people consider relocating their IT infrastructure the most complex part of any commercial move. For this aspect of the move, it’s important to start planning early so that you can back up all your systems, pack, and move them without losing or damaging any data.
For moves like this, we’d advise you to partner with a commercial mover that specializes in IT relocation services to increase your chances of getting back online quickly. If you’re planning a move on a global level, be sure to align your infrastructure plan with country-specific regulations and compliance standards.
Office Relocation Solutions to Simplify Your Move
The right office relocation solutions can help you enjoy a smoother transition into your new space. From planning to transportation, we highlighted the major areas that are needed for an organized move.
Solutions for Relocation Planning

Without the right systems in place, simply planning for a move can quickly become overwhelming. One of the simplest ways to stay on track is to create a detailed moving checklist and timeline. It’s a step-by-step guide that tells you what should get done and when.
Before the move, conduct a pre-move assessment check. This involves walking around your current office and the new office to figure out what should go where and what can be discarded or replaced. To keep everything organized, consider using project management tools like Trello or Asana
Another key part of a move is open communication. Regularly update your team about the moving plan, their responsibilities, and any changes to the move. This keeps their morale high during the transition. And lastly, build a contingency plan in case things don’t go as planned.
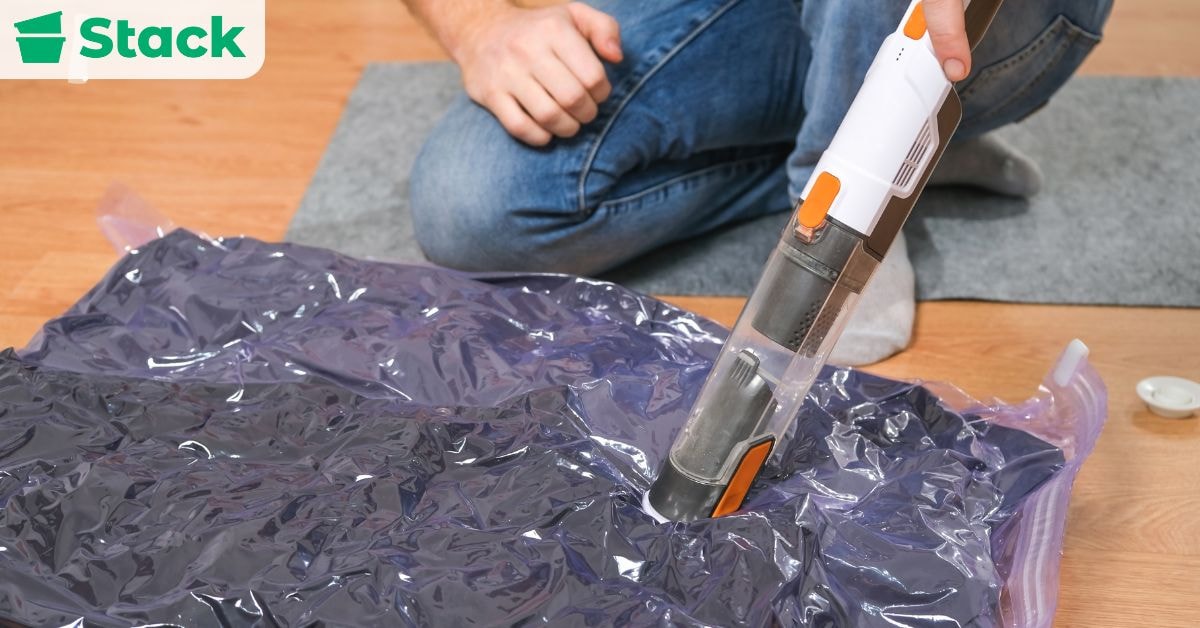
Solutions for Efficient Office Packing
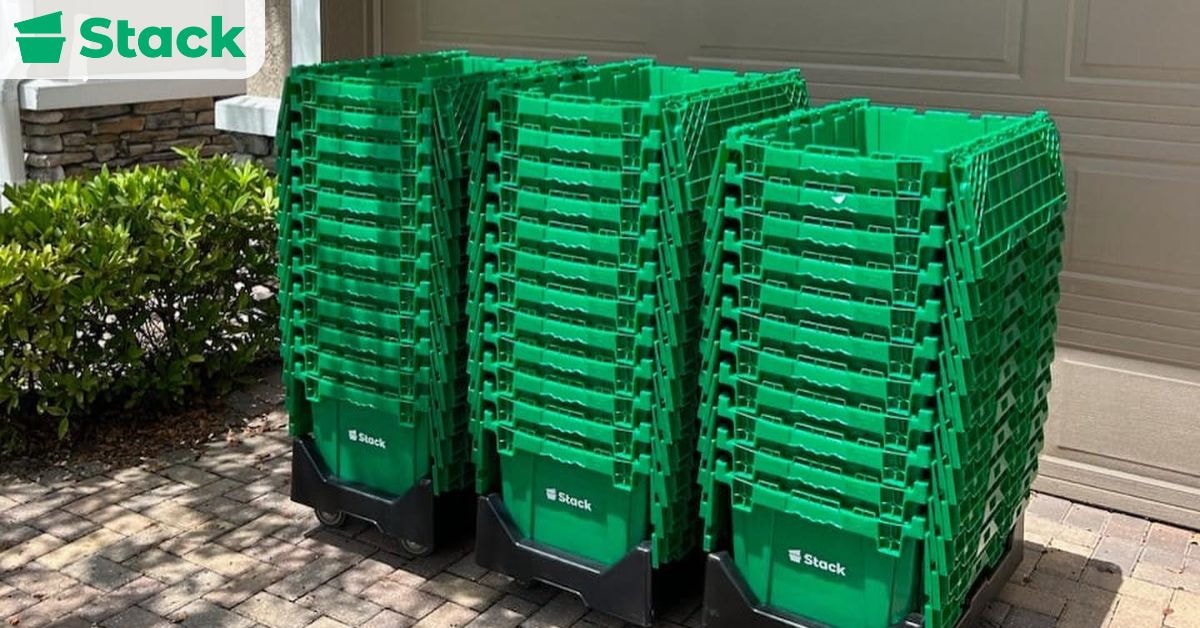
Packing is a time-consuming task that also comes with a lot of risk, and if done poorly, it could lead to loss or damage of property. The first step to packing correctly is to use the right size moving box. A box that’s too big or too small could potentially cause damage to items packed inside.
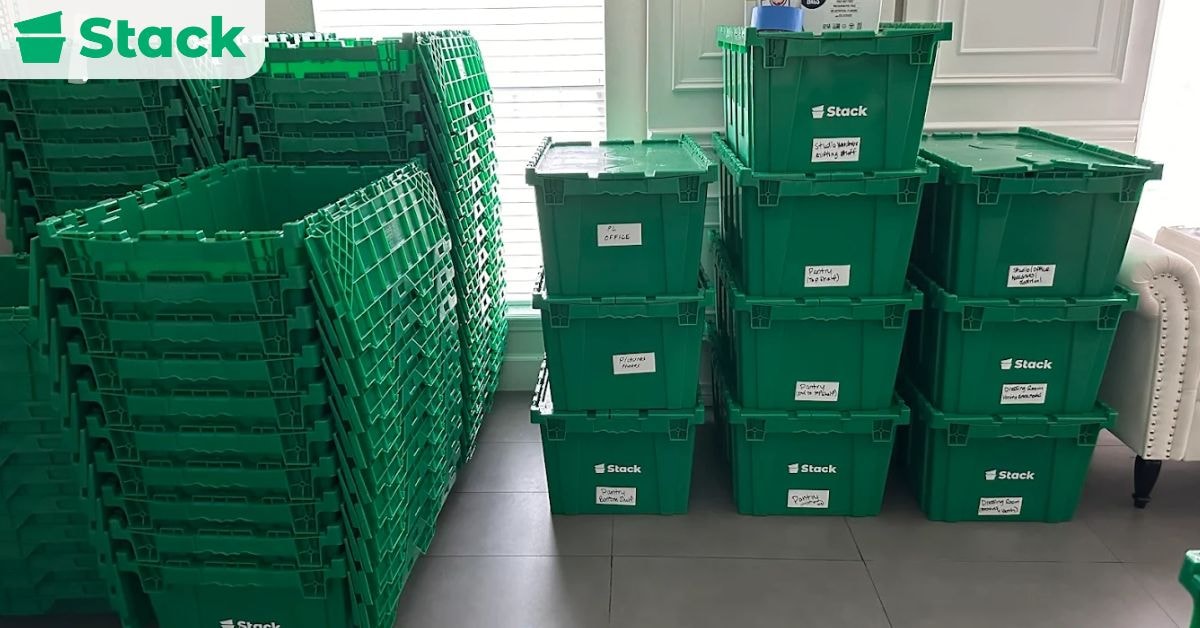
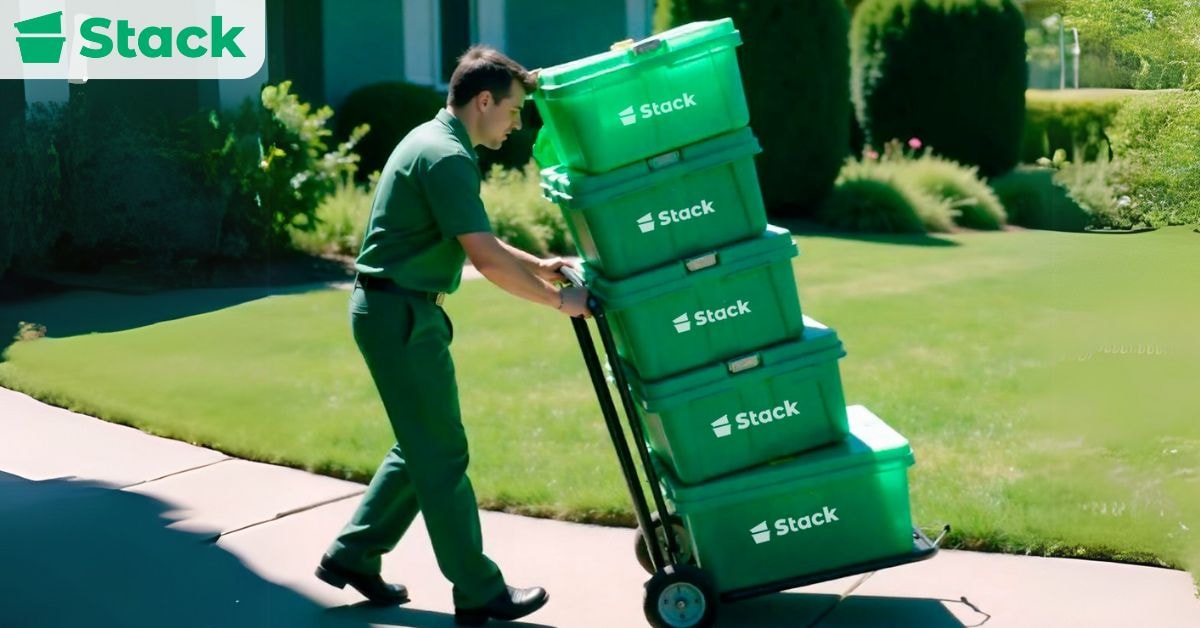
Office moving crates are a sturdier alternative to cardboard boxes that are much better for protecting valuable items. To avoid having too many or too few boxes, use a moving box calculator to estimate how many boxes you need for a move.
The next step is to invest time in labeling and organizing boxes clearly. Label each box with its content and where it should go. You can even color-code labels by department to make unpacking easier. Use specialized packing strategies for sensitive equipment like servers, computers, and IT systems.
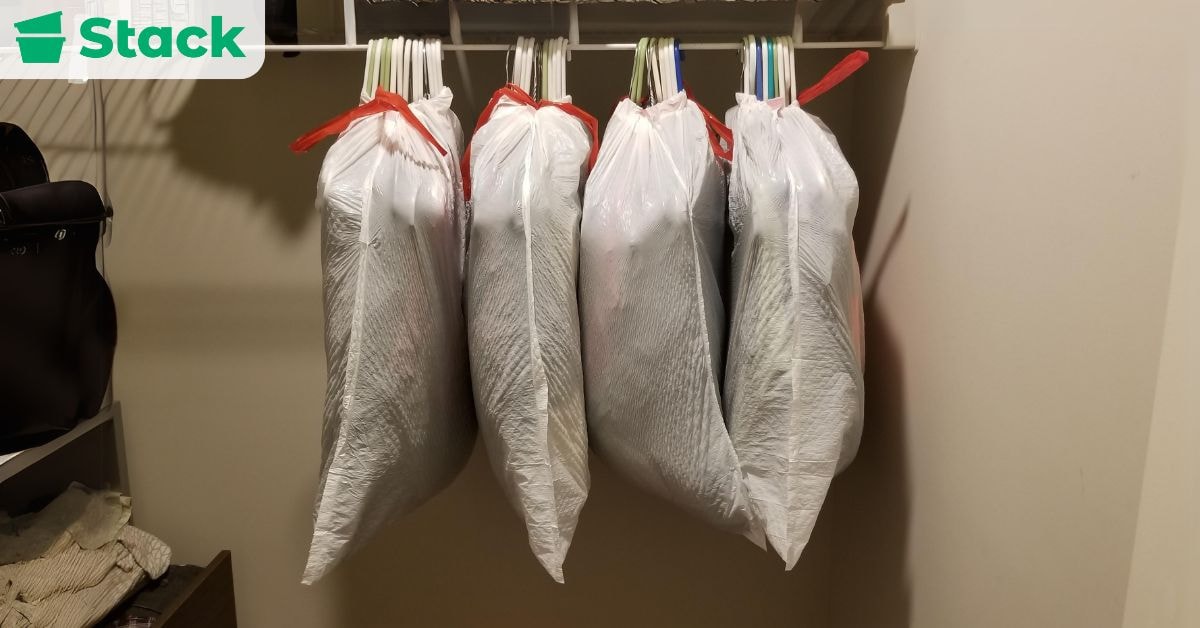
Disassemble large pieces of furniture when possible, and wrap fragile parts to prevent damage. For paperwork, pack files securely in waterproof and lockable containers to keep sensitive information out of reach during transit.
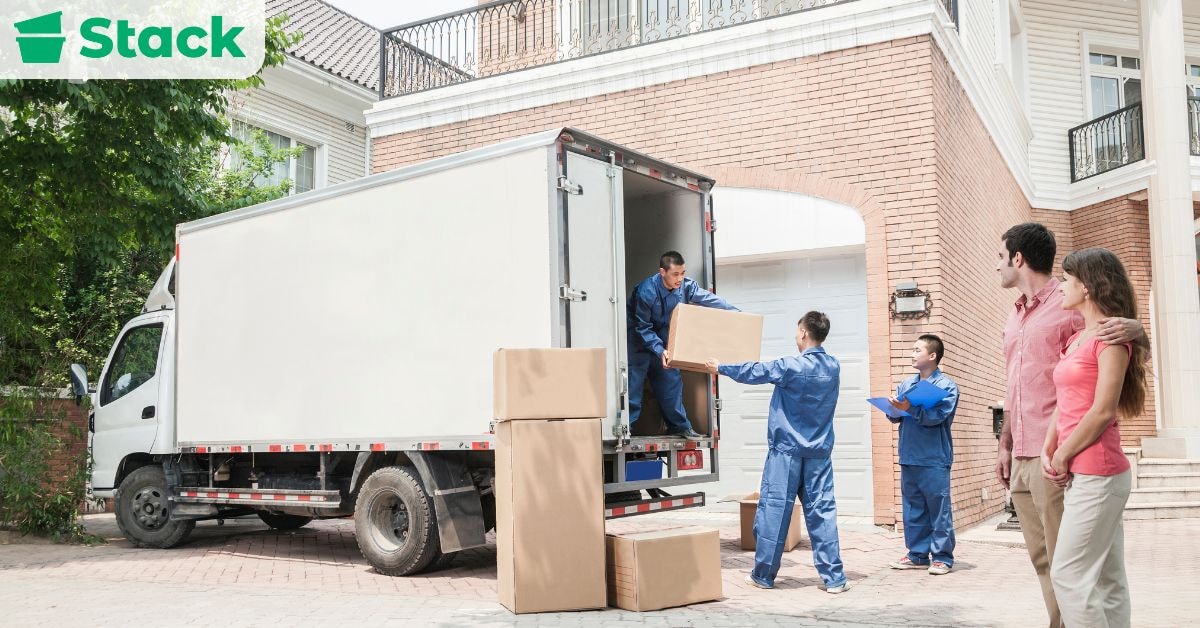
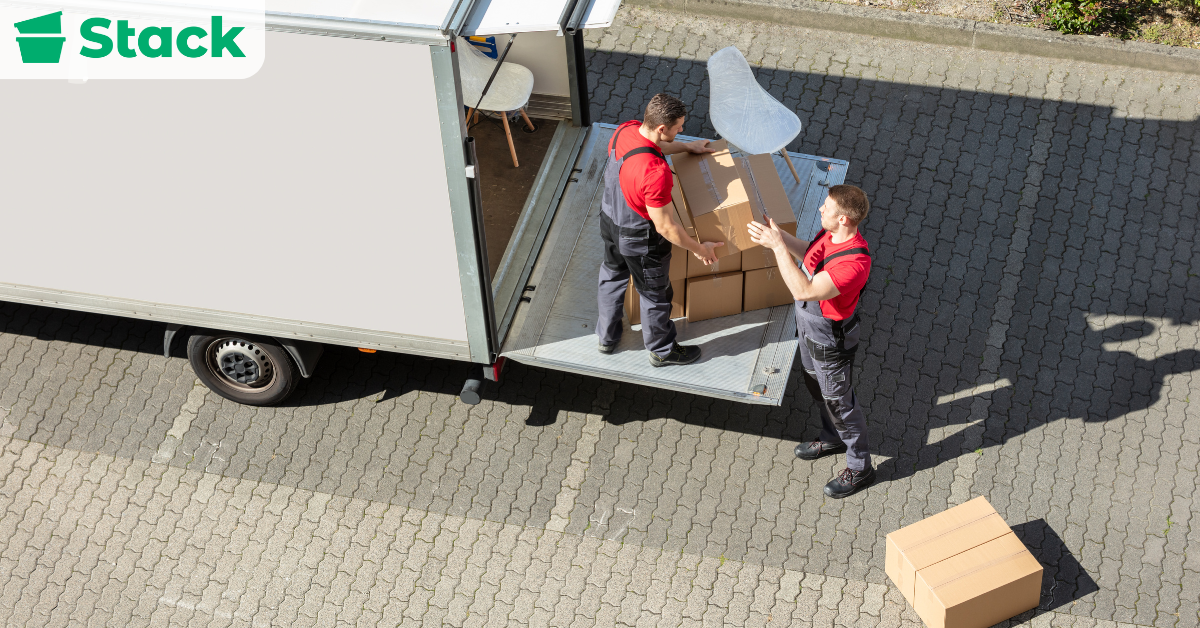
Solutions for Secure Office Transportation

Making sure everything arrives safely should be top priority. How to ship moving boxes usually depends on the size of the office and the items being moved. So, a regular moving truck might not be suitable for all cases.
Large and heavy furniture items or equipment, like filing cabinets and conference tables, need special handling. Professional movers often have dollies and lift gates for moving these items around without damaging them.
Despite these precautions, accidents still happen. So, it’s important to make provisions for insurance and liability. If possible, work with a moving company that covers insurance, or purchase an insurance policy to cover your high-value items.
For added peace of mind, many companies now offer tracking solutions for their transports. Having a clear idea of where your shipments are at all times can help you quickly address any unexpected delays. Plan the best routes ahead of time, accounting for traffic, building access hours, and parking permits. This helps avoid costly delays on moving day.
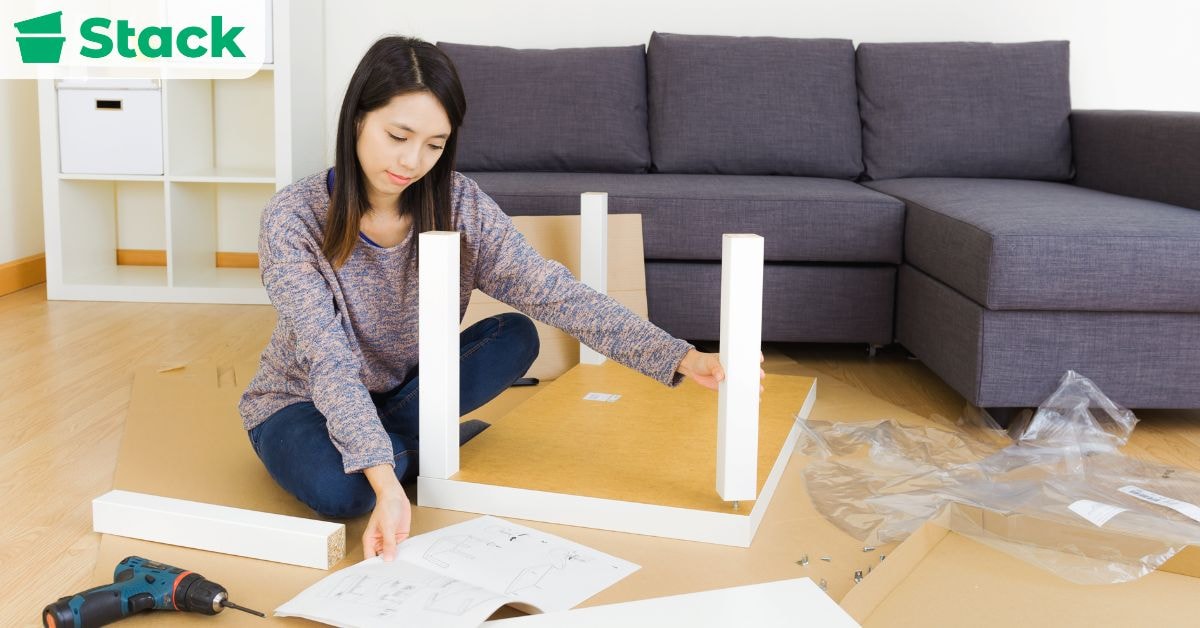
Solutions for Furniture Assembly and Disassembly
Moving office furniture can be a hassle because of its size. With the help of professional movers, these items can get to their new location with minimal damage and in record time. If your office has any specialized equipment with custom-built installations, it’s best to work with movers who have experience handling these types of items because it prevents costly mistakes.
Before your move, work with a member of your moving team to design a furniture layout for the new office. This will save you a lot of precious time that would have been spent rearranging.
You may need some temporary storage if you are facing timing gaps between your move-out and move-in dates. Look for a secure, climate-controlled storage solution where your furniture and equipment can be safely stored until you’re ready to install them in the new space.
Solutions for Office Space Setup and Organization
How you set up your new office can impact how well your teams settle in. It helps to plan your new office layout in advance. Think about where each team should sit, your meeting spaces, and how people will move around the office.
Another thing to pay special attention to is the kind of workstations you’ve provided for your team. Ergonomic workstations that promote good posture and comfort are a must. They help reduce future health issues and improve overall employee satisfaction.
When it comes to organizing paperwork, an efficient filing and storage system can help prevent chaos. Label shelves and storage rooms clearly, and create a central system for both digital and physical files.
Plan for waste removal. Moving often generates a lot of waste, such as unwanted furniture, old files, and broken equipment. Partner with a recycling company or waste management service to responsibly dispose of anything you’re not taking with you.
Solutions for Post-Relocation Support

People usually say, It’s not over until it’s over. In moving, it’s not over until everything’s unpacked. After your move is completed, address issues that popped up, like missing items, damaged furniture, or technology that isn’t working.
A simple yet effective way to do this is to gather feedback from employees about the move. Use surveys or casual check-ins to find out what worked well and what could be improved for future relocations.
You’ll also want to provide ongoing IT support to troubleshoot tech problems like setting up hardware. And to help your team adapt to the new space, host orientation sessions or tours to help everyone feel at home and learn where everything is.
Solutions for Tech & IT Infrastructure Relocation
First, invest in tools for managing IT assets like trackers that can tell you the location and condition of your tech to prevent loss or damage during the move. To minimize downtime, schedule your IT relocation outside business hours and back up all your systems to avoid data loss. You could also opt for using temporary servers to keep your operations running.
It’s also important to keep your data safe throughout your move. Common security tips include encrypting sensitive files and using secure transportation methods. You should also consider having an IT specialist oversee the move to prevent data breaches.
Follow best practices for relocating servers and network infrastructure. Common ones are shutting down your devices properly, labeling every cable and port, and planning the new server room setup carefully.
Full Office Moving Services vs DIY: Which Is Best for You?

When deciding what’s best for your business, it’s important to consider your timeline, the resources needed, and the complexity of your move. Many of the best corporate relocation companies offer a range of office relocation services from basic transport to full-service packages, but at a premium price. Whereas, managing the move yourself could save you money, but it requires a lot of planning and manpower to be executed successfully.
Here’s a breakdown of what both options have to offer to help you decide.
Full-Service Office Relocation Providers
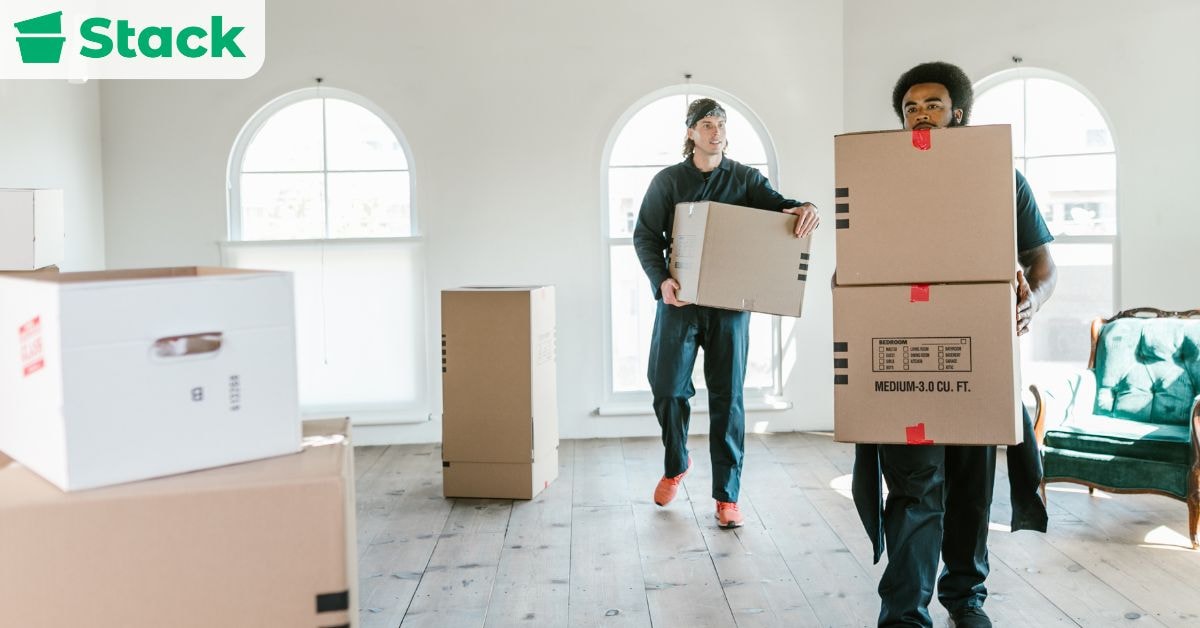
Full-service commercial movers take care of everything involved in an office move, from packing your office supplies to setting up IT infrastructure in your new space. Some movers provide moving boxes alongside other necessary packing supplies, saving you the trouble of looking for them yourself.
The benefits of working with business movers include:
- Efficiency: Experienced movers know how to navigate unexpected hurdles and tight deadlines, making even the most complex moves a breeze.
- Expertise: You’ll be working with experts who know how to handle delicate tasks like server transfers and furniture installation, without disrupting your business operations.
- Superior Service: A lot of commercial moving companies offer extra services that help you set up your new office as quickly as possible, like asset management and workplace setup.
- Peace of Mind: Whether you’re moving to a new country or across town, working with a team of experts gives you peace of mind that nothing critical will fall through the cracks.
DIY Office Relocation
Small to mid-sized companies may opt to manage their moves internally. Handling your own move can offer cost savings, but it comes with trade-offs.
For starters, you’ll be responsible for planning every detail, from creating a moving timeline to coordinating transportation, while keeping daily operations running smoothly. Without the right structure and resources, it’s easy for a seemingly simple move to turn into a major disruption.
On the plus side, organizing the move yourself gives you greater control over decisions, such as the layout in the new space. Not to mention, it will significantly reduce your moving expenses.
But DIY moves come with a lot of risks. Because your team isn’t as experienced as professional movers, there’s a greater chance that someone will get hurt or something will get damaged. This is because they’ll be required to step into the roles of project managers, laborers, and equipment handlers.
If you choose to handle the move internally, you’ll need a clear moving plan, designated team leads, and resources like rented trucks, lift equipment, and sturdy boxes or totes for moving to protect your assets.
Pros:
- Greater control over the relocation process
- Significant cost savings, especially for short-distance moves
Cons:
- Increased responsibility for logistics, packing, transporting, and setting up
- Higher risk of damage, delays, or misplaced assets without professional support
5 Tips for a Smooth Office Relocation Process

These five tips will help you plan a move with minimal disruption to your business operations.
- Tip 1: Plan Ahead to Avoid Last-Minute Expenses
Procrastination is one of the biggest causes of unexpected costs during an office move. You’re more likely to pay higher fees, get rushed service, or settle for a vendor you don’t really like when you book late.
To avoid this, create a clear relocation timeline that outlines every major task, such as booking movers and packing up workstations, and stick to it. When you plan ahead, you have more freedom and time for comparison shopping. Plus, you can secure better services at better rates.
- Tip 2: Declutter Before You Move
One of the easiest ways to lower your office moving costs is to move less stuff. Get your team to sort through outdated files, electronics, and unnecessary office supplies before the move. Sell anything that’s still valuable, donate what you can, and responsibly discard the rest. Not only will this cut down your packing time, but it’ll also give more space to work with in your new space.
- Tip 3: Use Recycled or Cost-Effective Packing Materials
The cost of packing materials can add up quickly, especially when you’re buying in bulk. Instead of buying everything, consider using materials you already have, like old boxes and bubble wrap from previous deliveries.
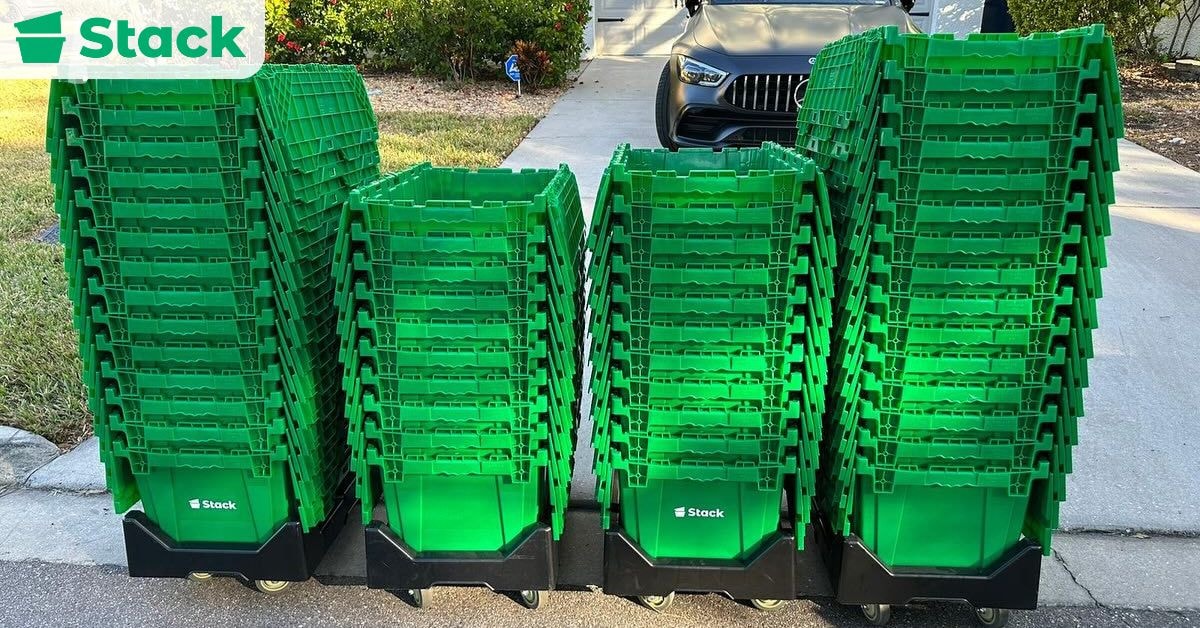
You can also choose to rent moving boxes instead of buying them. While you can choose between cardboard and plastic bins, we recommend using plastic bins because they are sturdier and more economical than single-use cardboard.
- Tip 4: Hire Local Movers or DIY Moving Services
If your move is a short distance ( under 50 miles), it makes more sense to hire a local commercial mover because it could significantly reduce your expenses. For small teams, you may be able to handle some of the moving in-house, saving you even more on labor costs.
If you have enough hands on deck, rent a moving van or truck to save money on transportation. This hands-on approach works best for short-distance moves, where downtime can be minimized and logistics are simpler.
- Tip 5: Get Multiple Quotes and Negotiate
Whether you run a small or big business, it’s never a bad idea to gather at least three quotes from different commercial moving companies. Carefully review what’s included in each package because some office movers include additional services like post-move cleanup.
You shouldn’t be afraid to negotiate either. Ask if there are any discounts available or bundle services to reduce costs. With a little back-and-forth, you might unlock deals that will help you save hundreds of dollars.
Searching for a Stress-Free Moving Solution?
Moving an office is a major project, but with the right office relocation solutions, it can be a hassle-free one. Every step is a lot smoother when you have the right tools, team, and strategies in place. Relocation solutions tailored to your company’s unique needs can minimize downtime, protect your assets, and help your employees settle in faster.
Our specialty at Stack Moves is providing durable, eco-friendly office crates designed to simplify office moves. Our rental solutions help businesses pack, move, and settle into their new space faster while reducing costs and stress along the way.
Ready to make your next move easier? Contact us today to get a customized quote for your office moving crates.