A Complete Guide for Moving from an Apartment to a House
Relocating from an apartment to a house is a big step that is both exciting and a little nerve-wracking. However, moving out of an apartment building and into a larger living space comes with great responsibility, not only in terms of higher costs but also in the sheer amount of planning required for the move. To get through a move like this smoothly, you’ll need a solid moving checklist, and we will be sharing one in this blog to help you stay organized.
Looking for the perfect rental solution? Stack Moves is here to simplify your moving process. With delivery and pickup, plus complimentary packing materials, our plastic moving containers provide a convenient way to keep your belongings organized and safe.Contact us today!
In this post, we will guide you on how to move from your apartment to a house. We also share tips on how to enjoy a stress-free move using the right tools and strategies.
Key Differences When Moving from Apartment to House

Moving from an apartment to a house changes more than just your address; it changes how you live day to day. The most noticeable difference is houses have more space. Many former apartment owners or renters find that the shift to a larger space also means needing more furniture, whether it’s a bigger sofa or a new coffee table to fit the layout.
However, that extra space comes with higher expenses, including larger utility bills, property taxes, homeowners insurance, and ongoing upkeep costs. Unlike apartment living, where maintenance issues are handled by management, a house makes you fully responsible for repairs, landscaping, and preventive maintenance.
You also gain more privacy and freedom to customize your space, but there’s no landlord to call when something breaks. In short, a house offers flexibility and long-term potential along with a bigger financial and maintenance commitment.
Step-by-Step Guide to Moving From an Apartment to a House
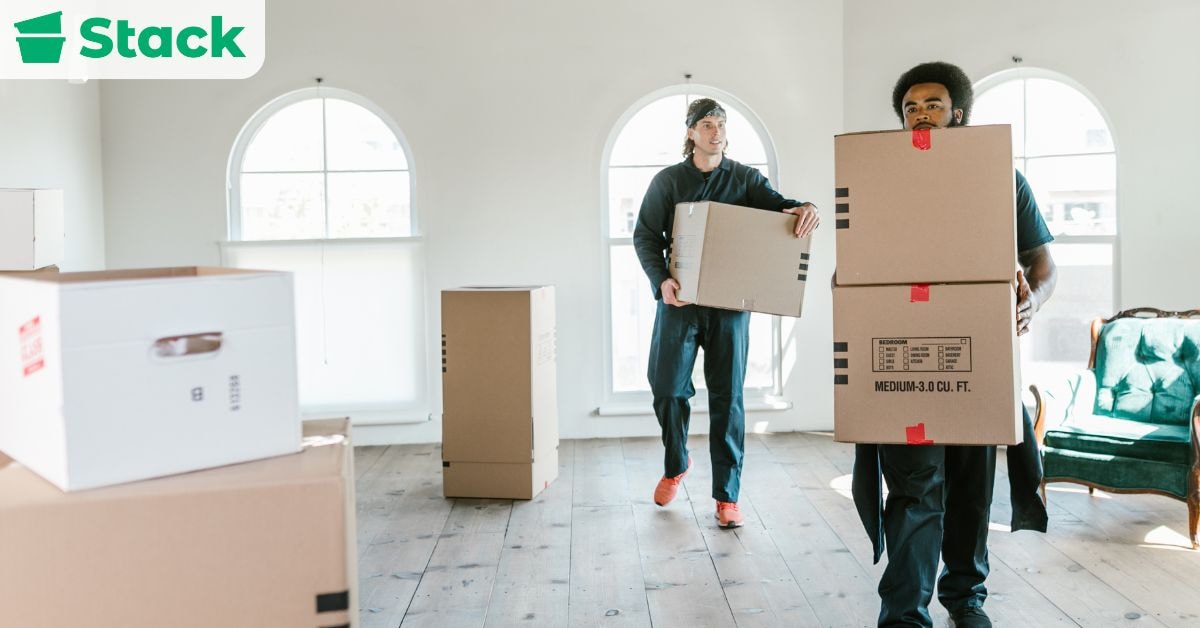
Use this moving from an apartment to a house checklist to plan ahead, avoid common mistakes, and make your transition stress-free. From budgeting to adjusting to extra space, we’ll walk you through each step so you’re fully prepared for your move.
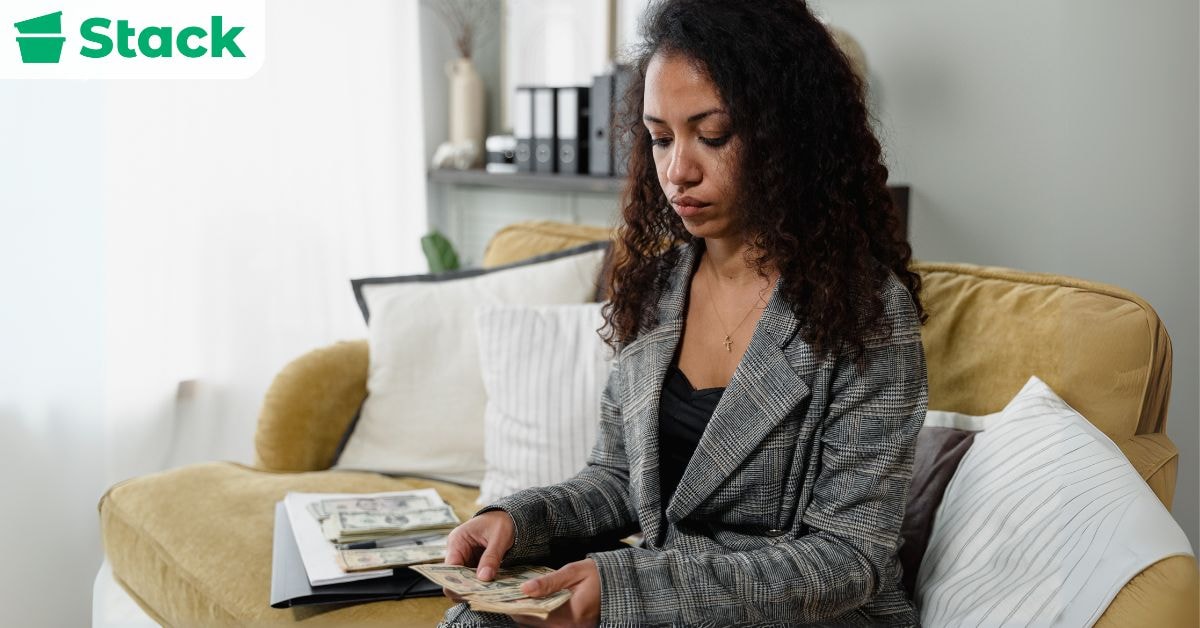
1. Set Your Budget
Moving from an apartment to a house often comes with higher moving costs and new homeowner expenses. In addition to hiring movers or renting a moving truck, budget for utility deposits, homeowners insurance, property taxes, and potential maintenance costs. You may also need funds for new furnishings or home improvement projects. Creating a detailed moving budget helps you avoid surprise expenses and stay financially prepared during the transition.
2. Create a Moving Timeline
A clear moving timeline keeps your relocation organized and stress-free. Outline key dates for packing, utility transfers, address changes, and moving day logistics. Booking professional movers early is especially important during peak moving season. Spreading tasks out over several weeks prevents last-minute rushing and helps ensure nothing falls through the cracks.
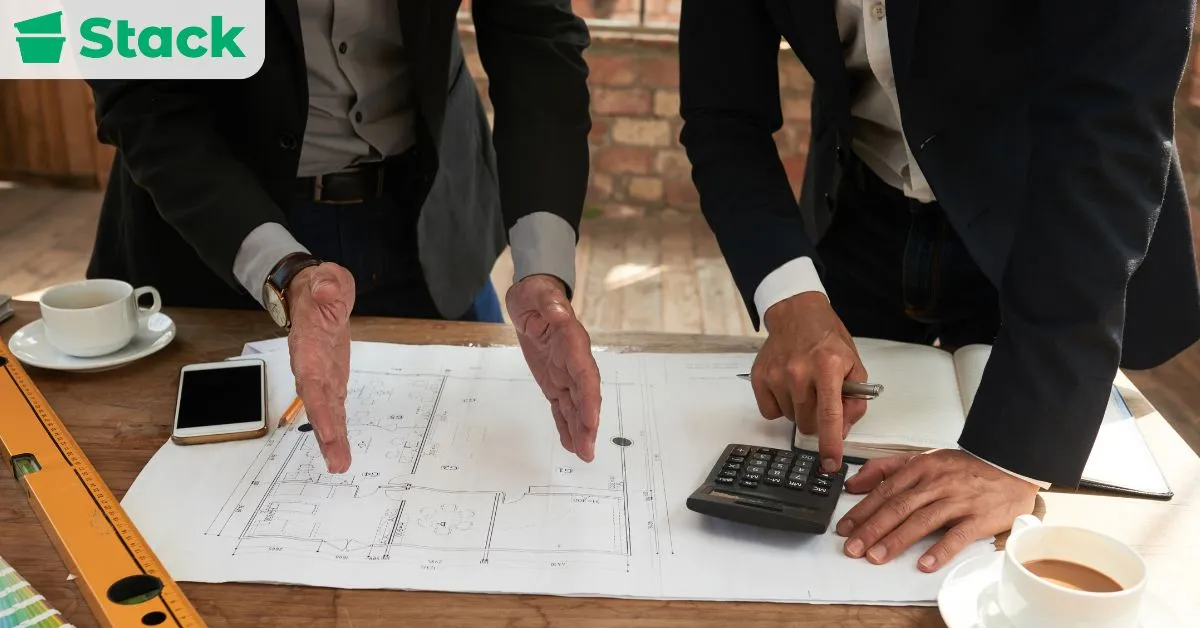
3. Measure Your New Space
Before moving into your new house, measure doorways, hallways, staircases, and room dimensions. Larger homes often mean bigger furniture, but not everything automatically fits. Confirming measurements ahead of time prevents moving day frustration and protects your belongings from damage. It also helps you plan furniture placement and avoid unnecessary returns or replacements.
5. Transfer and Set Up Utilities
Schedule utility transfers before move-in to ensure electricity, water, gas, internet, and trash services are active. Cancel services at your apartment to avoid overlapping charges. Some providers require deposits or activation fees, so confirm everything in advance. Arriving at a fully functioning home makes moving day significantly smoother.
6. Prepare the New House Before Move-In
Take care of tasks like getting new keys, deep cleaning, and applying a fresh coat of paint while the house is still empty. This is also the ideal time to schedule pest control if needed. Handling these responsibilities early prevents disruptions once your furniture arrives.
7. Budget for Ongoing Home Expenses
Unlike apartment living, you’re responsible for ongoing maintenance and repairs. Set aside funds for HVAC servicing, plumbing fixes, lawn care, and seasonal upkeep. Many homeowners budget 1–3% of the home’s value annually for maintenance. Planning for long-term expenses protects you financially.
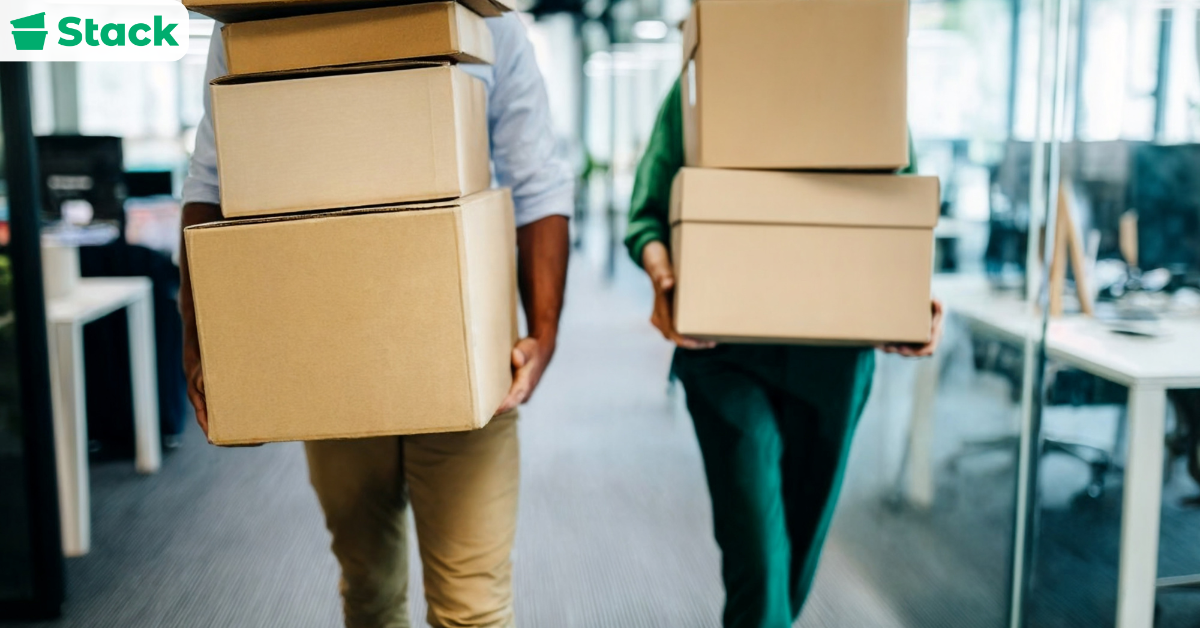
8. Declutter Before You Pack
A house may offer more storage space, but that doesn’t mean you should bring everything with you. Decluttering before packing reduces moving costs and makes unpacking faster. Donate, sell, or discard items you no longer use. Fewer boxes mean less labor, lower transportation costs, and a more organized start in your new home.
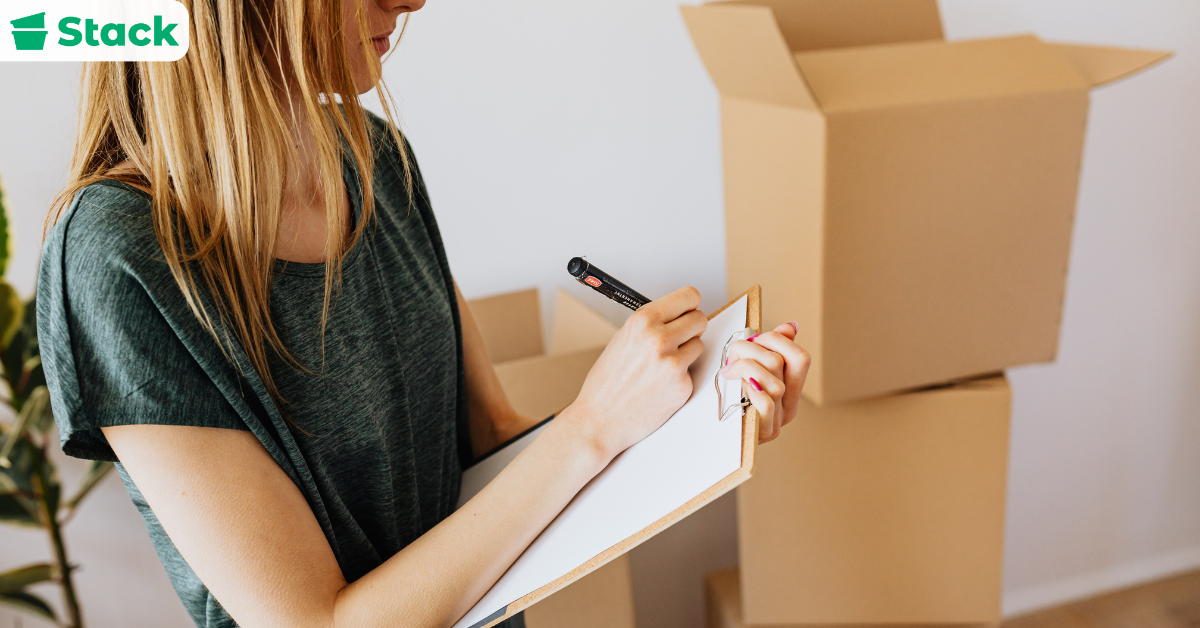
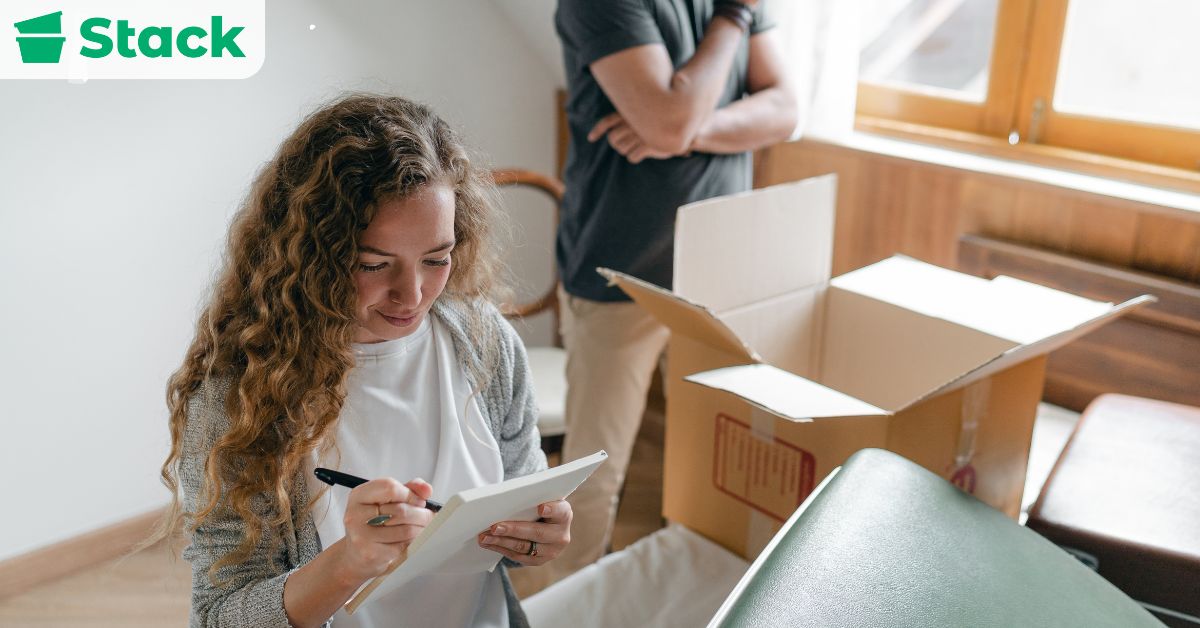
9. Take Inventory of Your Belongings
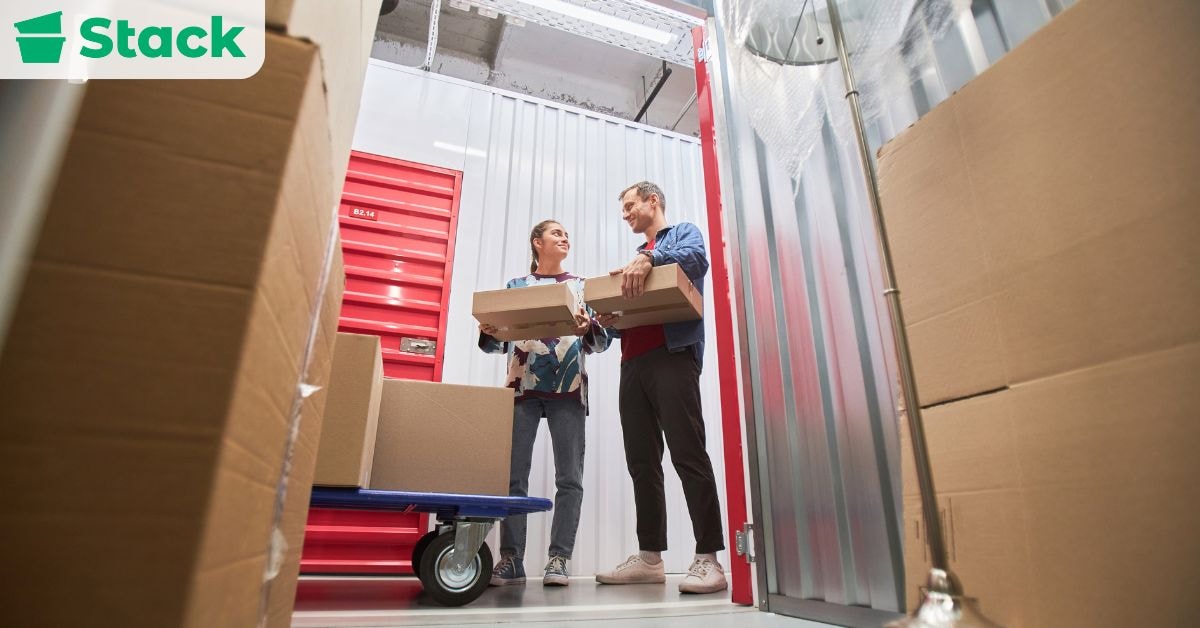
Creating a moving inventory list helps you stay organized and track valuable items. Document furniture, electronics, and high-value belongings before the move. This is especially helpful for moving insurance claims or in case items are lost or damaged. An inventory also simplifies the unpacking process and ensures everything arrives safely.
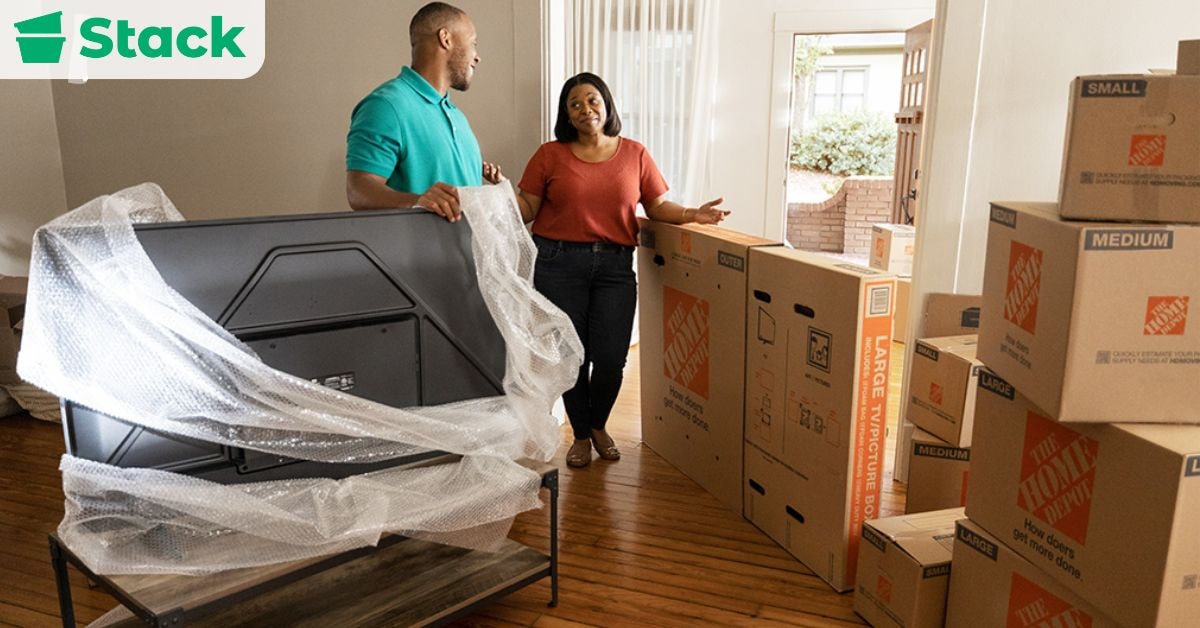
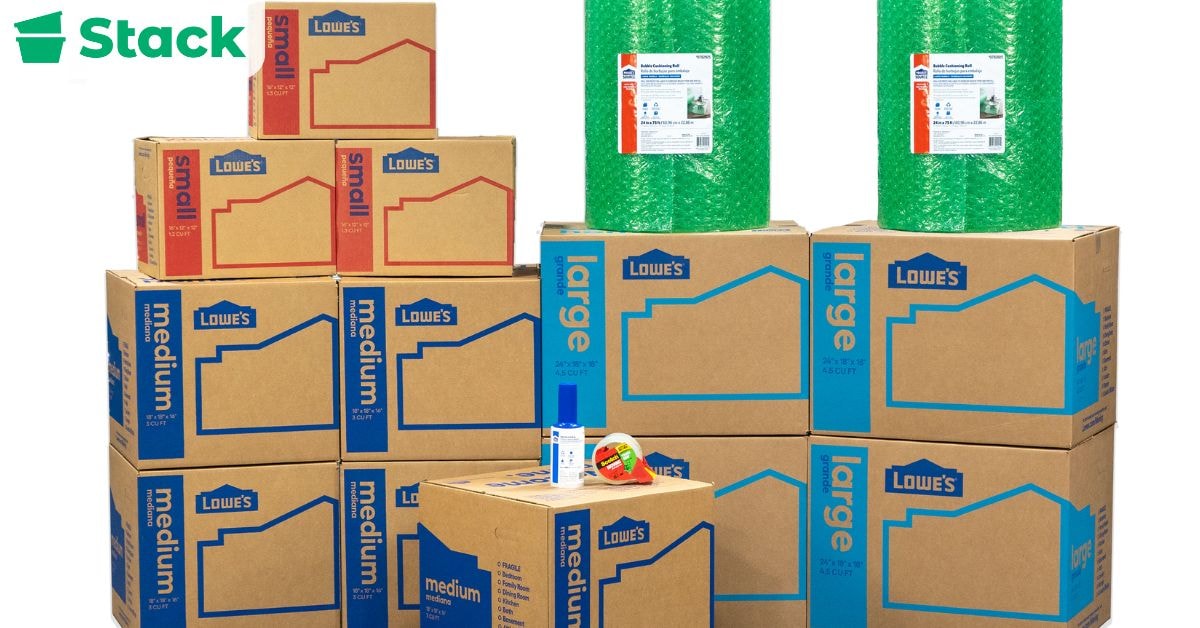
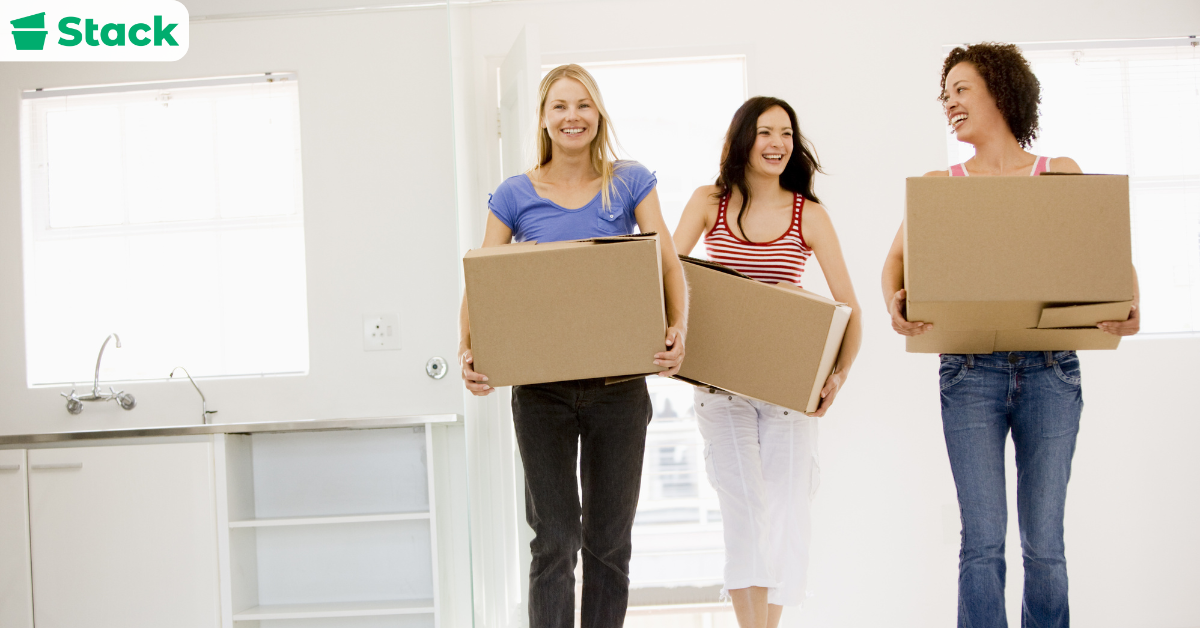
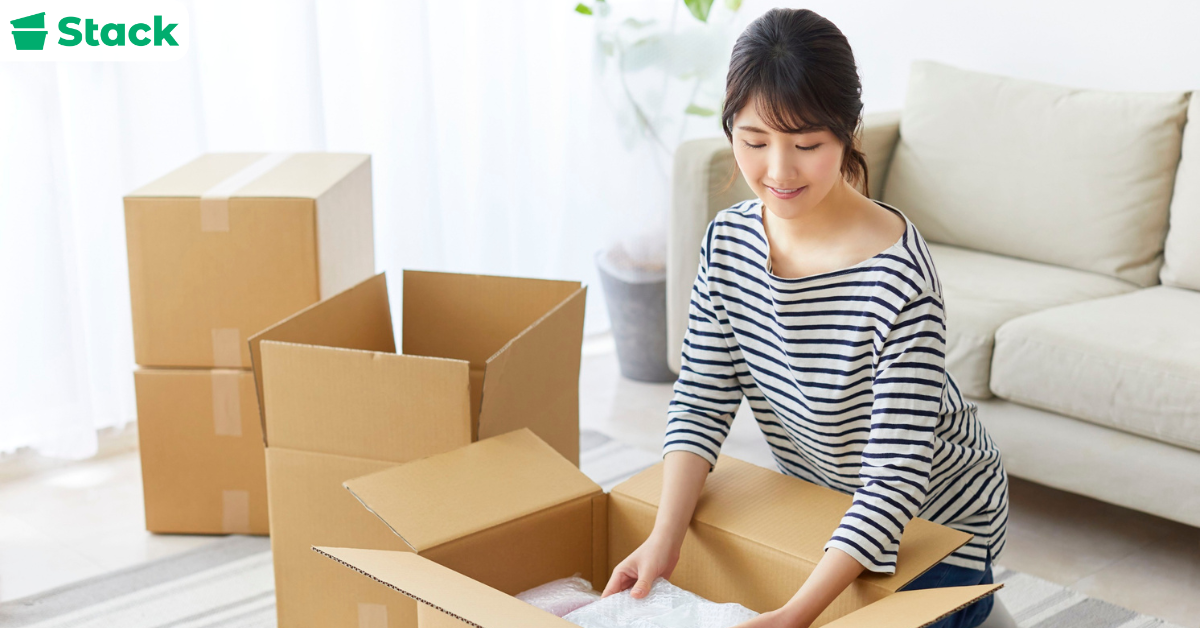
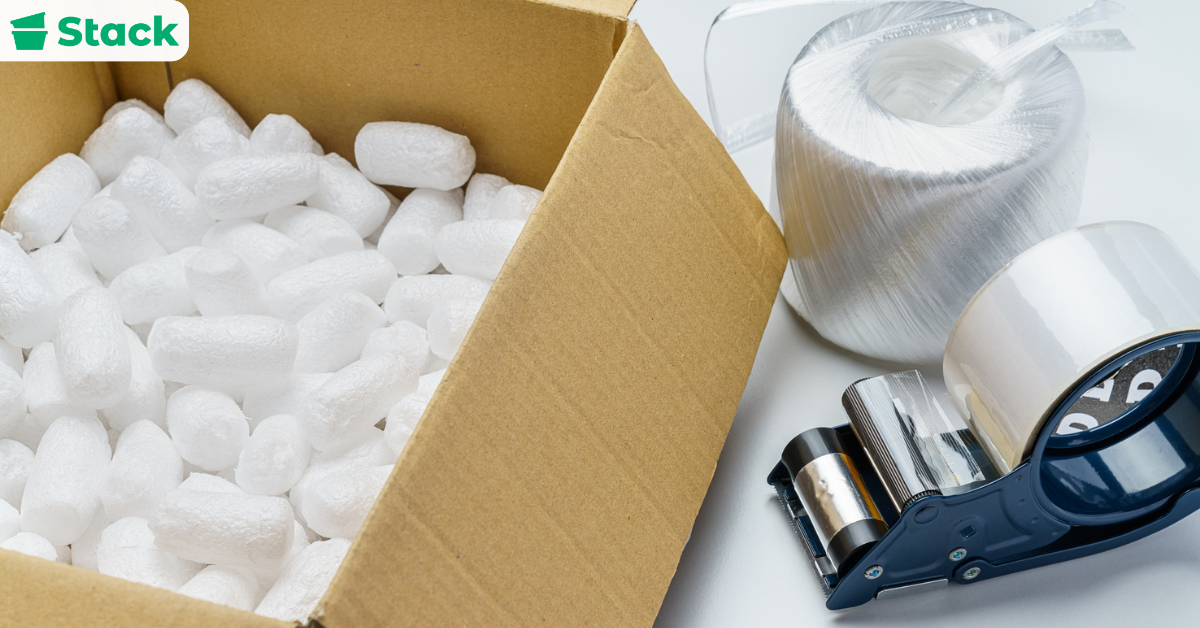
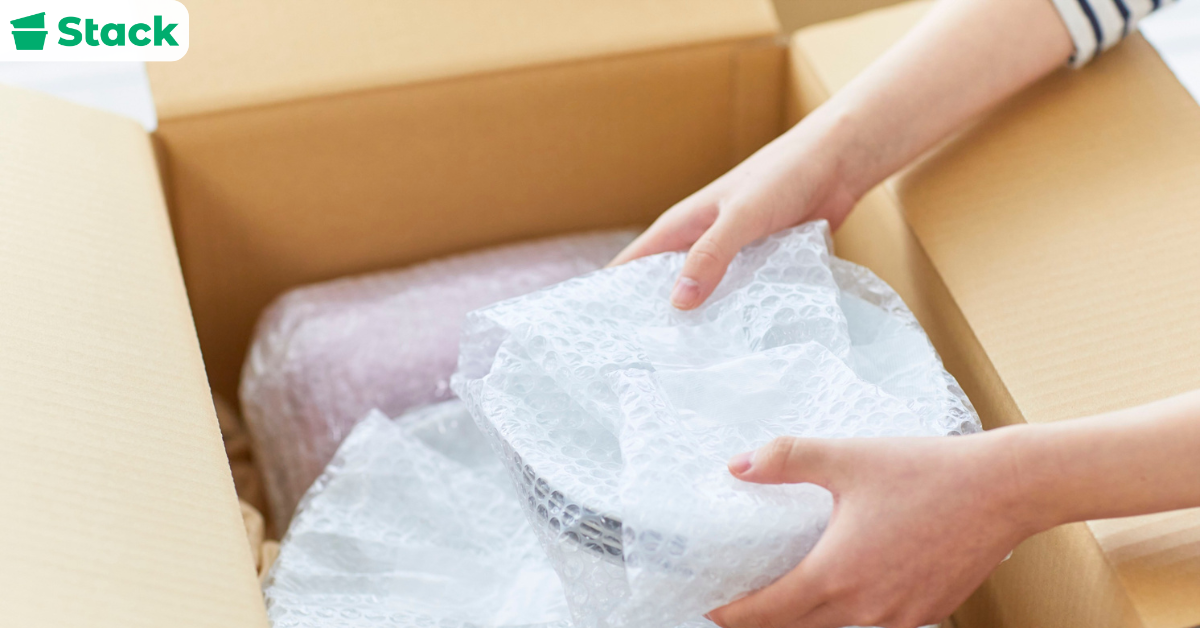
10. Gather Packing Supplies
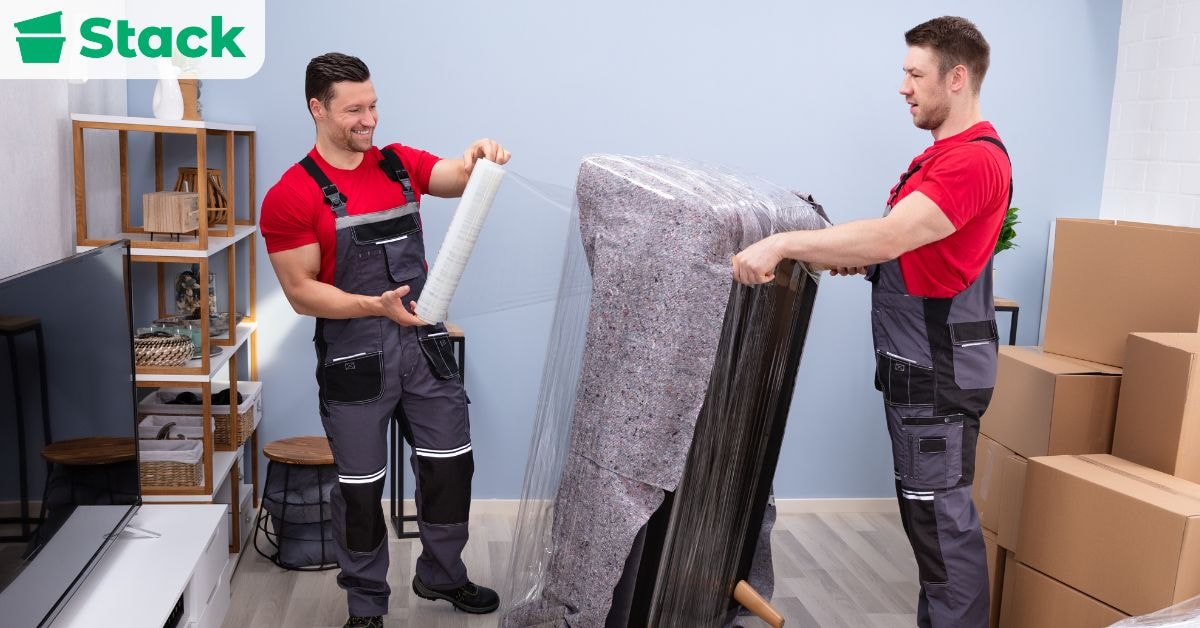
Using quality packing supplies protects your belongings during transport. Stock up on sturdy moving boxes, packing tape, bubble wrap, packing paper, and permanent markers. Specialty boxes for fragile items like dishes or electronics can reduce damage risk. Having the right supplies ready ahead of time prevents delays and last-minute store runs.
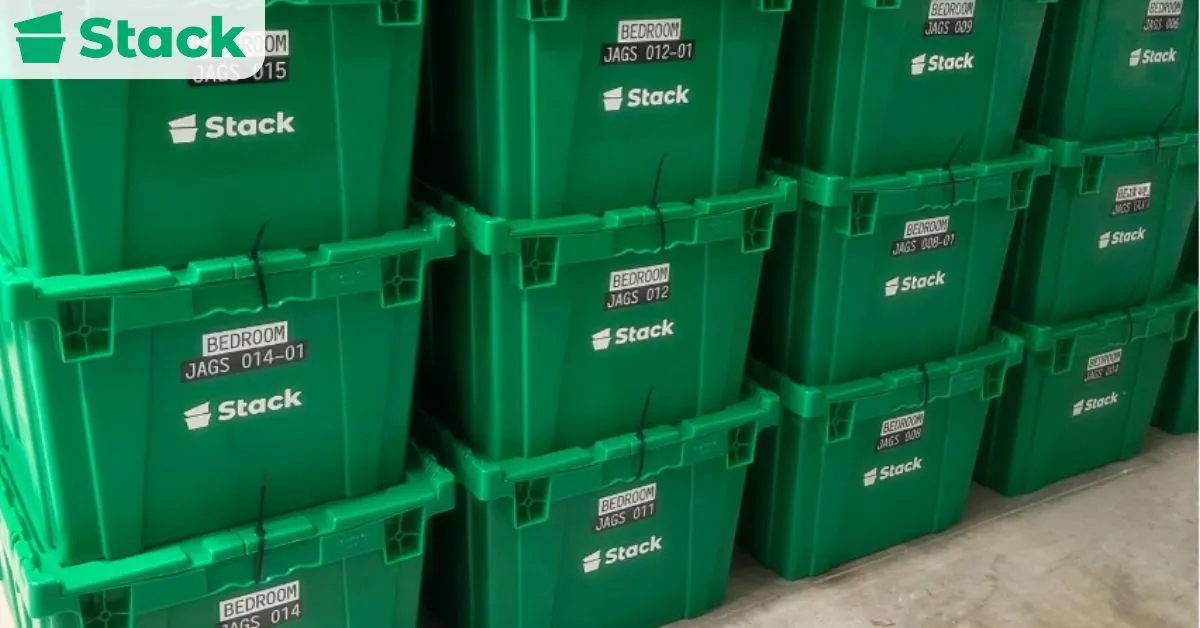
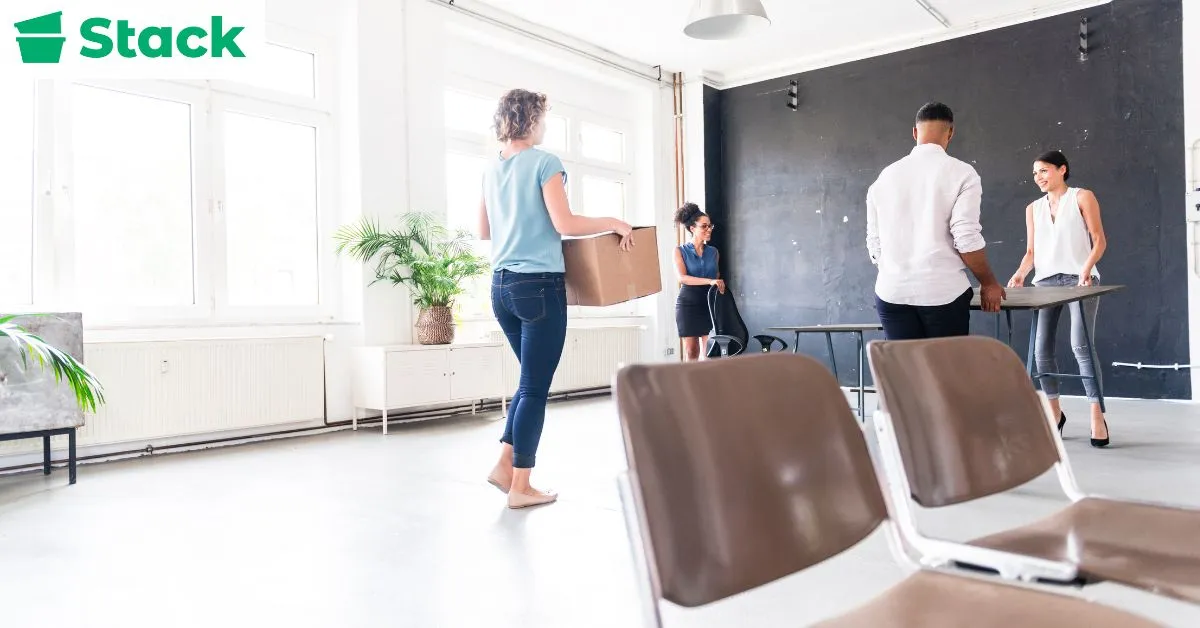
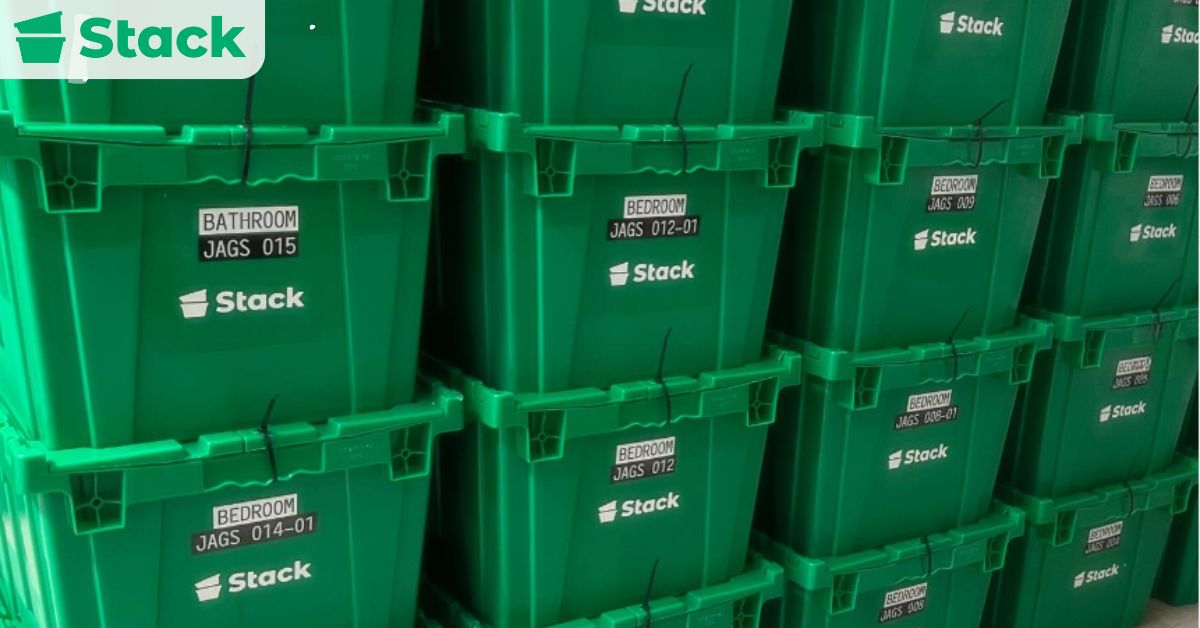
11. Pack Room-by-Room
Packing room by room keeps the moving process organized and efficient. Clearly label each box with its contents and destination room in your new house. This method simplifies unloading and speeds up the unpacking process. It also reduces confusion and prevents items from getting misplaced during the move.
12. Prepare a Moving Essentials Box
A moving essentials box contains the items you’ll need immediately after arriving. Include toiletries, medications, phone chargers, important documents, snacks, basic tools, and a change of clothes. Since unpacking can take time, having daily necessities easily accessible reduces stress. This small step makes your first night in your new home far more comfortable.
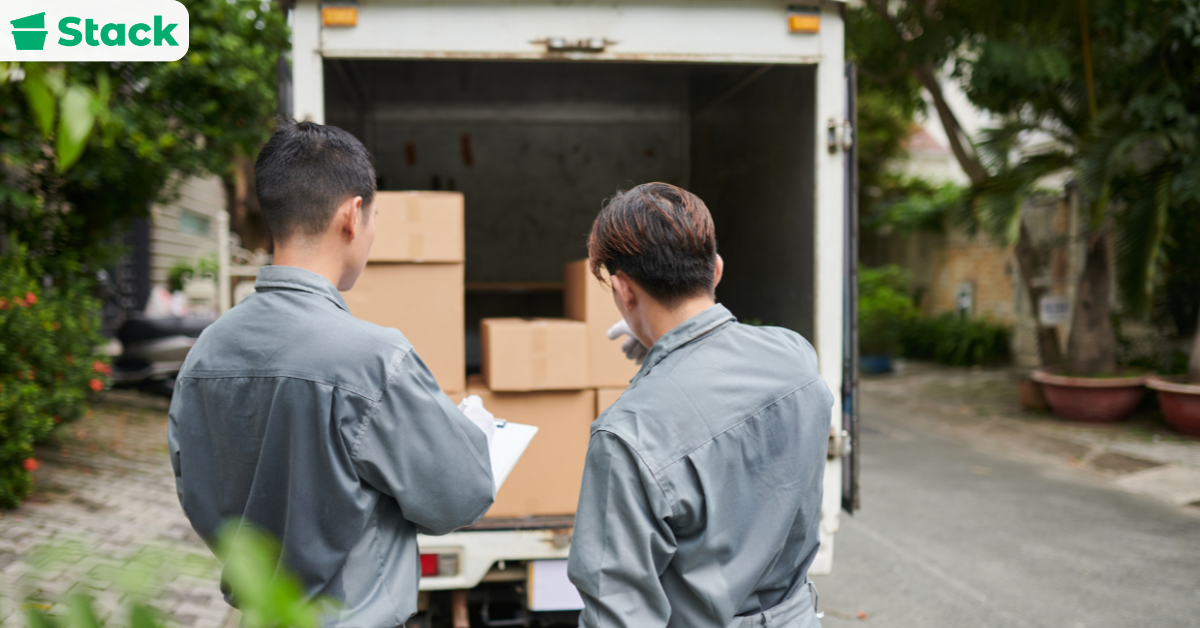
13. Confirm Moving Arrangements
A few days before moving day, confirm all logistics with your moving company or truck rental provider. Double-check arrival times, payment details, parking access, and any special instructions. If you’re moving into a gated community or HOA neighborhood, ensure you understand entry procedures. Confirming details ahead of time helps prevent delays and miscommunication.
14. Do a Final Walkthrough
Before leaving your apartment, complete a thorough final walkthrough. Check closets, cabinets, storage areas, and outdoor spaces to make sure nothing is left behind. Take photos if needed for lease documentation or security deposit purposes. A careful walkthrough gives you peace of mind and ensures a clean break before starting fresh in your new house.
15. Update Your Address Everywhere
Submit a change-of-address request with USPS to reflect your new address and update your information with banks, insurance providers, subscriptions, and government agencies. Keeping records current ensures you don’t miss important mail or billing statements. Address updates are easy to forget but essential during relocation.
16. Plan for Outdoor and Storage Spaces
Once you arrive, organize your garage, basement, attic, or outdoor areas early. Decide how you’ll store tools, seasonal décor, and lawn equipment to prevent clutter buildup. Houses require more storage planning than apartments. Establishing systems from the start keeps your new home organized long-term.
How to Prepare Your New House for Moving Day

Unlike apartments that are typically move-in ready and maintained by property management, houses require a bit more preparation to make them fully functional and livable. We’ve listed a few key tasks you should never overlook before moving into a house.
Complete Any Necessary Repairs
Handle small repairs before move-in, like patching holes, fixing leaks, tightening loose fixtures, or replacing broken hardware. It’s much easier to fix things while the house is empty than after furniture is in place. Knocking these out early also helps you avoid bigger (and more expensive) problems down the line.
Clean the House
Deep clean the entire home before your belongings arrive. Focus on floors, baseboards, cabinets, appliances, bathrooms, and closets. Cleaning an empty house is quicker and ensures you’re truly starting fresh.
Set Up and Confirm Utilities
Make sure electricity, water, gas, internet, and trash services are active before moving day. Arriving to a house without power or running water can turn an already busy day into a stressful one. Confirm activation dates with providers ahead of time to avoid delays.
Schedule Pest Control if Needed
If the home has been vacant or you’re unsure about prior pest treatments, consider scheduling a preventive pest control service. Treating the space before furniture and boxes are inside is far more effective. It also gives you peace of mind as you settle in.
After the Move: Settling into Your New Home
Settling in is about more than just unpacking; it’s about creating a space that makes you feel comfortable and secure. With some thoughtful steps like connecting with your new community, you’ll be feeling at home in no time. Here are a few things you can do to settle into your new space quickly.
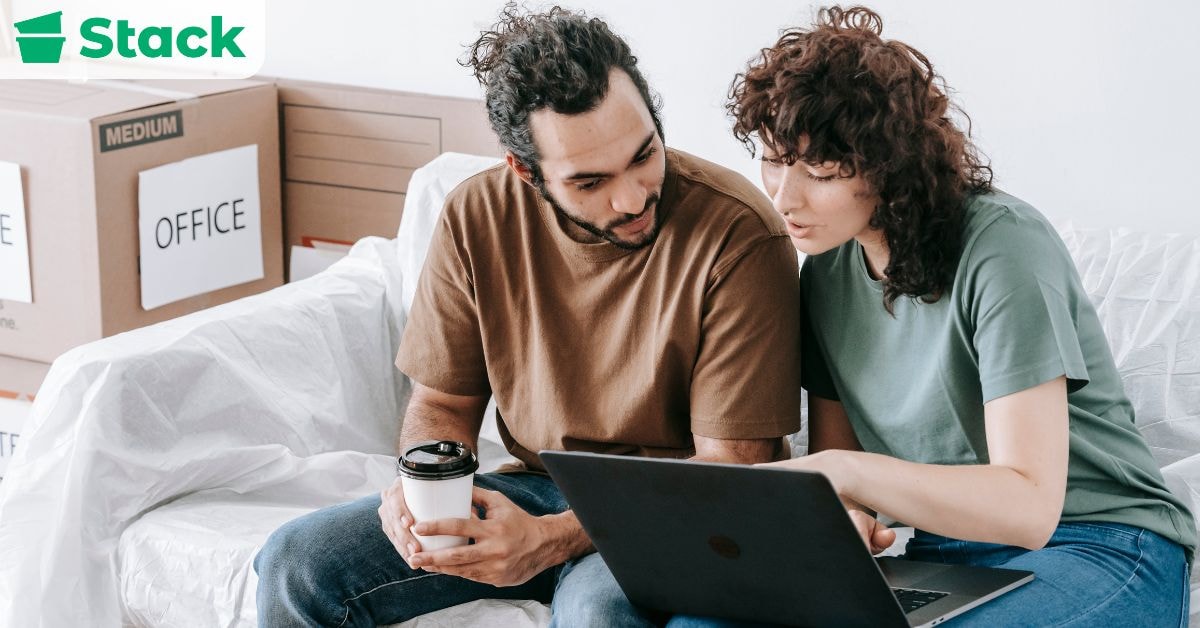
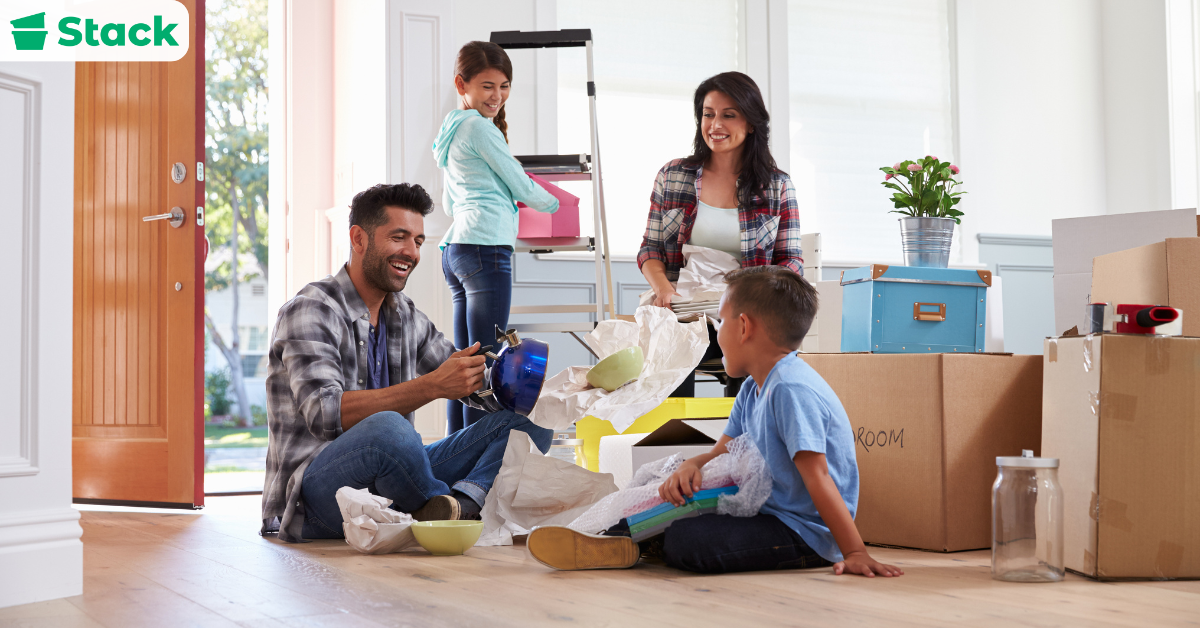
Prioritize Unpacking and Organization
Begin unpacking essential items like toiletries, bedding, a change of clothes, and basic kitchen supplies. This will help you settle in comfortably from the first night. Additionally, you should first focus on setting up essential rooms, such as your kitchen and bedroom. After a hectic journey, it’s nice to prepare a meal without relying on takeout and eventually have a comfortable place to rest. After finishing these areas, you can move on to spaces like the living room.
Get to Know the Neighborhood
No one can exist in isolation; as humans, we are social beings who thrive best when we belong to a community. This is why it’s important for you to build a local network for yourself once you move into a new neighborhood. And the easiest way to do this is to introduce yourself to your neighbors. From here, you can take it a step further by attending local events and using community platforms to stay informed on all the recent happenings. Another thing you should tackle quickly is learning where all the local amenities are located. A quick drive or walk around the area can help you familiarize yourself with nearby grocery stores, pharmacies, and recreational centers.
Update Important Documents
As we mentioned earlier, one of the necessary parts of moving is informing important institutions, such as your bank, about your move. It’s necessary to file a change of address with these establishments because failing to do so could result in missed bills, lost mail, or delayed account updates.
Secure Your Home
Securing your home boosts the safety of your family and yourself. Always change the locks as a precaution in case the previous owners or landlord still have a set of spare keys. If you can, go the extra mile to install security cameras and alarm systems in your home for extra protection.
Packing Tips Specifically for Moving from Apartment to House
When moving from an apartment to a house, you may be bringing more furniture or upgrading to larger pieces. Disassemble bulky items like bed frames, dining tables, and sectionals to save space in the moving truck and reduce the risk of damage. Store bolts and screws in labeled bags so reassembly in your new home is quick and stress-free.
Pack items by future room placement, not just by current use. Since houses often have additional rooms, label boxes clearly for spaces like guest rooms, garages, or home offices. This will make unloading faster and help movers place items directly where they belong.
Don’t forget outdoor and storage items. Tools, seasonal décor, and small equipment should be packed securely and separately from indoor household goods. Keeping these items organized will make setting up storage areas in your new house much easier.
Take photos of how electronics and cables are connected before unplugging them. This will save time when setting up entertainment systems or office equipment in your larger space. For bulky soft items like comforters or pillows, vacuum-sealed bags can help maximize space in the moving truck.
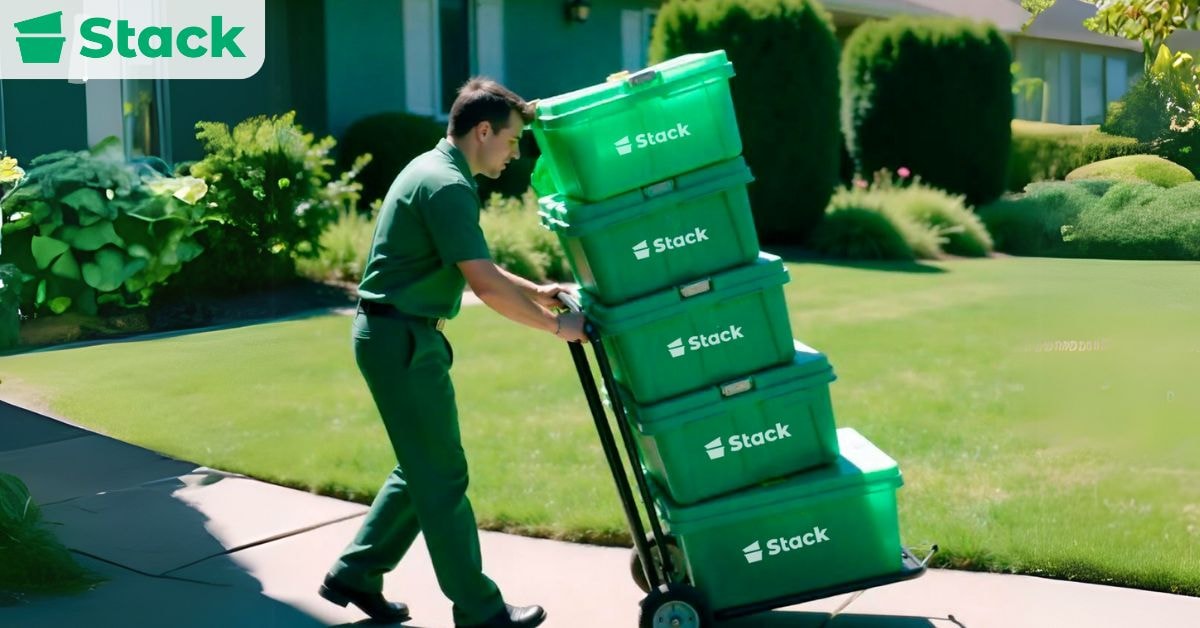
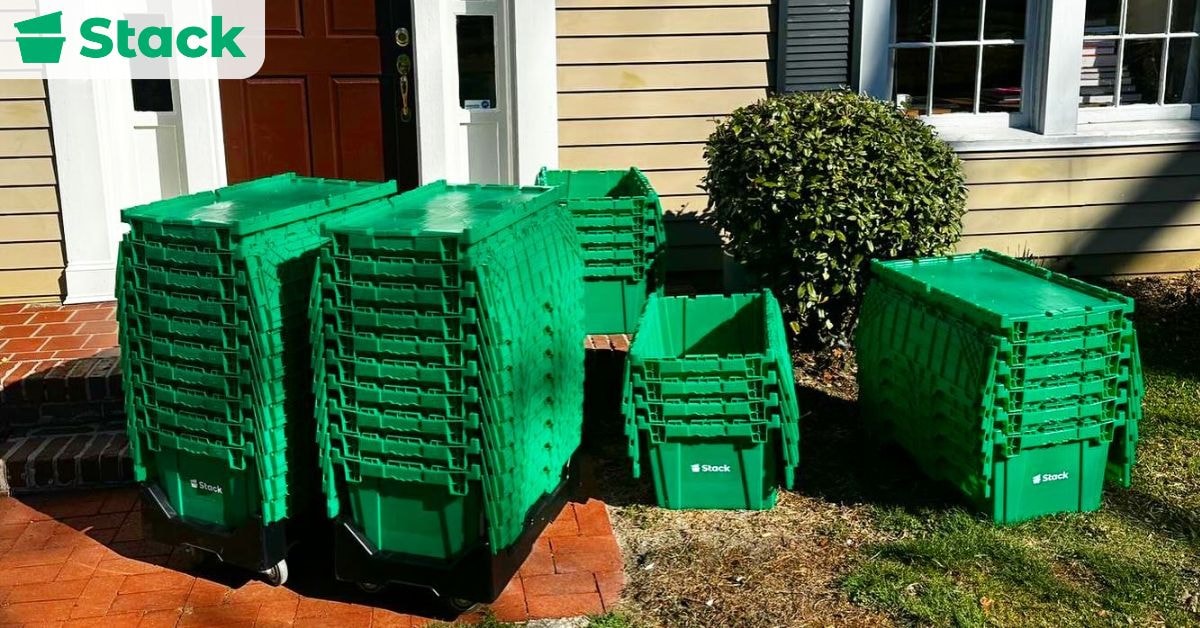
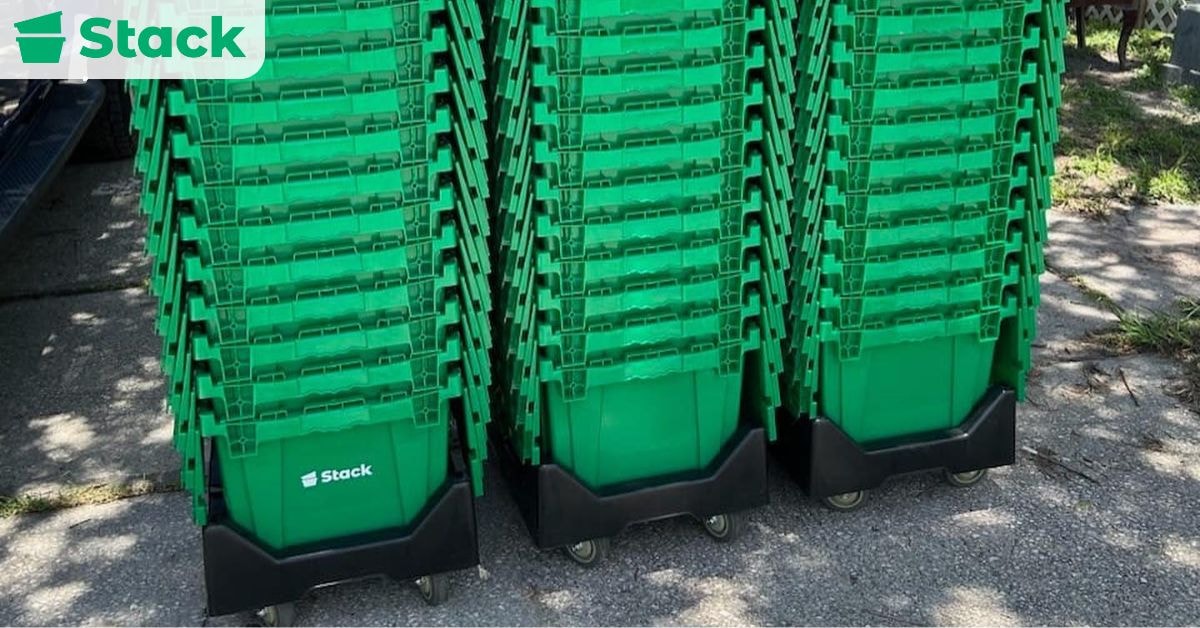
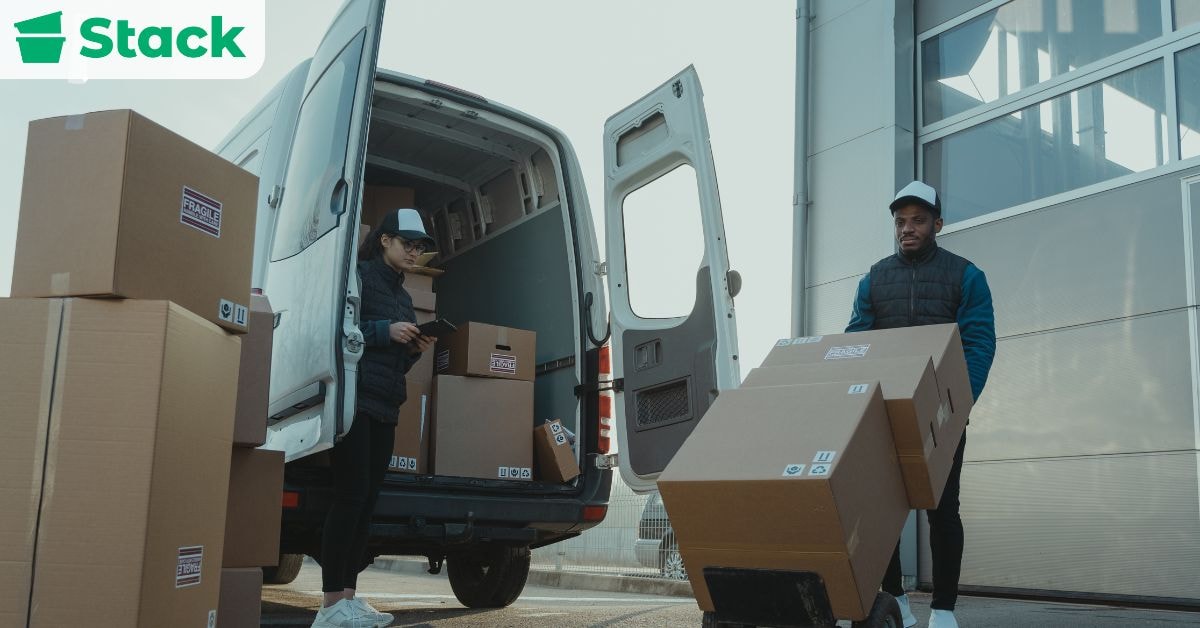
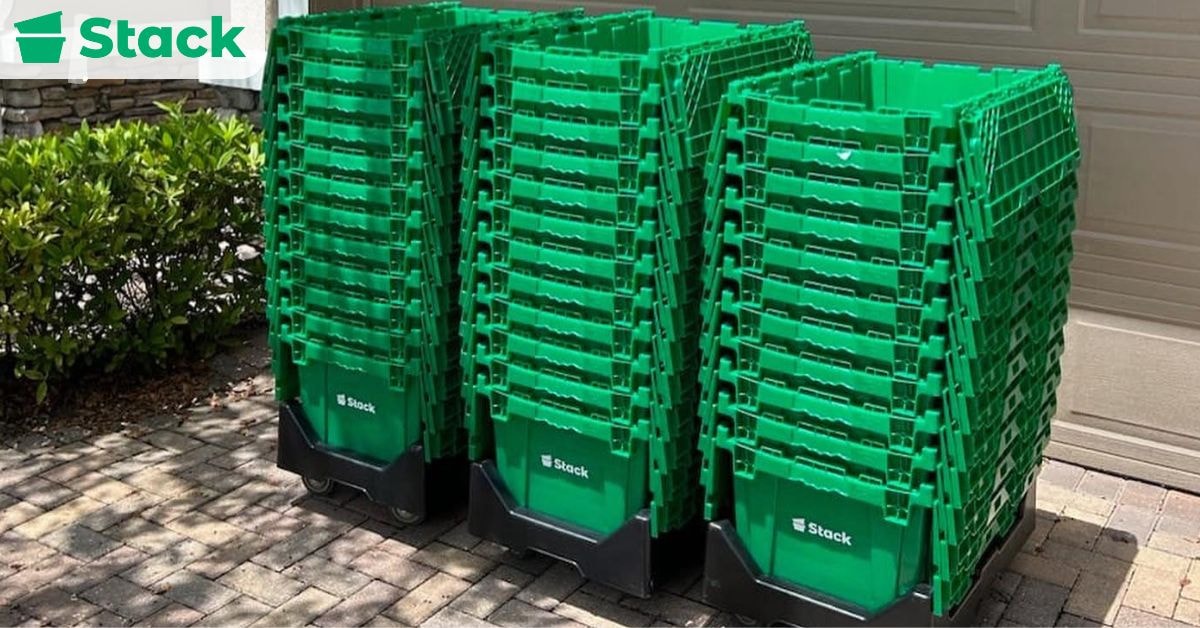
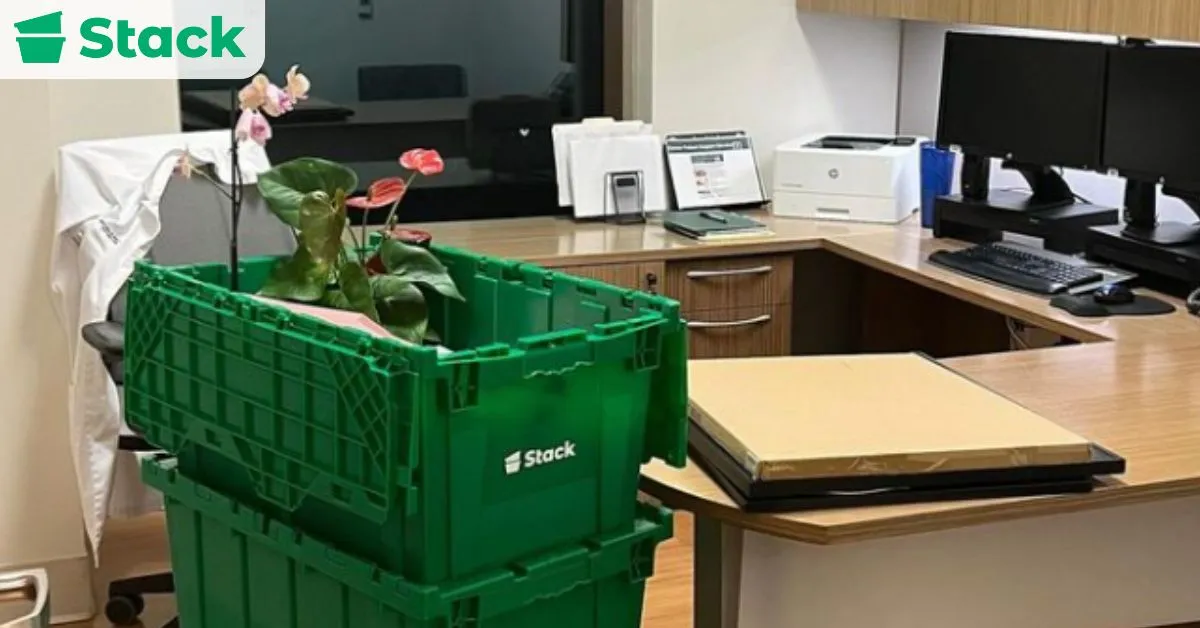
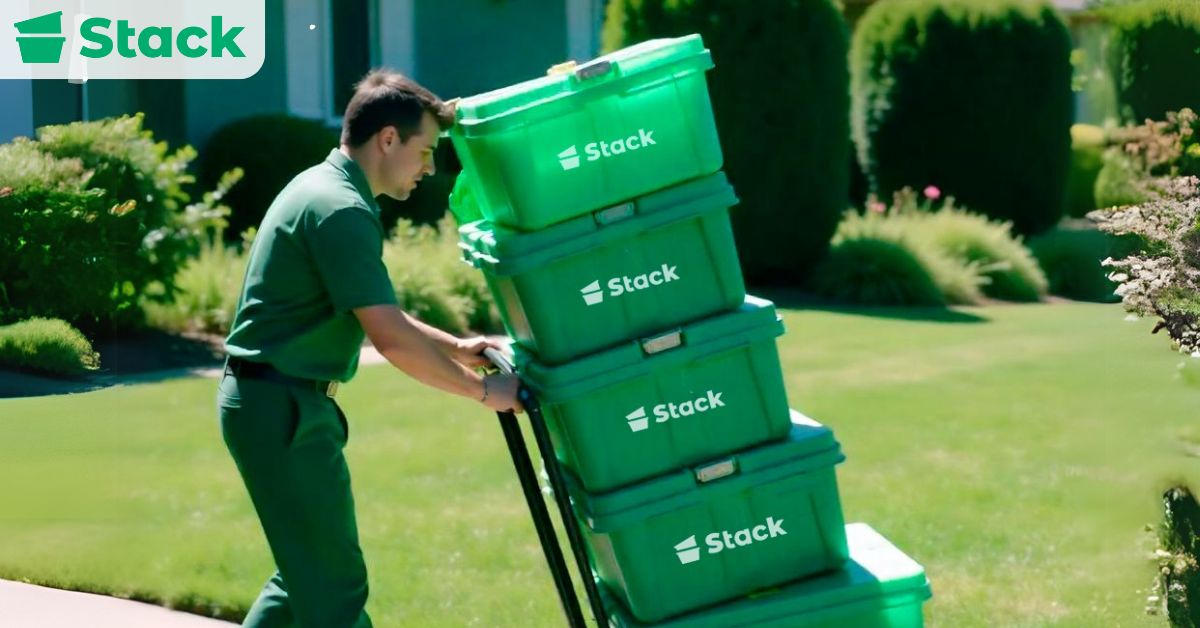
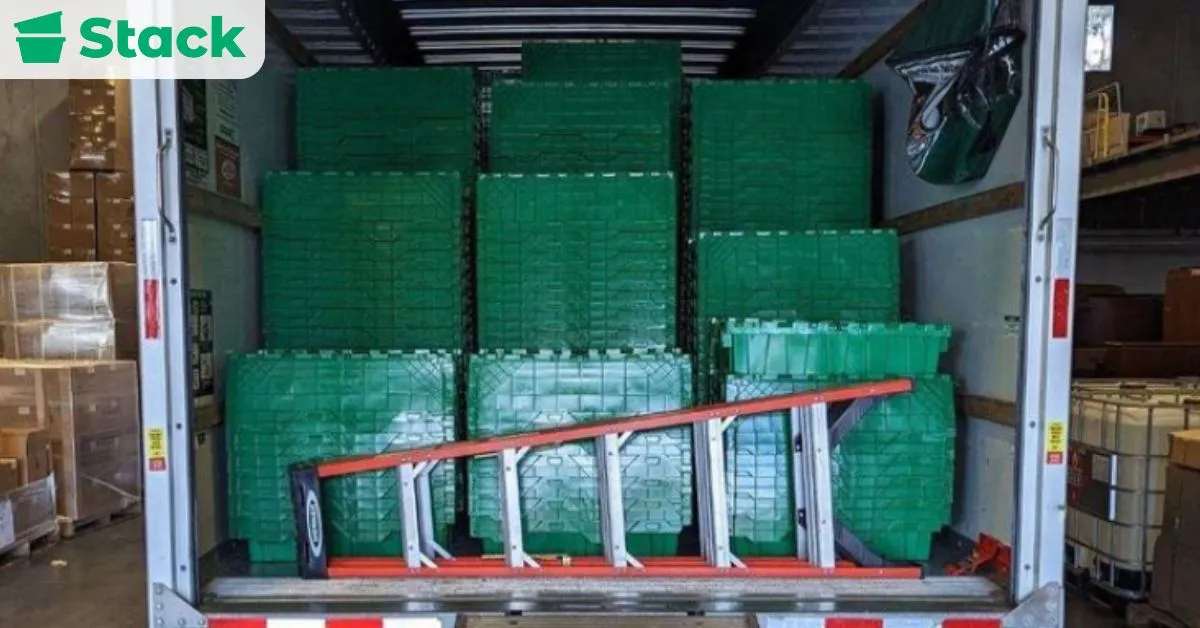
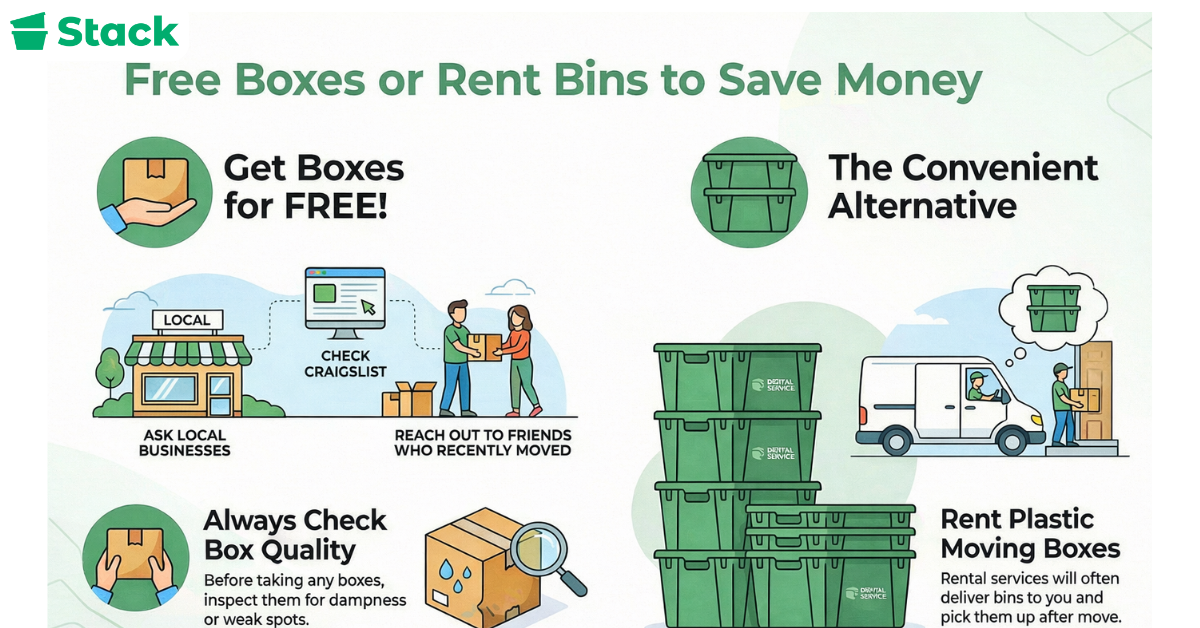
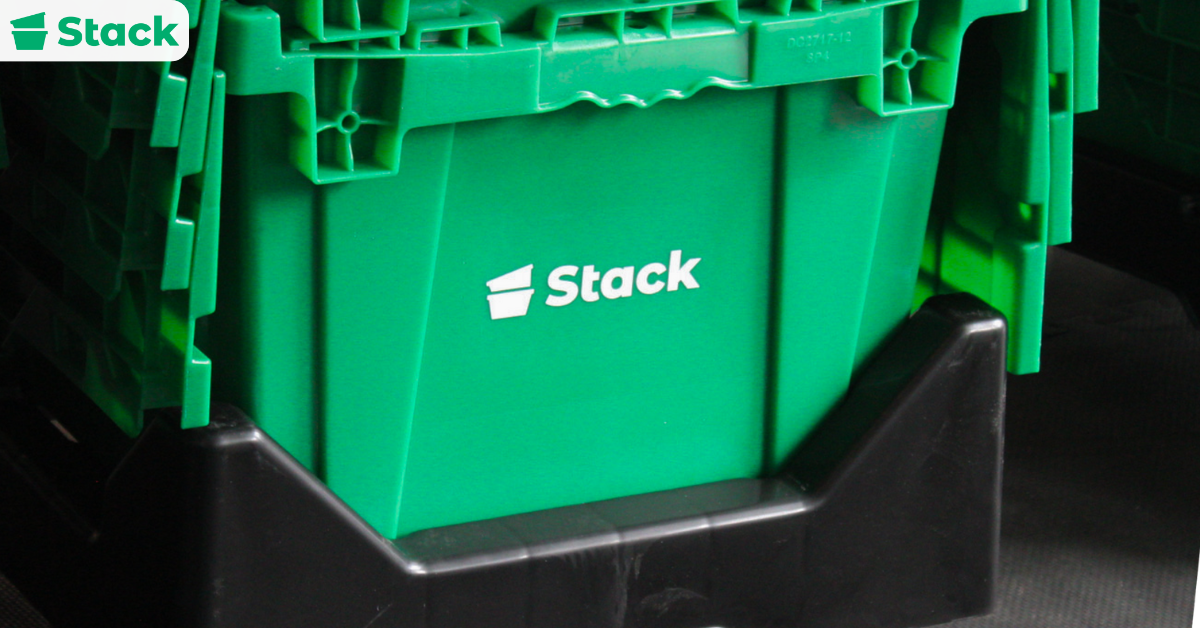
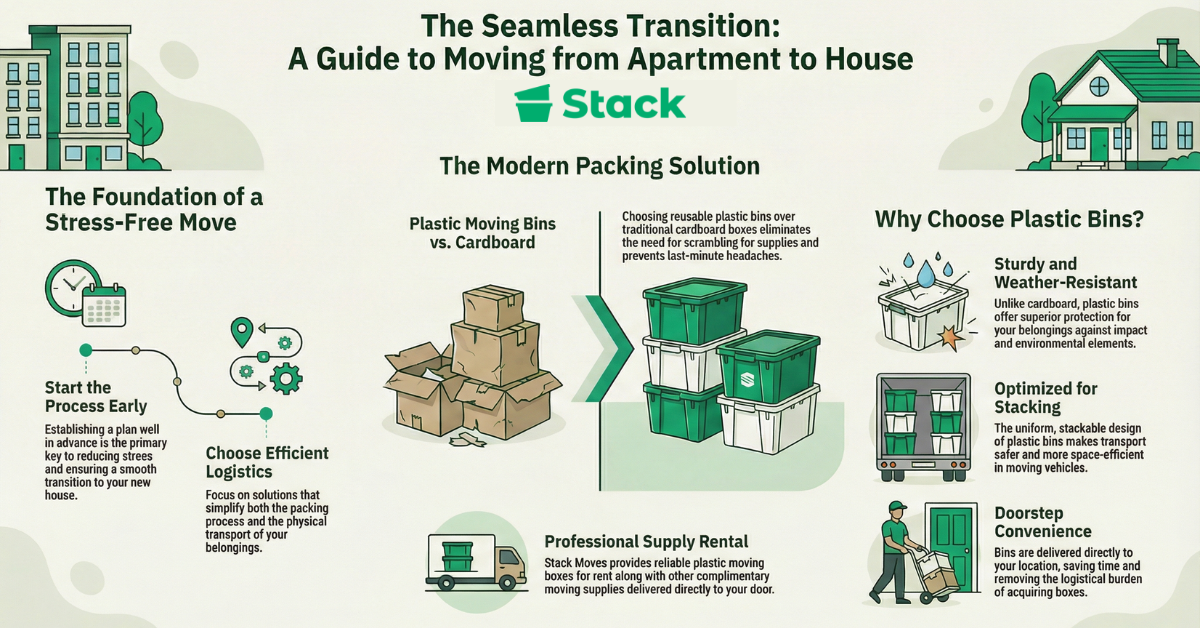
If possible, consider renting durable plastic moving bins instead of traditional cardboard boxes. They’re sturdier, stack more securely, and often come with delivery and pickup services. This can simplify logistics and reduce waste during your move.
Want to Simplify Your Apartment-to-House Move?
With the right plan in place, the process of moving from an apartment to a house can actually be far less stressful than you might expect. The key is starting early and choosing solutions that make packing and transport easier.
A good place to start is with your packing supplies. Consider using plastic moving bins instead of cardboard boxes. They’re sturdy, stackable, weather-resistant, and delivered right to your door, which means less scrambling for supplies and fewer last-minute headaches. Stack Moves provides reliable plastic moving boxes for rent along with other complimentary moving supplies. Book your plastic moving boxes today and make your apartment-to-house transition as smooth as it should be.
Frequently Asked Questions
To make your move even smoother, we’ve compiled answers to frequently asked questions about preparing for your apartment-to-house transition.
What Are the Biggest Challenges When Moving From an Apartment to a House?
The biggest challenges usually involve adjusting to the higher living expenses and having full responsibility for home maintenance. Moving out of apartment complexes means transitioning to a property where you handle utilities, repairs, yard maintenance, and seasonal upkeep yourself.
How Far in Advance Should I Start Packing for an Apartment-To-House Move?
It’s best to start packing at least 3–4 weeks before your moving date. Begin with non-essential items and clearly separate important things you’ll need right away in your new home. If you’re coordinating the end of your lease at your old apartment and closing on a house at the same time, early packing becomes even more important. Try as much as you can to space out the process to reduce stress.
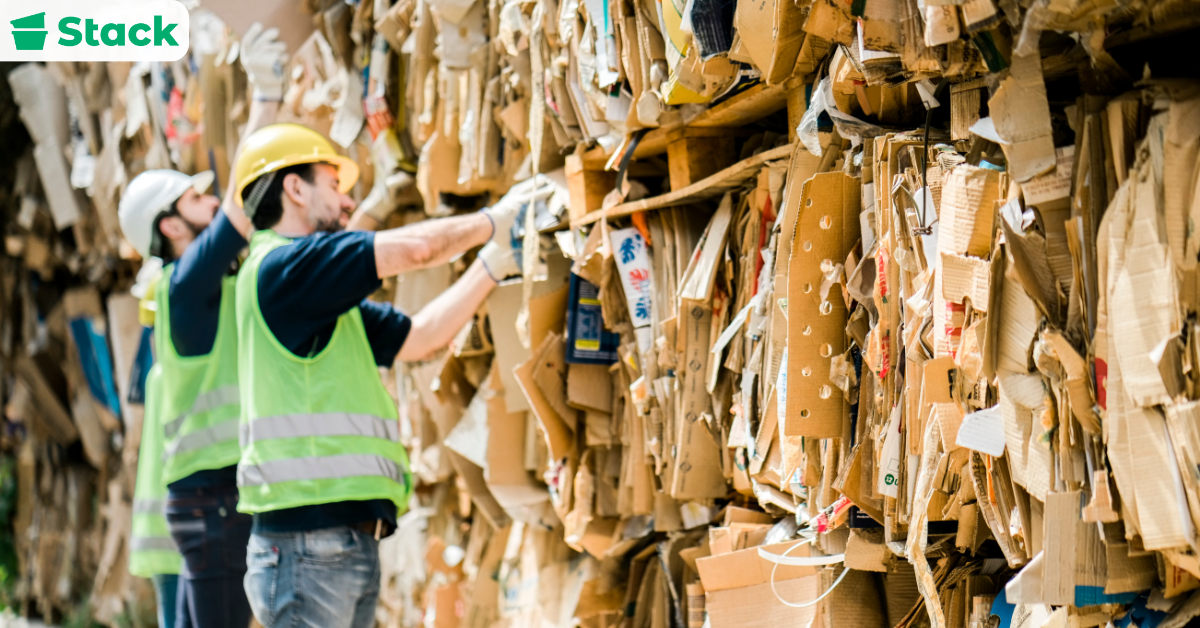
Can I Reuse Moving Boxes From My Apartment Move for My New House?
Yes, you can. Feel free to reuse your old moving boxes as long as they’re still in good condition. Reusing boxes can save money, but fragile items may require new, reinforced ones for better protection. Just make sure to inspect them carefully for weakened edges or water damage, especially if they were stored in apartment storage areas.
What Should I Check Before Moving Into a New House?
Before moving in, confirm utilities are active and inspect heating systems, electrical systems, and HVAC units. Complete a home inspection if it hasn’t already been done, and test smoke and carbon monoxide detectors. Bring basic cleaning supplies to deep clean the space before unloading furniture. It’s also wise to change the locks and secure your property before fully settling in.
What New Responsibilities Should I Expect as a First-Time Homeowner?
Owning a home means taking full responsibility for maintenance and outdoor care. In addition to interior repairs, you’ll need to manage yard maintenance and landscaping and possibly invest in gardening tools to keep your property in good condition.