Ultimate College Packing List—What to Bring (and Not to Bring)
Leaving home for college is an exciting experience, but packing for it? Not so much. You don’t want to forget something you need, but you also don’t want to overpack and clutter your dorm. This is where a college packing list can come in handy. It not only helps you stay organized, but it also makes sure all the essentials are covered without the extra weight. In this blog, we’ll help you build a packing list that covers all bases from scratch, including must-have dorm items such as bedding, toiletries, school supplies, and more.
At Stack Moves, we’ve helped hundreds of students in the U.S. enjoy a smooth and stress-free college move-in day. With years of experience in the moving industry, we offer durable plastic moving boxes that make packing, loading, and unpacking easier from start to finish. Contact us today to rent your boxes and prepare for a hassle-free college move-in day.
In this blog post, we’re going to go over all the college essentials you’ll need and things you should leave at home. We’ll also share some smart packing tips to help you confidently move into your dorm room.
College Packing List for Freshman Year
We curated a comprehensive college packing list that has everything you’ll actually need for dorm life, from the basic items that make your room more functional to the personal ones that make campus feel like home.
Dorm Room Essentials
Dorm room essentials are the foundation of your living space. They make your room instantly feel homey by making it more functional and comfortable. Without these items, you might have a difficult time settling in and organizing your stuff.
- Desk lamp (1)
- Desk organizer
- Small fan (1)
- Rug or floor mat (1)
- Hangers (10–20)
- Storage bins or under-bed storage (3–5)
- Command hooks or wall organizers (5–10)
- Mirror (1)
- Dry-erase board or bulletin board (1)
- Chair cushion or seat pad (1)
Dorm room essentials, such as desk organizers, hooks, and small decorations, are best packed in medium-sized boxes. This approach keeps them organized and ensures smaller items don’t get lost during the move. For bigger items like lamps or small fans, make sure they’re positioned in a way that keeps them stable and prevents damage during transport.
Bedding and Comfort Items
Bedding and comfort items help you create a cozy environment, which can ease your transition to college life. Keeping your space comfortable will make it easier for you to get a good night’s rest and support your overall physical and mental health.
- Bedsheets (4-5 sets)
- Pillowcases (5)
- Comforter or duvet (1–2)
- Throw blankets (1–2)
- Pillows (2–3)
- Mattress pad/mattress cover/mattress topper (1–2)
- Sleep mask (1)
- Earplugs (1–2 pairs)
- Bedside cushion or support pillow (1)
When packing bulky bedding such as comforters, pillows, and blankets, it’s best to pack them last using large boxes because of their bulky size, which can take up a lot of valuable space if packed first. Alternatively, you can also pack them in vacuum-sealed bags to help compress them and free up some space in your moving boxes.
Bathroom Items and Personal Care Items
If you neglect your personal hygiene, you may notice that interacting with others will be awkward, making it harder for you to feel comfortable in your new environment. To maintain your overall well-being and self-confidence, bring along some toiletries and personal care items like soap and deodorant.
- Toothbrush, toothpaste, floss, mouthwash (1-2 each)
- Shampoo and conditioner (1–2 each)
- Body wash or soap (1–2)
- Deodorant (1–2)
- Razor and shaving cream (1 each)
- Hairbrush or comb (1)
- Face, hand, and bath towels (3–5)
- Washcloths (3–5)
- Nail clippers (1)
- Small first aid kit (1)
- Skincare basics (1 each)
- Hand sanitizer (1)
- Lip balm (1–2)
- Flip flops (1–2)
The best way to pack bathroom items is to group them in a waterproof or sealable container and place it inside a small moving box to prevent spills. Keep everyday essentials like toothbrushes and deodorant on top for easy access. Smaller boxes or bins work well for first aid kits, skincare, and cosmetics.
Clothing and Laundry Supplies
This category of items includes what you’ll need to dress appropriately and manage your laundry.
- Everyday tops (7–10)
- Bottoms/pants/shorts/skirts (5–7)
- Pajamas (2–3)
- Underwear (7–10)
- Socks (7–10 pairs)
- Sweatshirts or hoodies (2–3)
- Sweaters (2–3)
- Jacket or raincoat (1–2)
- Comfortable shoes (2–3 pairs)
- Workout clothes (2–4 outfits)
- Laundry detergent (1 bottle or pod pack)
- Stain remover (1)
- Laundry basket (1)
- Fabric softener (1)
- Bleach (1)
Be sure all clothes are completely dry before packing to avoid unpleasant odors, mold, or mildew. Neatly fold your clothes to keep them organized. Consider rolling your casual clothing like T-shirts to save even more space in your moving boxes. Hanging clothes are best left on their hangers and placed in wardrobe boxes to prevent wrinkles. Alternatively, you can slide a garbage bag over your hanging clothes and keep them in a plastic moving bin for easy transport.
School Supplies and Study Essentials

Your study habits are a key factor in determining your academic success during your time in school. These tools will support your learning by making it easier to keep track of deadlines and effectively take notes, amongst other things.
- Notebooks (3–5)
- Binders/folders (3–5)
- Pens and pencils (5–10 each)
- Highlighters (3–5)
- Sticky notes (1–2 packs)
- Planner or calendar (1)
- Backpack or book bag (1)
- Index cards (1 pack)
- Desk organizer (1)
- Calculator (1, if needed)
- USB drives or external storage (1–2)
Group similar items so that they’re easy to find. Smaller items like pens, pencils, and highlighters are best placed in pouches or small containers to prevent them from getting lost or scattered.
Electronics and Tech Accessories
The right devices ensure you can work efficiently and communicate easily with friends, family, and professors as needed. At the bare minimum you’ll need the following:
- Laptop and charger (1)
- Laptop sleeve (1)
- Phone and charger (1 each)
- Power strip or extension cord (1)
- Headphones or earbuds (1–2)
- USB hub or adapters (1)
- Portable battery pack (1)
- Smart speaker or small Bluetooth speaker (optional, 1)
- HDMI cable (1)
- Surge protector (1)
Place heavier devices at the bottom of the box and lighter items on top to prevent damage. Also clearly label each box as “fragile” so whoever handles them does so with care. Keep devices in their original packaging if possible, or wrap them in bubble wrap or soft cloths to protect them during transport. Group chargers, cables, and smaller accessories in labeled pouches so they don’t get tangled or lost.
Kitchen Supplies
Even if your dorm has limited cooking space, basic kitchen items like dishes and cutlery will make cooking and eating more convenient.
- Reusable water bottle (1–2)
- Coffee mug or cup (1)
- Small reusable containers (2–4)
- Reusable utensils (1 set)
- Snack storage bag or box (1)
- Collapsible cooler bag (optional, 1)
- Can opener (if needed, 1)
- Dish soap (small bottle, 1)
- Dish towel or sponge (1–2)
- Small cutting board (1)
- Measuring cup or small measuring spoons (optional, 1 set)
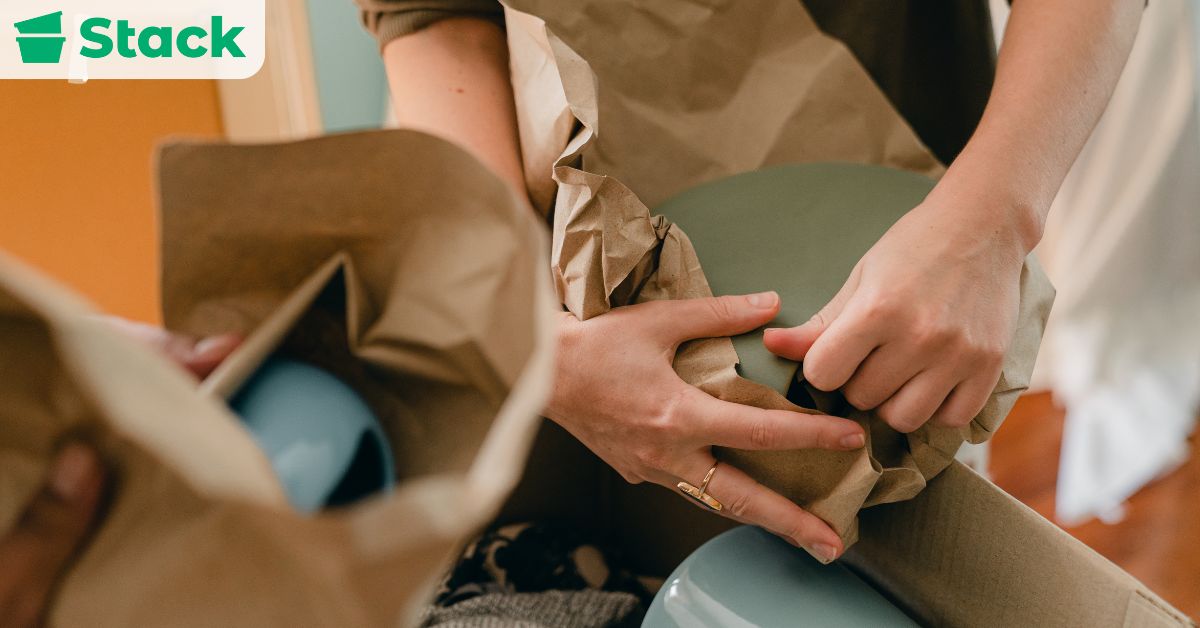
Wrap fragile items like dishes in towels or soft clothing to prevent breakage and stack plates or bowls to save space. Keep utensils, small tools, and spices in resealable bags to stay organized.
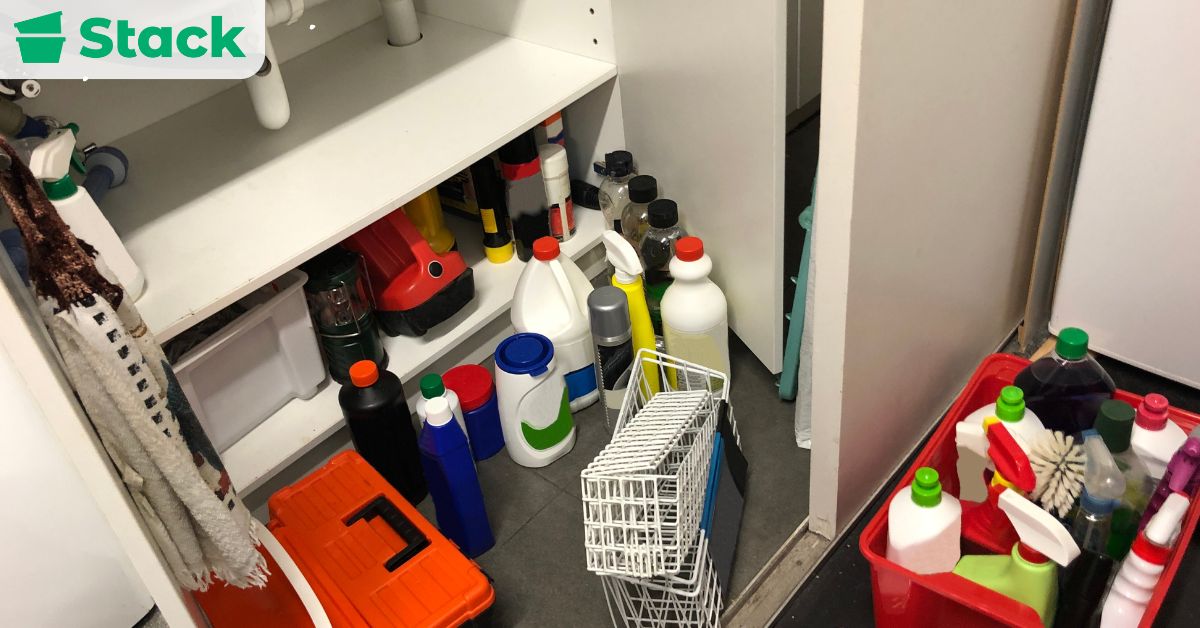
Cleaning Supplies
Here we covered all the tools for keeping your space tidy and orderly. With a few simple cleaning supplies, you can maintain good hygiene, prevent clutter, and keep shared areas pleasant for everyone.
- Multi-surface wipes (1–2 packs)
- Small broom and dustpan (1)
- Mini vacuum (optional, 1)
- Disinfectant spray (1)
- Lint roller (1)
- Trash can and liners (1–2)
- Microfiber cloths or cleaning rags (2–3)
- Small mop or floor wipes (1)
- Storage bins or drawer organizers (2–4)
- Small caddy or tote (1)
A simple tip for packing cleaning supplies is to keep liquids upright in a sturdy small box and use plastic bags or dividers to prevent spills. Group similar items together, like wipes or sprays, and label the box clearly. Smaller boxes work best for cleaning tools, while larger ones can help carry heavier items like a broom or mini vacuum.
What Not to Bring to College

Knowing what not to bring is just as important as knowing what to pack. If you bring a prohibited, bulky, or unnecessary item, you risk violating dorm rules and having a frustrating first day. Always check your residence hall guidelines before moving in to ensure you’re following campus policies.
- Candles and incense – fire hazard and typically banned in dorm rooms.
- Space heater – high risk of fire and often prohibited by safety regulations.
- Pets – most dorms do not allow animals, except approved service animals.
- Weapons – strictly forbidden for safety and legal reasons.
- Drugs and alcohol – illegal or restricted substances can lead to disciplinary action.
- Furniture – bulky items can clutter small dorm rooms and may not meet fire codes.
- Personal printer – often discouraged due to shared campus printing resources.
- Mini fridge – some dorms restrict size or wattage for safety; check guidelines.
- Microwave – many dorms ban or limit microwaves to prevent fire hazards.
How to Pack for College Efficiently
Packing for college isn’t just about what you bring but also how you bring it. Your goal should be to make move-in day simple, organized, and stress-free. We highlighted some tried-and-true packing tips to help you pack smarter.
1. Start Early
Begin packing at least a few weeks before move-in day. This will give you enough time to sort, donate, or replace items you no longer need. You’ll also avoid the last-minute rush that often leads to overpacking or forgetting essentials.
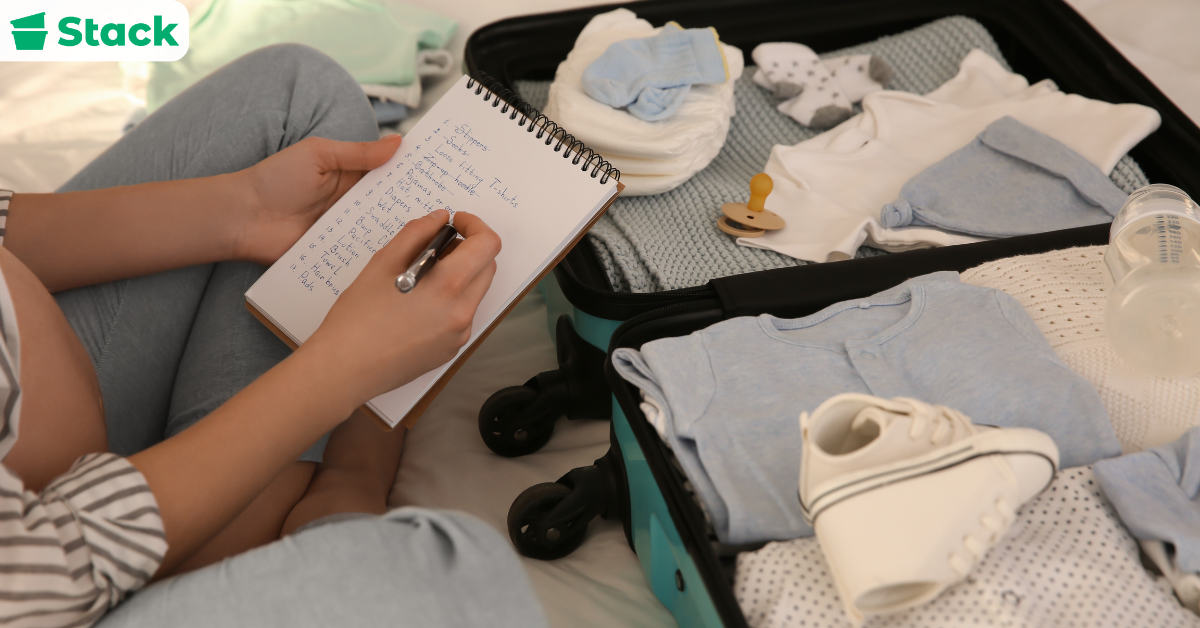
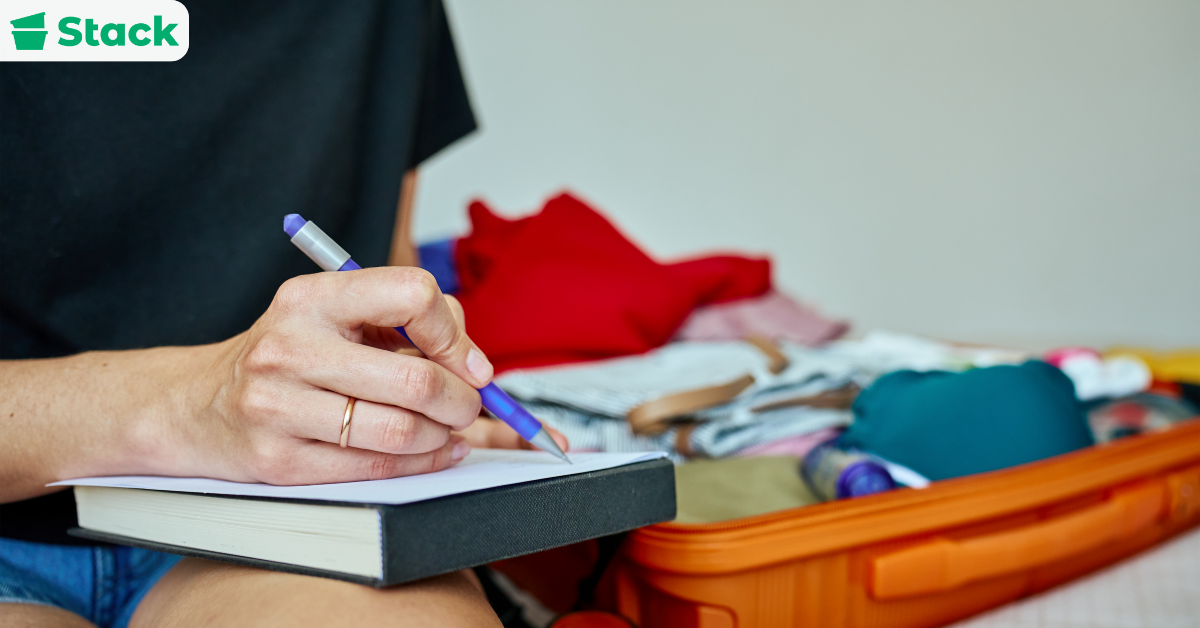
2. Create a Moving Checklist
A moving checklist helps you stay organized and ensures nothing important gets left behind. Break it down into steps such as decluttering, gathering packing supplies, and booking transportation. You can check off items as you go to keep the process manageable.
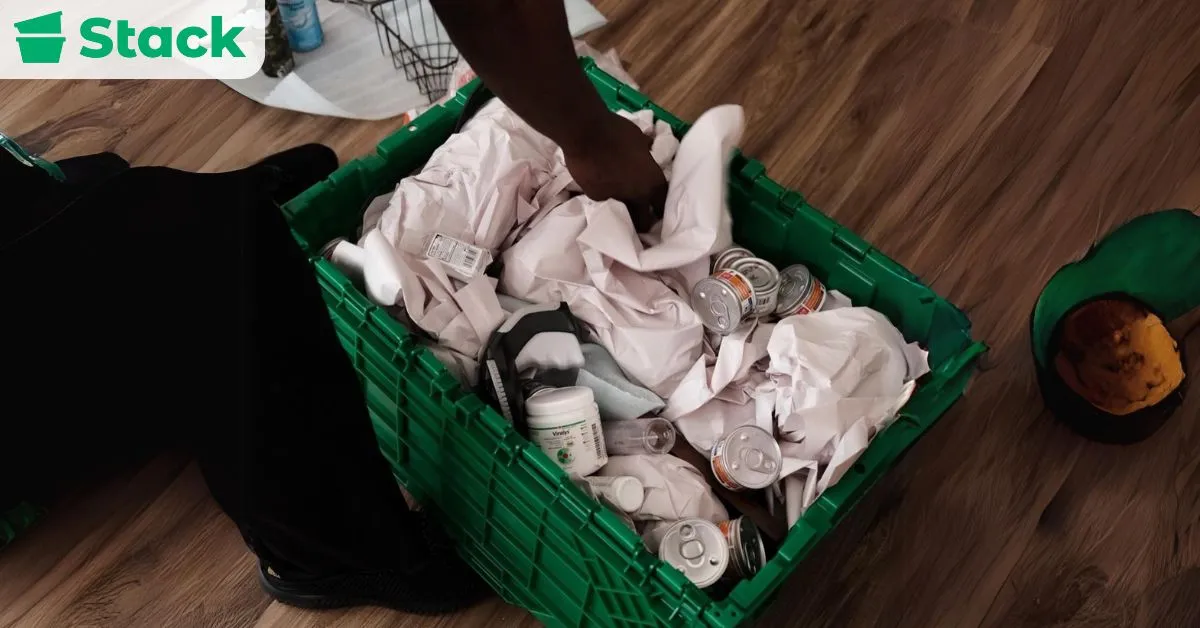
3. Use High-Quality Packing Materials
Cheap materials are more likely to buckle, tear, or let spills and moisture reach fragile items, which means they could potentially cause damage or loss. Be willing to spend a little more on quality materials because it guarantees your belongings stay secure and intact throughout the move. For an even easier and more reliable option, consider renting moving boxes instead of buying them.
4. Pack Similar Items Together
Grouping similar items keeps you organized and speeds up unpacking. For example, pack all toiletries in one container and study supplies in another.
5. Label Everything Clearly
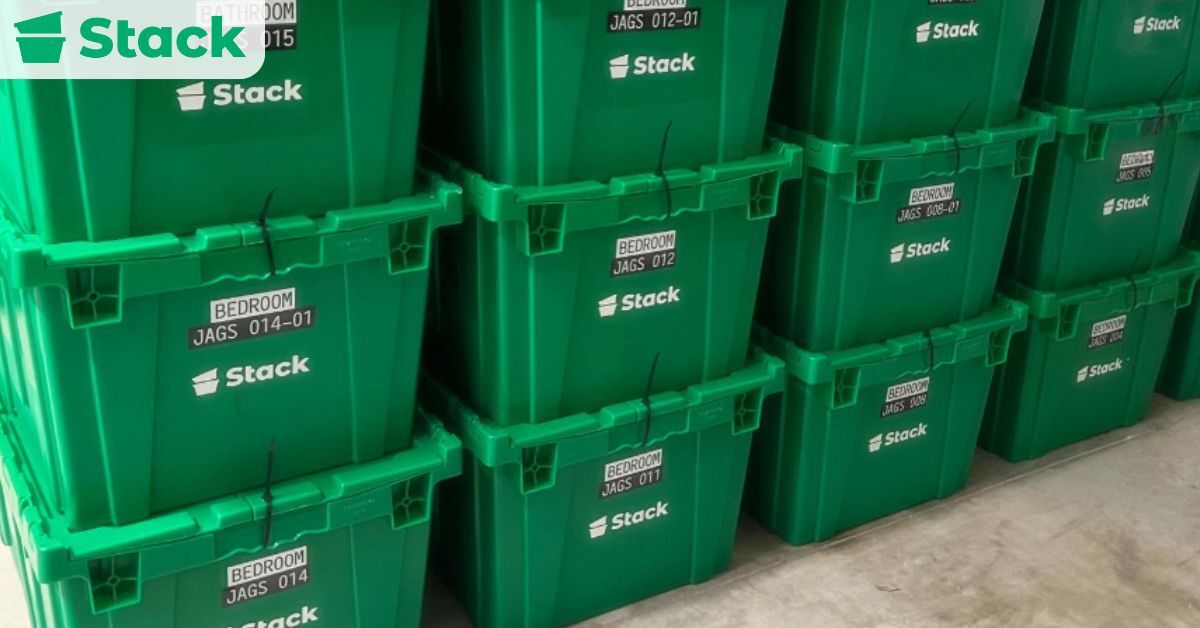
The best way to label your boxes is by clearly writing their content and destination. If possible, write your name, dorm building, and room number on every box. Doing so will prevent mix-ups, especially if multiple students are unloading at once.
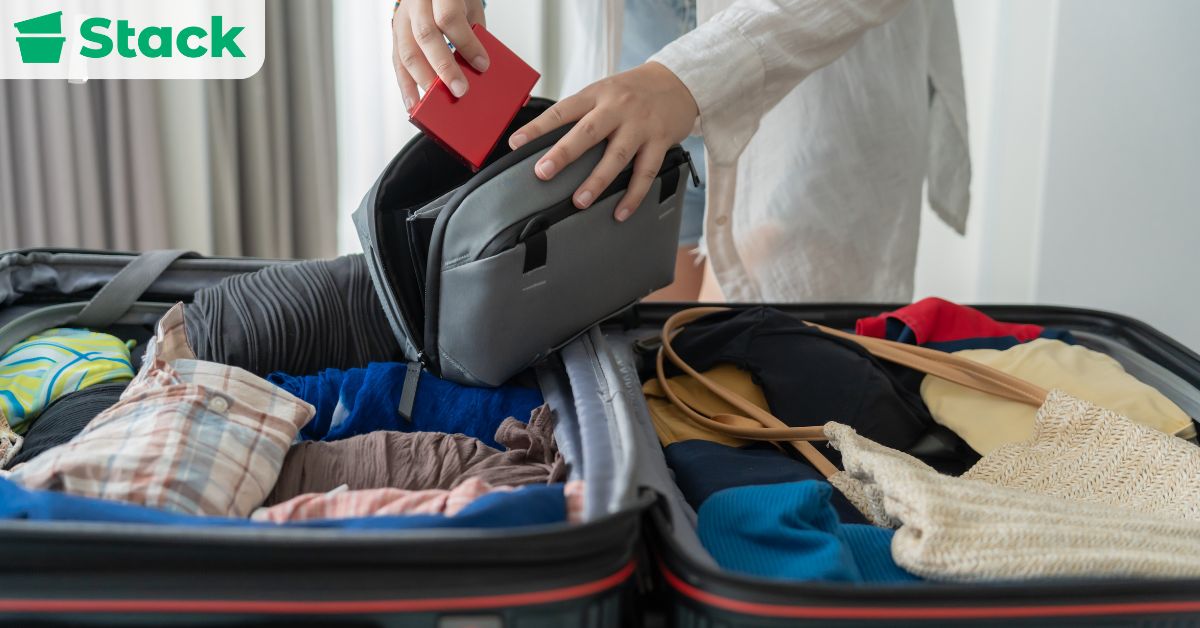
6. Prepare an Essentials Bag
Keep your first-day necessities, for example, toiletries, a change of clothes, chargers, and important documents, in one easy-to-reach bag. That way, you won’t need to dig through boxes after a long move. Think of it as your survival kit for the first 24 hours.
7. Avoid Overpacking
Dorm rooms can feel smaller than expected, so be selective with what you bring. A lighter load means less clutter and a quicker setup once you move in. Only carry what you’ll truly use, and remember you can always bring extras later if necessary.
Packed Everything You’ll Need for College?
Packing for college can feel like a daunting task, especially when you have no idea what to bring. A thoughtfully curated packing list takes the guesswork out of the process by telling you what to bring (and what to skip).
A general rule of thumb for packing is to only carry the items you’ll actually use regularly. Your residence hall’s guidelines are a great resource for restrictions and recommendations, so you can settle in quickly and without surprises.
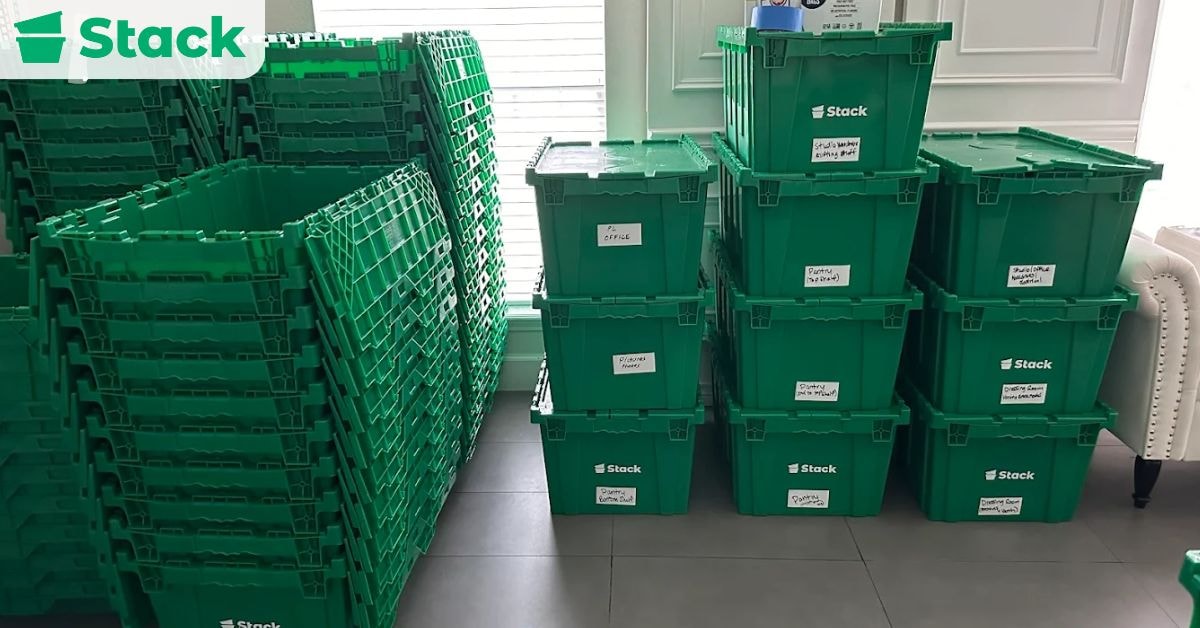
Once you’ve gathered your essentials, be sure to pack them in sturdy moving boxes that will not only transport your belongings but also protect them and make unpacking much easier. Our sturdy plastic moving bins are designed to keep items safe and organized through every stage of a move. Plus, each rental comes with additional moving supplies like dollies and labels to make the process even smoother.
Don’t wait until the last minute; reserve your moving bins today!
Frequently Asked Questions
Each answered question gives you quick, practical advice on what to pack and what to leave behind.
What Should I Pack for College?
Pack the essentials that support your daily life, such as bedding, toiletries, clothing, and school supplies. Consider using space-saving items and avoid overpacking, as most dorms have limited space. Additionally, try to follow a detailed college packing list to help you stay organized and ensure you bring only what you truly need. a detailed college packing list to help you stay organized and ensure you bring only what you truly need.
Where Can I Find a Printable College Packing List?
Many college websites and moving blogs offer free downloadable checklists. You can also find a printable version at the beginning of this guide, covering everything from dorm essentials to study supplies.
What Household and Kitchen Items Should I Pack?
Stick to simple, compact items such as reusable dishes and utensils, a small microwave-safe bowl, and any mini appliances that are allowed. Most dorms restrict large or high-wattage devices, so double-check your school’s policies before packing.
What Are Some Recommended Foods and Snacks to Pack for College?
Granola bars, instant noodles, trail mix, and microwave popcorn for late-night study sessions. Include a few healthy options such as oatmeal cups or nuts to keep your energy up. Focus on foods that are simple to store, don’t require cooking, and fit in limited dorm space.
What Should I Not Bring to College?
Avoid bringing large furniture, duplicate appliances, or bulky décor because they will eat into your already limited space. Skip prohibited items like candles, space heaters, or hot plates, as they’re fire hazards and usually not allowed in dorms. Extra dishes, excessive clothing, and sentimental valuables also tend to cause clutter or risk damage, so be sure to leave those behind as well. Always check your college’s housing rules and coordinate with your roommate to avoid bringing the same items.
How Can I Save Money on Dorm Supplies?
Take advantage of back-to-school sales, student discounts, and clearance events to cut costs. Check with friends and relatives for gently used items they no longer need, and see what you already have at home before buying new items. Finally, coordinate with your roommate on shared items like appliances or cleaning supplies so you can split costs and shop together.
Do Colleges Provide Essentials?
Most colleges provide basic furniture like a bed, desk, and chair, but not personal items such as bedding, toiletries, or cooking supplies. Check your school’s housing list to see what items are already included, which will help you avoid bringing duplicates or wasting money on unnecessary items.