How Much Is the Cost of Movers for a Local Move?
While a move might seem simple enough to handle on your own, many people still choose to hire professional movers for their local moves. The cost of movers for a local move usually ranges from $300 to $1,500 with final pricing depending on key factors like home size, labor requirements, and distance.
Renting plastic bins from Stack Moves is an easy way to lower your relocation costs. These moving containers eliminate the need for packing tape and extra materials, saving you money from the start. Get in touch with our team today to learn how we can help you enjoy a more budget-friendly move.
In this blog, we'll break down what's included in local moving costs, the factors that influence pricing, and which extra fees to watch out for. You'll also get practical tips on how to cut costs so you enjoy a seamless move within your budget.
How Much Do Movers Cost for a Local Move?
You can typically expect to pay an hourly rate per worker, with most standard two-person crews charging around $80 to $100 per hour depending on your region and the season. The final rate fluctuates based on your home size, labor needs, and total distance.
How Much Does a Local Move Cost Based on Home Size?
Like we mentioned earlier, moving costs vary significantly depending on several factors. Some of these include the size of the space you're moving from, the number of movers you need, and how many hours the job takes. To give you a rough idea of potential expenses, here is a breakdown of average moving costs and labor requirements.
| Home Size | Recommended Crew | Estimated Hours | Average Price Range |
|---|---|---|---|
| Studio Apartment | 2 Movers | 2 – 3 Hours | $200 – $400 |
| 1-Bedroom Apartment | 2 Movers | 3 – 5 Hours | $400 – $700 |
| 2-Bedroom Apartment | 3 Movers | 5 – 7 Hours | $700 – $1,200 |
| 3-Bedroom Apartment | 3 to 4 Movers | 7 – 10 Hours | $1,200 – $2,200 |
| 4+ Bedroom Home | 4+ Movers | 10+ Hours | $2,000 – $3,500+ |
Most estimates assume a standard residential move with normal household goods. Homes containing large or fragile items such as pianos and antiques may require additional labor and specialized equipment. This will end up increasing labor costs and the overall estimated cost.
How Much Does a Local Move Cost Based on Distance?
While local moving companies charge by the hour, the actual distance between locations still impacts your final invoice. Travel time between homes affects how long the crew is on the clock, making mileage a key factor. Below is a general estimate of potential costs based on the distance of your relocation.
| Distance | Studio/1-Bedroom | 2-3 Bedroom | 4+ Bedroom |
|---|---|---|---|
| 250 | $1,250 – $2,500 | $2,550 – $4,850 | $4,600 – $6,200 |
| 1000+ | $1,600 – $3,400 | $3,500 – $6,650 | $7,100 – $11,200 |
| 2500+ | $2,150 – $4,800 | $4,723 – $9,550 | $10,700 – $15,750 |
What's Included in Local Moving Costs?
At a basic level, local moving costs typically cover the essentials needed to get your belongings from Point A to Point B safely. Here's a breakdown of what's generally included in your baseline moving contract:
- Loading and Unloading: Movers will carry your boxes, furniture, and other items in and out of your home. Labor time is the single biggest factor in your final cost.
- Truck and Fuel: Most local movers include the moving truck and fuel in their standard hourly rate, though it's always best to confirm this ahead of time.
- Basic Furniture Protection: This includes heavy-duty moving blankets, shrink wrap, and security straps to keep your furniture protected during transport.
- Dollies and Moving Equipment: Most companies bring specialized dollies, hand trucks, and ramps to move heavy items safely and efficiently.
If you're opting for a premium or full-service move, your cost will reflect the added convenience of having the manual labor handled for you. Some additional services you can expect include:
- Packing and Unpacking Services: Your movers handle everything from boxing up fragile kitchen dishes to unwrapping furniture at your new home.
- Packing Materials: Boxes, tape, bubble wrap, and protective padding are included in the package or billed clearly as a separate line item.
- Furniture Disassembly and Reassembly: Large beds, bulky shelves, and heavy dining tables are taken apart at the old location and reassembled at your destination.
- Cleanup and Debris Removal: Some full-service movers offer to haul away discarded packing materials and clean up the truck remnants after unloading.
- Additional Services: Many full-service movers also offer add-on services such as furniture assembly, appliance installation, temporary storage, and access to a storage unit between move-out and move-in dates.
| Feature | Basic Movers | Full Service Movers |
|---|---|---|
| Loading and Unloading | Included | Included |
| Moving Truck | Often included | Included |
| Basic Insurance | Included | Included |
| Dollies and Equipment | Included | Included |
| Packing Services | Not included | Included |
| Moving Supplies | Not included | Usually included |
| Furniture Disassembly | Optional | Included |
| Cleaning Services | Not included | May be included |
DIY vs. Hiring Professional Movers: Cost Comparison
Going the DIY route usually costs between $200 and $600 for a truck rental and packing supplies, but it demands your own time and physical effort. In contrast, hiring professionals for a local move typically ranges from $300 to $1,500. While DIY moving can lower company prices, many homeowners find that professional movers are worth the added expense. They handle the heavy lifting and reduce the risk of injury or property damage.
Factors Influencing the Cost of Movers for Local Move
A local move may not cross state lines, but that doesn't mean it's automatically cheap. There are plenty of factors that influence how much you end up paying at the end of the day. With a clear picture of these hidden expenses, you can keep your final invoice as low as possible.
Distance of the Move
A longer route generally increases moving costs because of fuel expenses, tolls, and travel time. Most movers start charging a standard travel fee, which often equals one hour of labor, to cover the drive time from their office to your home and back. To keep costs down, try scheduling your move during off-peak hours when roads are clear, and give your movers detailed directions to avoid delays.
Size of the Move and Inventory Choices
More items automatically mean more labor time, which translates to higher hourly costs. While furniture takes up predictable truck space, loose items, unboxed electronics, and untagged fragile items can also cause major delays for the crew. One of the best ways to reduce your bill is to declutter before you start packing. Donate, sell, or toss anything you no longer need.
Number of Movers Needed
The more movers you hire, the higher the hourly rate will be, but the job will wrap up much faster overall. To get the best value, ask your moving company what crew size they recommend for your move. They are in the best position to strike the right balance between speed and hourly cost.
Time Required and Hourly Minimums
A common way movers charge is by the hour, and almost all of them have a minimum hourly requirement. This typically sits between 2 and 4 hours. What this means is that even if your move finishes in 90 minutes, you still must pay for the full minimum requirement. To stay within the lower end of the estimate, prep everything ahead of time by boxing up loose items and clearing wide pathways.
Packing Services
It's convenient to have your movers handle every aspect of the move, including packing. But doing this adds a big chunk to your overall moving cost. Additionally, if the moving company provides the moving supplies, it will show up on your final bill. If you want to save, handle the packing yourself. If you already have your own boxes or can source free boxes from local retailers, you may be able to reduce your packing expenses significantly.
Specialty Items
Items like pianos, gun safes, treadmills, or oversized antiques require extra hands and specialized equipment. Handling these items comes with standard surcharges for the added labor and care involved. To avoid surprises, let your movers know in advance about anything that needs special handling so they can give you an accurate quote upfront.
Tips and Gratuity
While tipping isn't mandatory, it's a standard part of the moving process, and it's highly appreciated when your crew works hard. A common rule of thumb is to tip around $5 to $10 per hour per mover, depending on the complexity and quality of service.
Additional Costs to Be Aware of When Hiring Local Movers
When planning for a move, many people only plan for the obvious expenses without remembering that smaller line items can sneak their way into the final bill. These unexpected costs are often the difference between staying within budget and going way over. In reality, these costs aren't hidden at all, you just need to know what to look out for.
- Travel Fees: Ask upfront how travel time is calculated. You will be charged for the time it takes the truck to get to your location and return to the office after the move is complete. This travel time is usually incorporated as a flat one-hour addition to the hourly rate of the move itself.
- Stair and Elevator Fees: Let the movers know in advance about stairs or elevator access so you can get an accurate quote. If your apartment has a slow elevator system or a long flight of stairs, movers will charge extra for the time spent navigating them, which can easily add $150 to your bill depending on the layout.
- Long Carry Fees: Reserve parking close to your entrance ahead of time or ask your building about loading zones. This charge applies when movers must carry your items a long distance from the truck to your front door, usually defined as any distance greater than 75 feet.
- Certificates of Insurance (COI): Many modern apartment complexes require a formal Certificate of Insurance from the moving company before the truck can enter the loading zone. Always ask your property manager about building requirements early so your movers can submit the paperwork ahead of schedule.
- Last-Minute Booking Fees: Schedule your move as early as possible, ideally two to four weeks before moving day, to lock in baseline pricing. Most companies charge a higher premium rate for jobs booked less than a week before the move date, especially during peak summer seasons.
- Valuation Protection Options: Review coverage options early and decide what level of protection you need before signing the contract. Most moving companies offer basic released value protection, but this only covers around 60 cents per pound per item. Upgrading to full-value protection adds to your total, but it's worth it for peace of mind with high-value items.
Ways to Save on the Cost of Movers for Local Moves: Money Saving Tips

Moving is a finance-heavy project, and you wouldn't want to be caught off guard by avoidable expenses. Fortunately, with a few smart decisions, you can stay in total control of your moving budget.
Move During Off-Peak Days
Most people move during peak season, which typically runs from late spring through summer, as well as weekends and month-end dates. Scheduling your move during the off season can help secure lower rates from affordable movers.
Declutter Before Packing
More items mean more money because you need more time and space to move them. A simple way to cut down your moving expenses is to pack only what you actually use. You can dispose of unwanted items by donating, recycling, or selling them before packing.
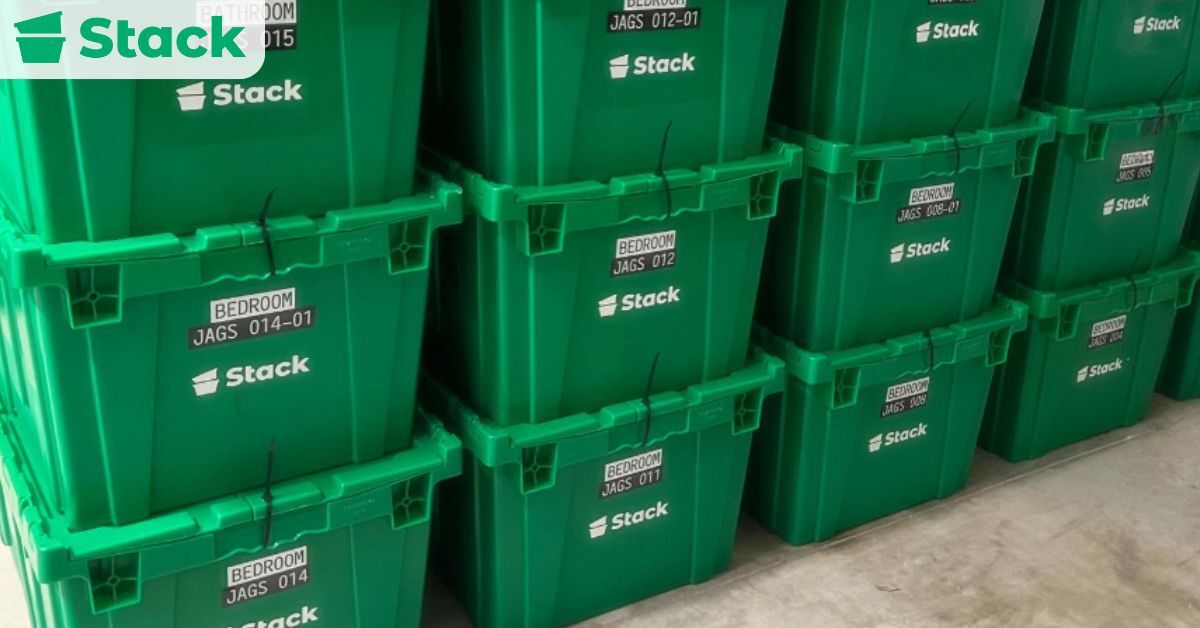
Rent Reusable Plastic Moving Bins
Renting reusable plastic bins is an incredibly easy way to save money. Plastic bins are sturdy, waterproof, and require zero assembly with tape. They are also highly convenient because most rental companies deliver them right to your address and pick them up from your new location when you are finished unpacking.
Use Free or Recycled Packing Supplies
Buying brand new packing supplies gets expensive quickly. Reusing materials you already have is a great way to cut costs while keeping your move eco-friendly. For instance, you can easily substitute bubble wrap and packing paper with household items like thick bath towels and warm blankets to keep fragile items perfectly safe.
Compare Quotes from Multiple Moving Companies
Never go with the first price you receive because every business operates on a different pricing structure. It is advisable to get at least three detailed quotes from different companies for comparison. This gives you a clearer picture of what you are paying for and helps you spot any inconsistent fees. This is also one of the best ways to identify reputable movers and avoid companies that advertise unrealistically low rates.
Ask About Flat-Rate vs. Hourly Pricing
Be sure to ask for both pricing options and choose the one that makes the most sense for your home layout. For complex moves with potential traffic delays, a flat rate protects you from unexpected hourly overages. On the other hand, shorter and simpler studio moves usually cost less when charged strictly by the hour.
Move Items Closer to the Door
In the moving industry, time is money, especially when you are paying an hourly rate. A simple way to save money is to stage your packed boxes near the front door and disassemble what you can before the crew arrives. Even a quick 30 minute preparation can reduce your total labor time and trim your final bill significantly.
8 Red Flags to Avoid When Hiring Movers
The wrong moving company can turn an already stressful move into a complete nightmare. After being a part of hundreds of moves, we have seen firsthand the warning signs that lead to major frustration.
- Extremely Low Rates: Lowball estimates are often used to win your business, only to bombard you with surprise fees on moving day. Some untrustworthy companies may even hold your belongings hostage until you pay the inflated bill. Always compare multiple quotes to spot rates that are abnormally low.
- Lack of Licensing or Insurance: Any professional moving company must be fully licensed and insured. Without these credentials, your belongings and your money are at risk. Always confirm that your moving company is registered with local transit authorities before signing.
- No Written Contract: Always insist on a detailed written contract that outlines every possible detail related to your move, including all services, pricing, and exact delivery windows. A verbal agreement is not enough to hold a company accountable.
- Poor Online Reviews: What past customers say matters. If a company has mostly negative reviews or completely lacks an online presence, it is a major warning sign. Take time to read multiple reviews across independent platforms.
- No Physical Address: A legitimate moving company should have a verifiable, physical address you can look up or visit. If they only provide a P.O. box, it could be a sign that they want to remain anonymous if something goes wrong.
- Demanding a Large Upfront Deposit: While companies ask for a small deposit to hold your date, be wary of anyone who demands a massive sum upfront. If possible, pay by credit card to give yourself fraud protection, and never pay the full balance before the job is done.
- Lack of Transparency: If you notice your movers dodging questions or being overly vague about their pricing, take it as a warning. Clear communication is a sign of a well-organized business, so skip companies that make you feel uncertain.
- No On-Site Estimate for Large Moves: If your move involves a large home, a simple phone call will not cut it. It is almost impossible to receive an accurate quote without a physical or virtual walkthrough, and skipping this step makes you more likely to get hit with unexpected fees later.
Want to Keep Your Local Moving Costs as Low as Possible?
The cost of hiring movers for a local move can range from a few hundred dollars to several thousand, depending on your home size, inventory, moving distance, and service level. Understanding the factors that influence pricing allows you to compare quotes more confidently and avoid unnecessary expenses.
If you're looking for a simple way to reduce moving costs, our reusable moving bins can help lower expenses while making packing and unpacking faster and more organized. Contact our team today to learn how our moving bin rentals can help make your next move more affordable.
Frequently Asked Questions
Still have questions? Here are some quick answers to common concerns about hiring movers for a local relocation.
Are Moving Costs Negotiable?
Yes, in many cases, local moving companies are willing to negotiate their rates. Some companies offer discounts during off-peak weekdays or mid-month slots, or they might match a written estimate from a direct competitor.
How Much Does It Cost to Move Within the Same City?
The average cost for a local move falls between $300 and $1,500, or $80 to $100 per hour per mover. Local moves are typically priced differently than long distance moves or cross country moves. Price variances are usually a result of the size of your home and how long it takes to complete the loading process.
Do Movers Provide Insurance for Local Moves?
Yes, professional moving companies provide basic liability insurance, but it is limited to a standard rate of 60 cents per pound per item. For high-value items, you can upgrade to full-value protection through the mover or look into third-party moving insurance.
How Far in Advance Should I Book Local Movers?
Aim to book local moving companies at least 2 to 4 weeks in advance, especially during busy seasons like summer or the very end of the month. Booking early gives you ample time to compare prices and lock in the best available rates. If you're considering long distance relocations instead of moving locally, it's often best to book even earlier, especially when working with long distance moving companies.
Is Tipping Local Movers Expected?
Yes, tipping is customary and highly appreciated by hard-working crews. The typical rate is 10% to 20% of the total moving bill split among the team members, or a flat $20 to $50 per mover depending on how difficult the move was.
What Is Included in a Typical Local Moving Quote?
A standard moving quote usually includes labor, transportation, basic furniture protection, and moving equipment. However, additional fees may apply for services such as packing, storage, long carries, stairs, or specialty items. Always review the estimate carefully so you understand which services are included and whether there are any potential hidden fees.
How Many Movers Do I Need for a Local Move?
The number of movers required depends on the size of your home and the amount of furniture being transported. Small apartments can often be completed by two movers, while larger homes may require three or four movers for efficiency. Hiring the appropriate crew size can help save time and may even lower your overall moving costs by reducing labor hours.