What to Do With Moving Boxes: 12 Practical Tips and Ideas
We understand how overwhelming it is to think about what to do with that mountain of cardboard when you just want to relax in your new space. After your move you can either keep, sell, or give them away. To help you clear the floor and get back to your life, we have put together 12 creative ways to handle your leftover supplies after your move.
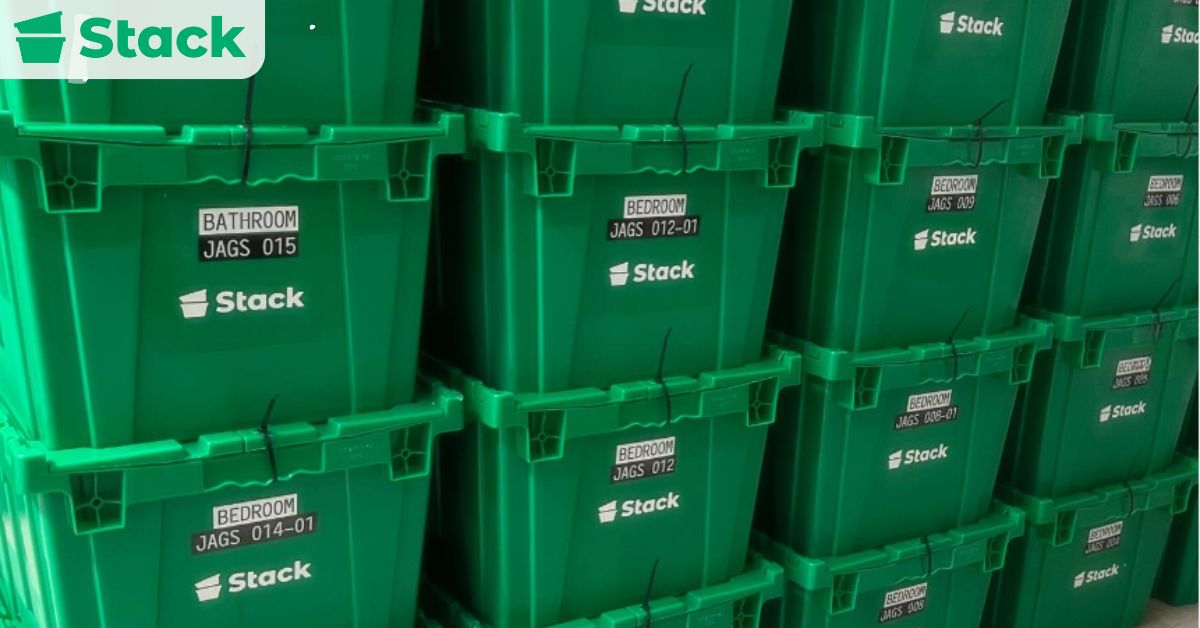
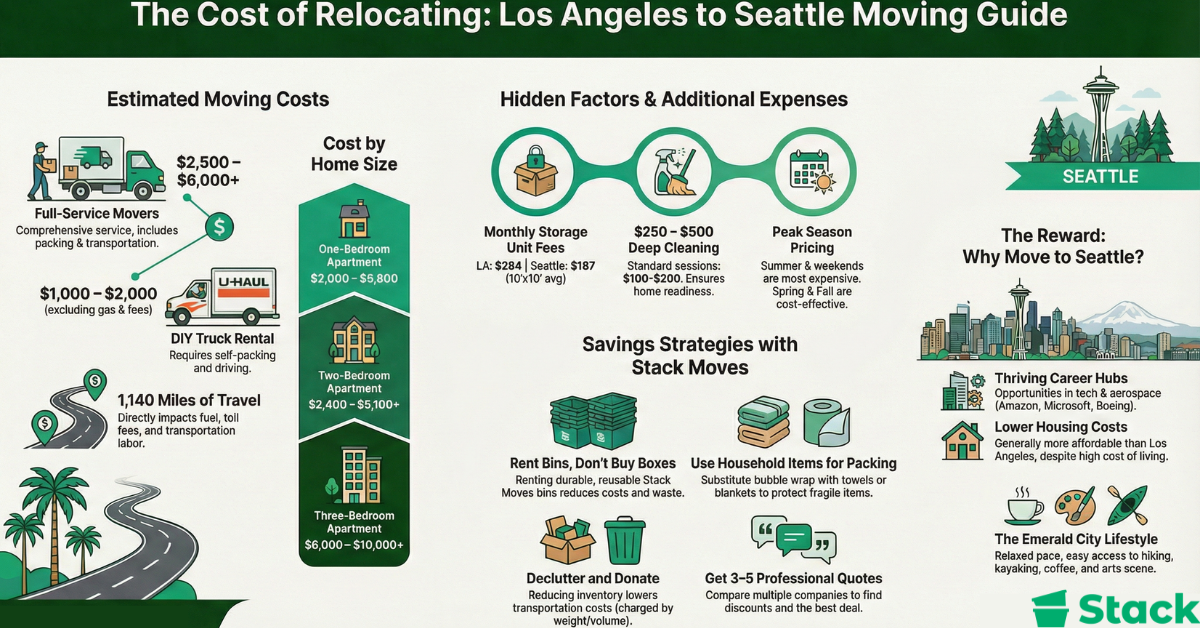
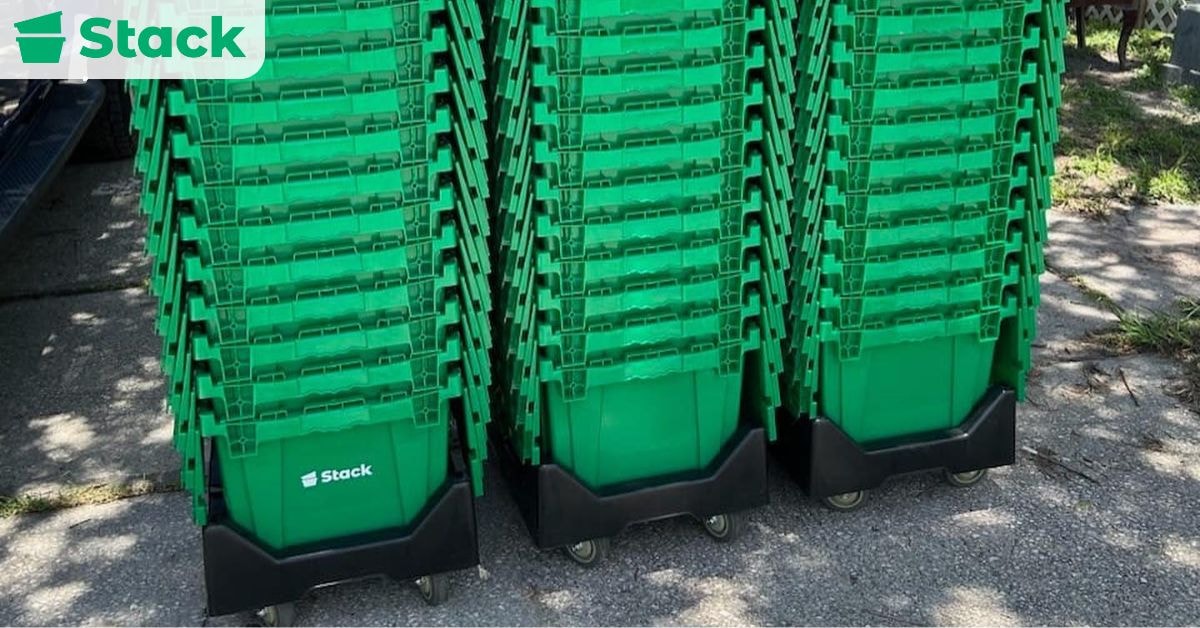
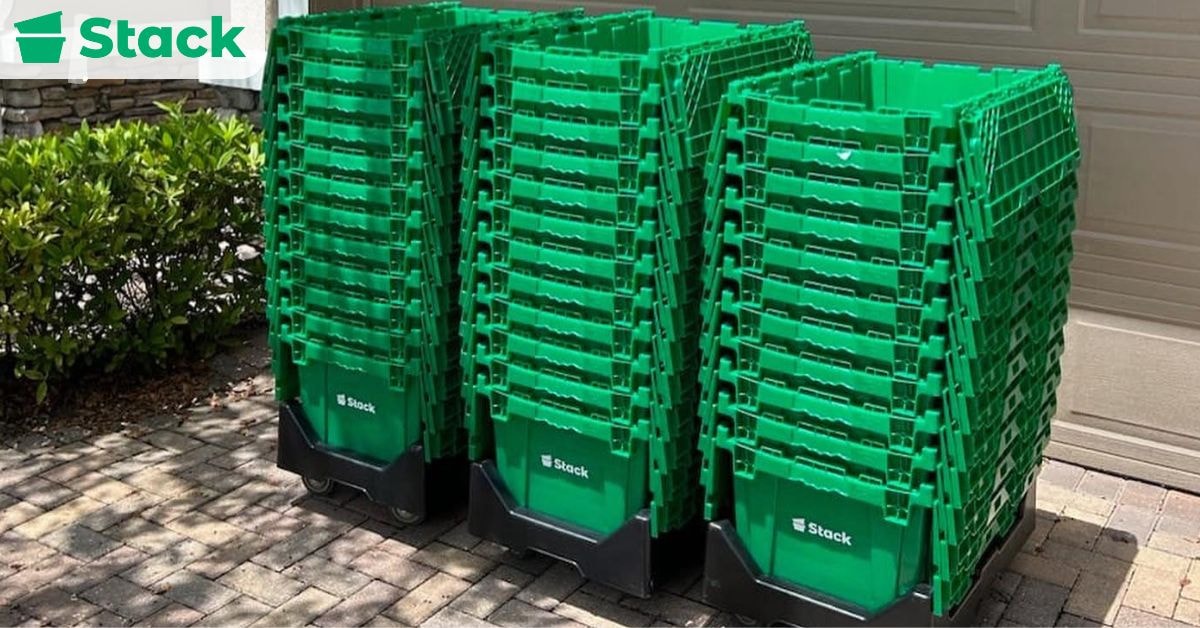
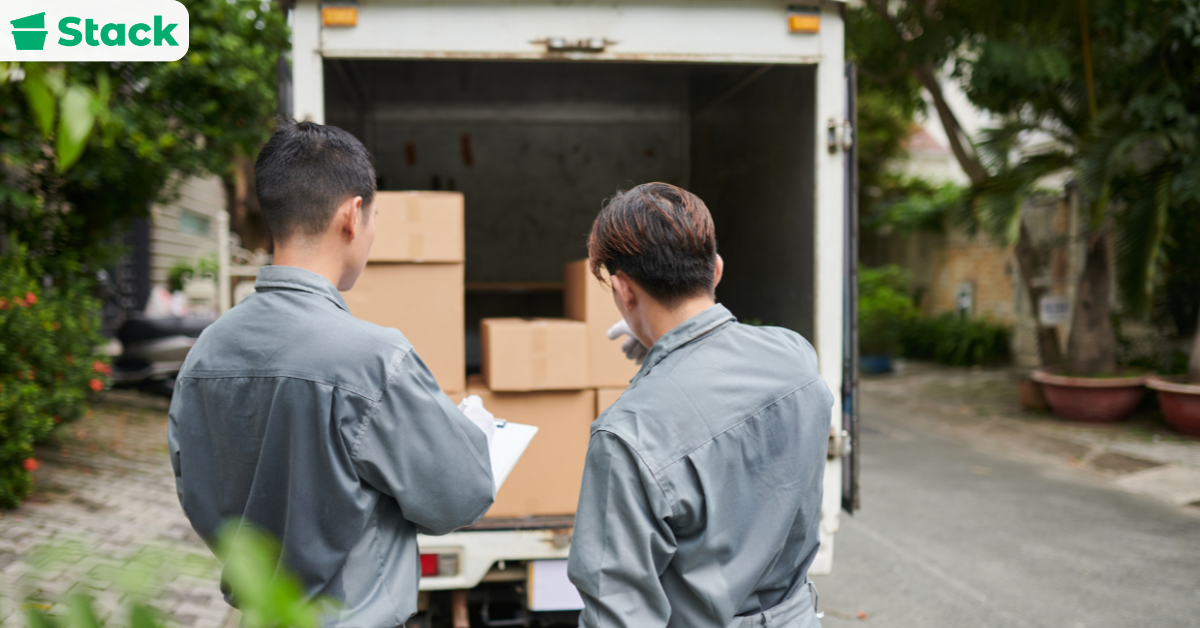
Rental services like Stack Moves have helped thousands of people enjoy a stress-free move with their reusable moving bins for rent. These boxes are a convenient and cost-effective moving solution that help you eliminate the stress of decluttering after a move. To get started on your hassle-free move contact us today.
In this blog, we will explore the best ways to handle your moving boxes after you move. We’ll also cover how to organize and recycle them properly, so you can clear your space without hurting the environment.
What To Do With Moving Boxes After Moving
The method you choose to dispose of your boxes should depend on how many boxes you have, how soon you need them gone, and whether you’re planning another move. Here are twelve ways to handle your leftover boxes after the move:
What to Do With Boxes After Moving | 8 Practical Ways
You’ve finally moved into your new space, and now you’re left with a mountain of boxes and no clear idea of what to do with them. The method you choose to dispose of your boxes should help you free up space, reduce waste, or even earn some extra money. Here are eight ways to handle your leftover boxes after the move:
1. Use Boxes for Storage
If your boxes are still in good shape, use them to keep seasonal decorations, holiday supplies, or items you don’t use every day. Clearly label each box so you can find what you need later, and store them in a dry space to prevent moisture or pests from damaging your belongings. To keep things organized, stack your boxes on top of each other. But be sure not to overfill them so they don’t end up crushing what’s inside or collapsing under pressure.
2. Save Boxes for Future Moves
If you think you might move again, you should consider holding onto your best boxes. When you’re ready to move again, you’ll be glad you didn’t have to buy new ones. You can flatten them and store them neatly in a closet, attic, or garage to save space. You don’t want to save weak boxes that will fail you later. So be sure to keep only the boxes that are sturdy and free from water damage or tears.
3. Use Boxes for DIY Projects
You can turn your boxes into simple furniture pieces or creative home projects. If the boxes are strong and thick, you can use them as temporary nightstands, bookshelves, or plant stands. But first reinforce them with tape and avoid placing anything too heavy on top of the boxes. You can also decorate them with paint, wallpaper, or fabric to make them blend into your space.
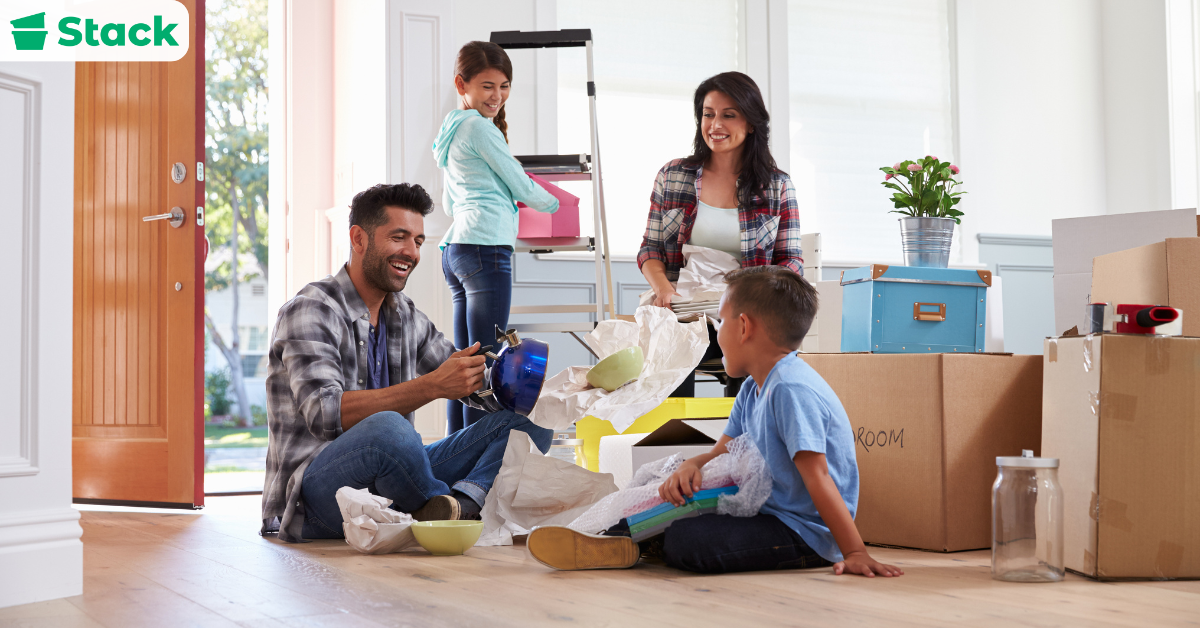
4. Organize Toys & Craft Supplies
You can use your boxes to organize toys, art supplies, or office items. You’ll get the benefit of keeping your space clutter-free without buying new storage bins. Choose boxes that are clean and sturdy so they last longer. You can divide larger boxes into smaller sections to separate markers, brushes, or small toys. And also label each section so it’s easier for you or your kids to find things quickly.
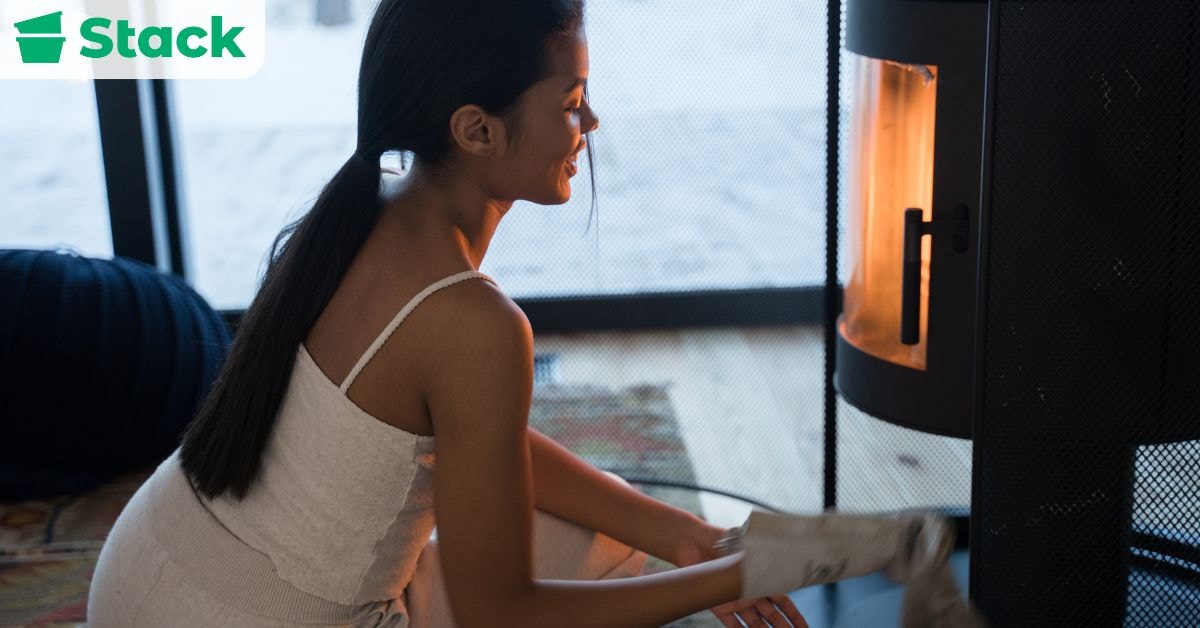
5. Use as Fire Starters
If the boxes are torn, bent, or no longer sturdy, you can still use them as fire starters. You don’t need them to be in perfect condition for this. Just tear them into small strips and use them to help get your fire going. However, you should remove tape, plastic coatings, or glossy sections first to avoid harmful fumes. This is a simple way you can reuse damaged boxes instead of throwing them away immediately.
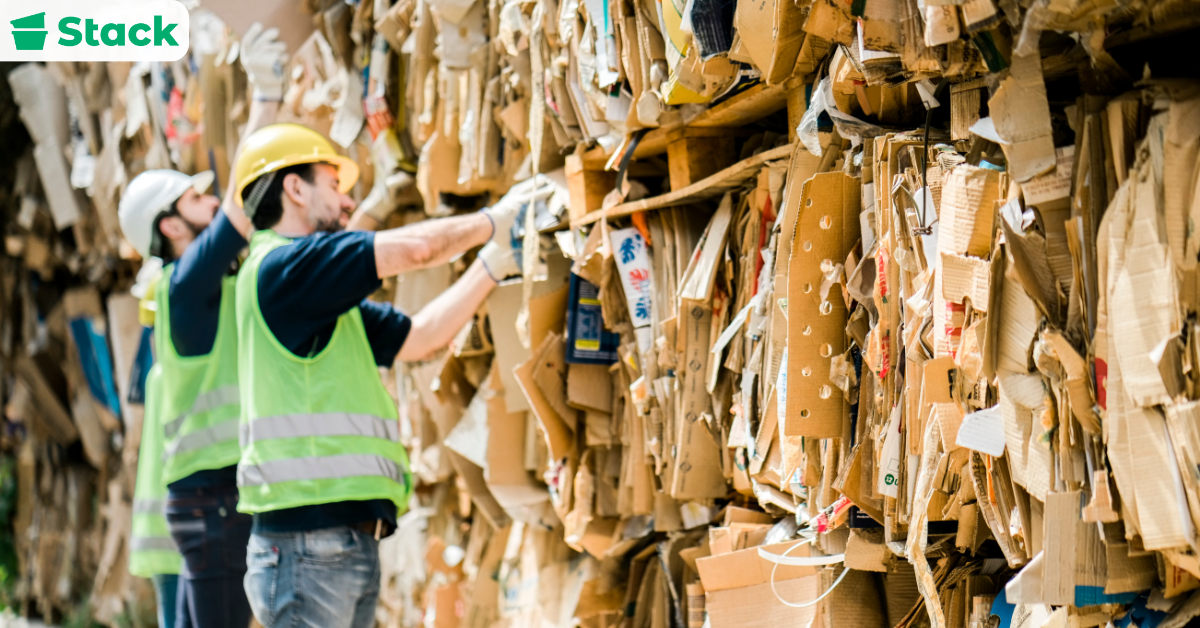
6. Recycle Your Boxes
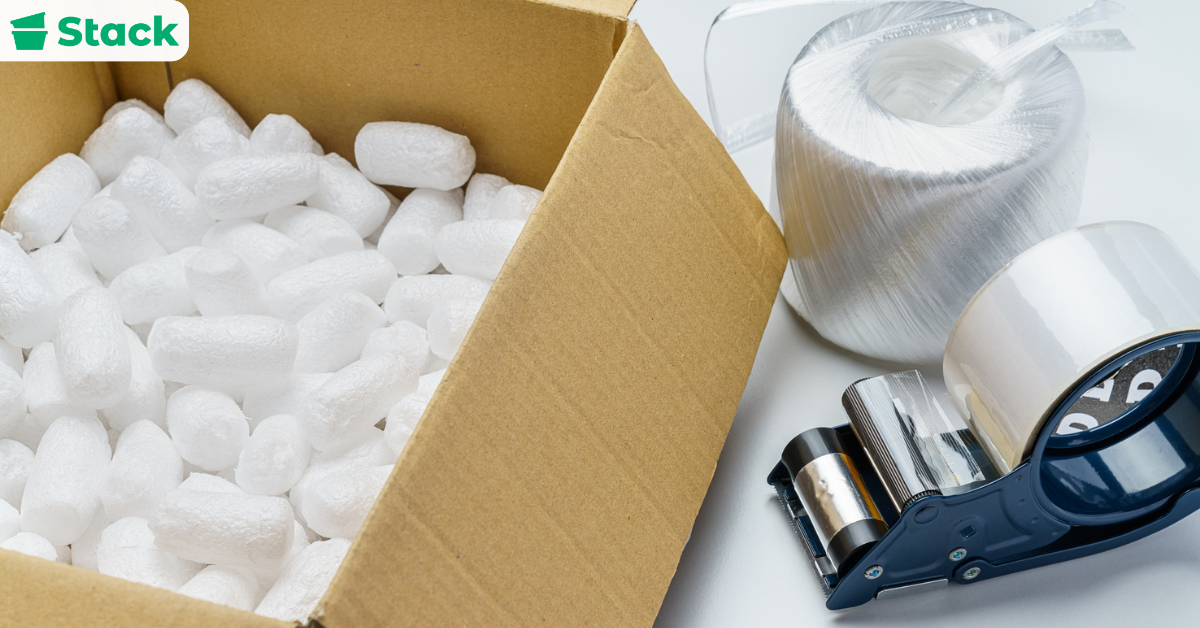
There is a right and wrong way to recycle. Start by breaking down your boxes so they take up less space and are easier for the recycling centers to deal with. Be sure to clean your boxes and check if they have any contaminants and grease because they can mess up the recycling process. Also, remove non-recyclable materials like plastic liners and anything else that could make recycling the boxes more difficult.
Remember that your boxes aren’t the only thing you can recycle; other packing supplies like crinkle paper and bubble wrap can also be recycled. If you need more clarity on what you can and can’t recycle, get in touch with your local recycling center.
7. List Your Boxes on Freecycle
You can post your boxes on Freecycle, Nextdoor, or similar neighborhood apps for free. Be sure to include the sizes and condition of these boxes so people know what to expect. Most of these platforms allow you to arrange a simple porch pickup to make things easy.
8. Give to Local Businesses
You can reach out to small businesses that ship products regularly to ask if they’d like some good-quality boxes at no cost. Many of them are happy to reuse sturdy boxes to cut down on packaging costs. Especially because this is a win-win situation for both of you. Just make sure the boxes are clean and strong enough for shipping.
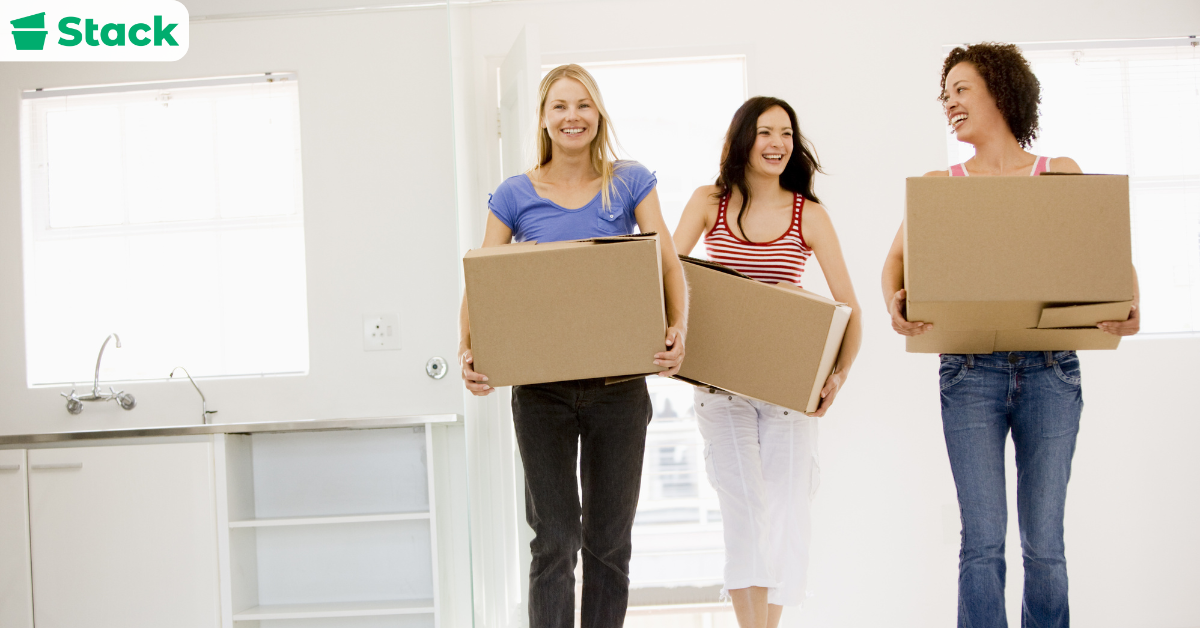
9. Give to Friends or Family
You can ask your friends, family members, or neighbors if they’re planning a move soon. Someone you know may be looking for boxes and would appreciate being handed free moving boxes. Not only does it save them money, but it also saves you a trip to the recycling center.
10. Give to Community Centers
You can contact local community centers to see if they need boxes for storage or events. Community programs often appreciate practical donations like this. Plus, you’ll get to free up your space while supporting something positive in your area. Take time to accurately describe the sizes and condition of your boxes so they know what you’re offering.
11. Donate to Schools or Daycares
You can offer your boxes to schools or daycare centers for crafts and classroom projects. Teachers often use cardboard for art activities or creative play. You should make sure the boxes are clean and free from staples or sharp edges. Kids can turn them into forts, cars, or science projects. Your leftover boxes could easily become part of a fun learning activity.
12. Donate to Charities
You can donate boxes to local charities or nonprofit organizations as a simple way you can help others while decluttering your home. Many of them use boxes for storage, organizing donations, or even moving supplies. Make sure the boxes are in decent condition so they can actually be reused.
How to Recycle Moving Boxes Properly
Start by peeling off all packing tape and shipping labels, as these adhesives can gum up the machinery at processing plants. If your boxes were reinforced with heavy-duty staples, be sure to pull those out as well.
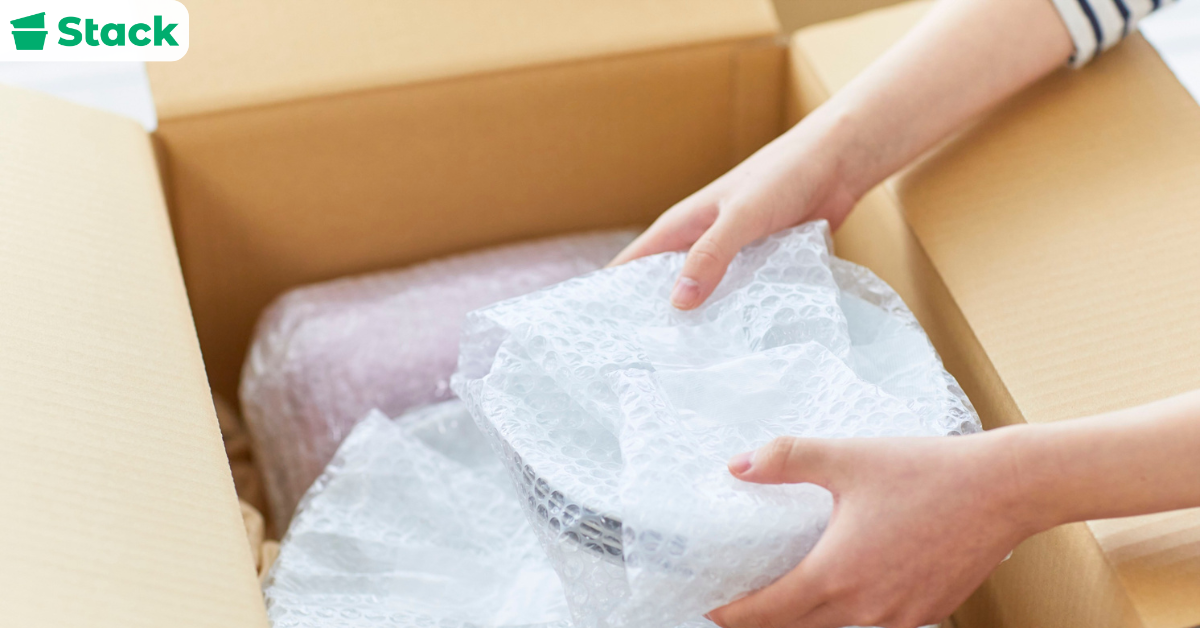
The most important step is to flatten every box completely. This saves space in the collection truck and makes the sorting process much faster. Before you stack them, check for any contamination like oil spills, food waste, or chemical leaks. Cardboard that is soaked or greasy isn’t suitable for recycling and should be set aside. You also need to separate any non-recyclable materials, such as foam inserts or plastic film, from the clean paper fiber.
Local recycling guidelines vary from one city to the next, so it is always wise to check your specific municipal rules. Some areas offer convenient curbside pickup, while others might require a trip to a dedicated drop-off center. If a box is too damaged for the bin, consider eco-friendly alternatives like composting it in a garden.
Where to Donate or Sell Used Moving Boxes After Moving
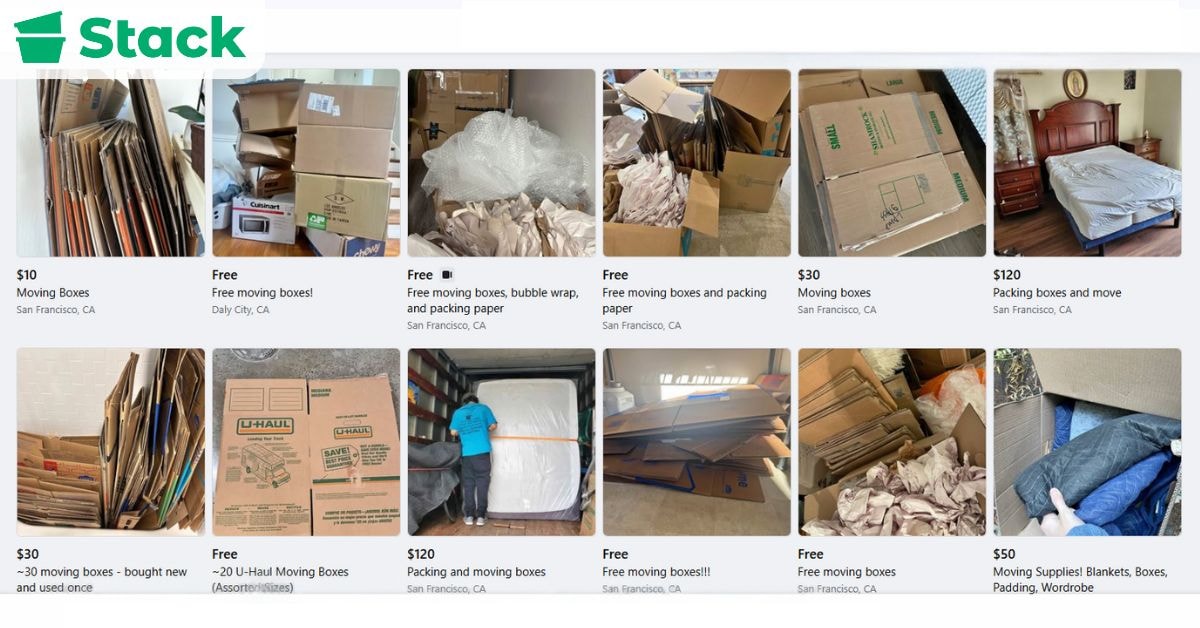
If your boxes are still in good condition, selling them is a great way to recoup some of your packing costs. Online marketplaces like Facebook Marketplace, Craigslist, and OfferUp are perfect for this. Some specialized companies like BoxCycle and UsedCardboardBoxes.com even buy back used boxes in bulk if they are in premium condition.
If you prefer to pass them along for free, donation is a seamless way to help out your neighbors. Local charities like Goodwill, food banks, and community shelters are frequently in need of reliable containers for organizing their own supplies. You can also post them on Freecycle or Nextdoor, where they will likely be snatched up within hours by someone planning their own move.
For businesses with a larger volume of materials, looking into a local box exchange program like BoxCycle or The Freecycle Network is a professional way to manage the overflow. These platforms connect companies that have excess packaging with those that need it, creating a sustainable loop that benefits everyone involved.
How to Organize Your Moving Boxes After You Move
Moving is just the beginning; you still have to arrange everything you came with, including your moving boxes and other packing materials. Knowing how to organize your moving boxes properly helps you save space and makes future moves easier. Here are four tips to help you keep things tidy and manageable:
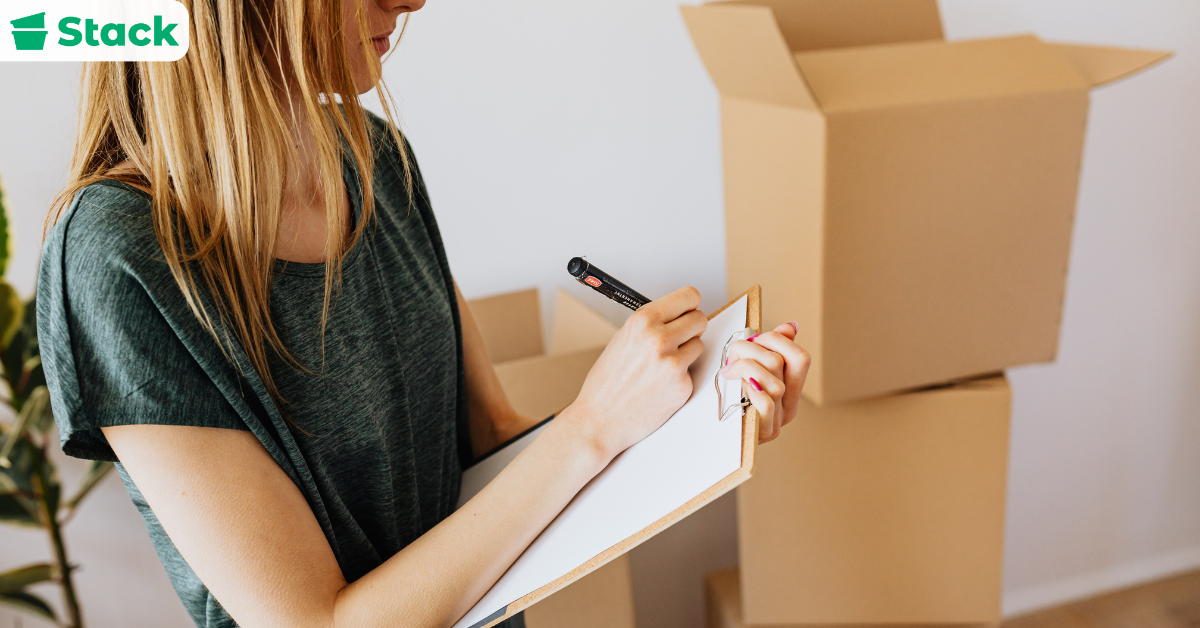
- Assess the Condition of the Boxes: Before you actually start organizing your boxes, take a moment to inspect them. Check if the boxes made it through the move unscathed or if they sustained some damage. Only keep sturdy moving boxes (boxes still in good condition) since they can be reused in the future.
- Sort by Size and Type: To arrange your boxes by size, stack smaller ones on top of the larger ones to maximize space. Also, group them by type to make finding a box easier when you need it. For instance, sturdy boxes that can be reused should be kept together, and flimsy ones should be kept in a separate pile.
- Plan for Next Steps: Now that you’ve got all your boxes in one place, decide on what you’re going to do with them. If they’re still in good condition, you could reuse them or give them out to someone who needs them. Damaged boxes should either be recycled or properly disposed of.
- Avoid Leaving Boxes Around the House: Leaving your boxes scattered around the house creates clutter and makes it harder to settle in. When unpacking, try to put things in their proper places at the same time, including the boxes. If you’re having a difficult time getting rid of your boxes all at once, gradually dispose of them over time instead.
Are Your Moving Boxes Still Taking Up Space?
Moving boxes can quickly turn into unnecessary waste if you don’t handle them the right way. That’s why it’s important that you dispose of them properly, whether you choose to reuse, donate, sell, or recycle. Every method we’ve suggested helps you clear your space while staying eco-friendly.
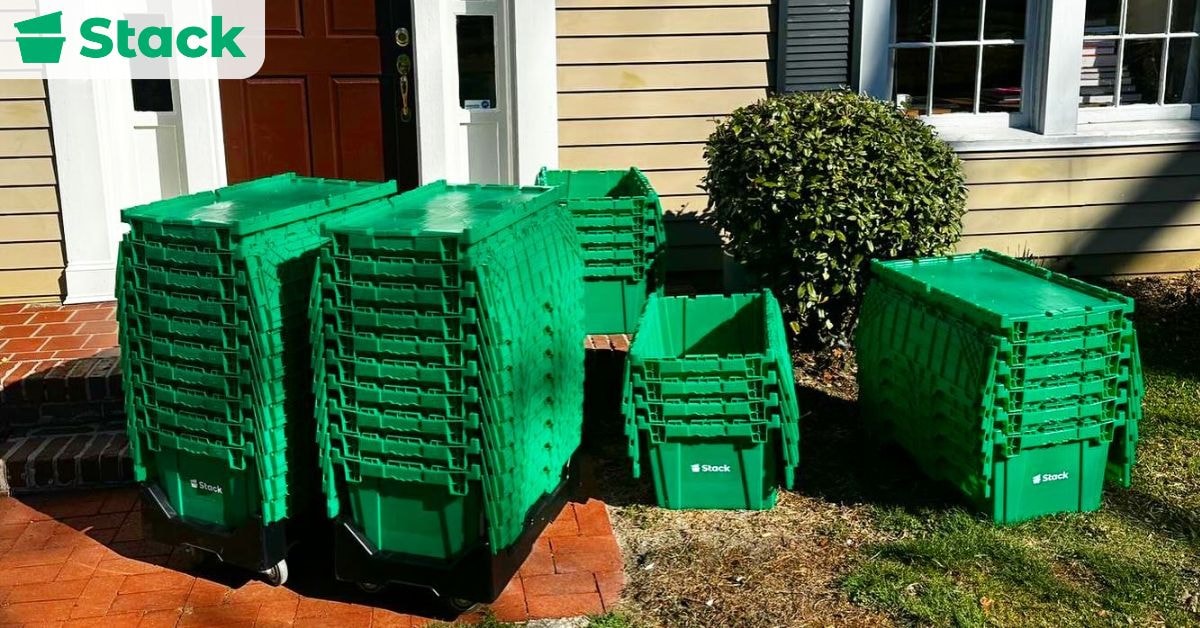
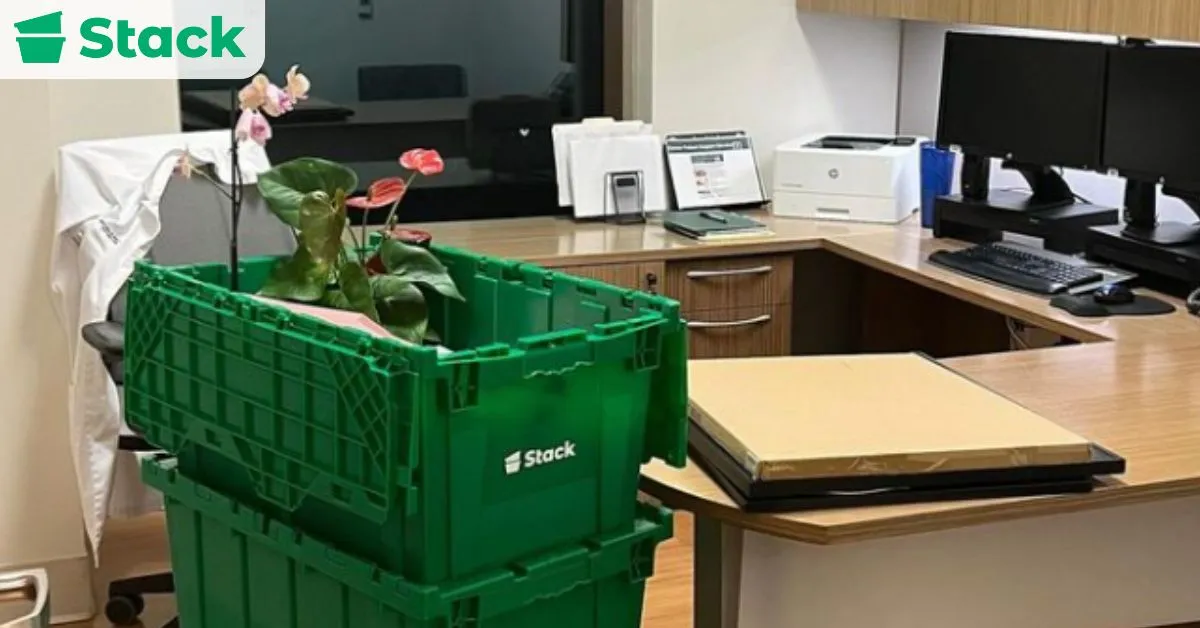
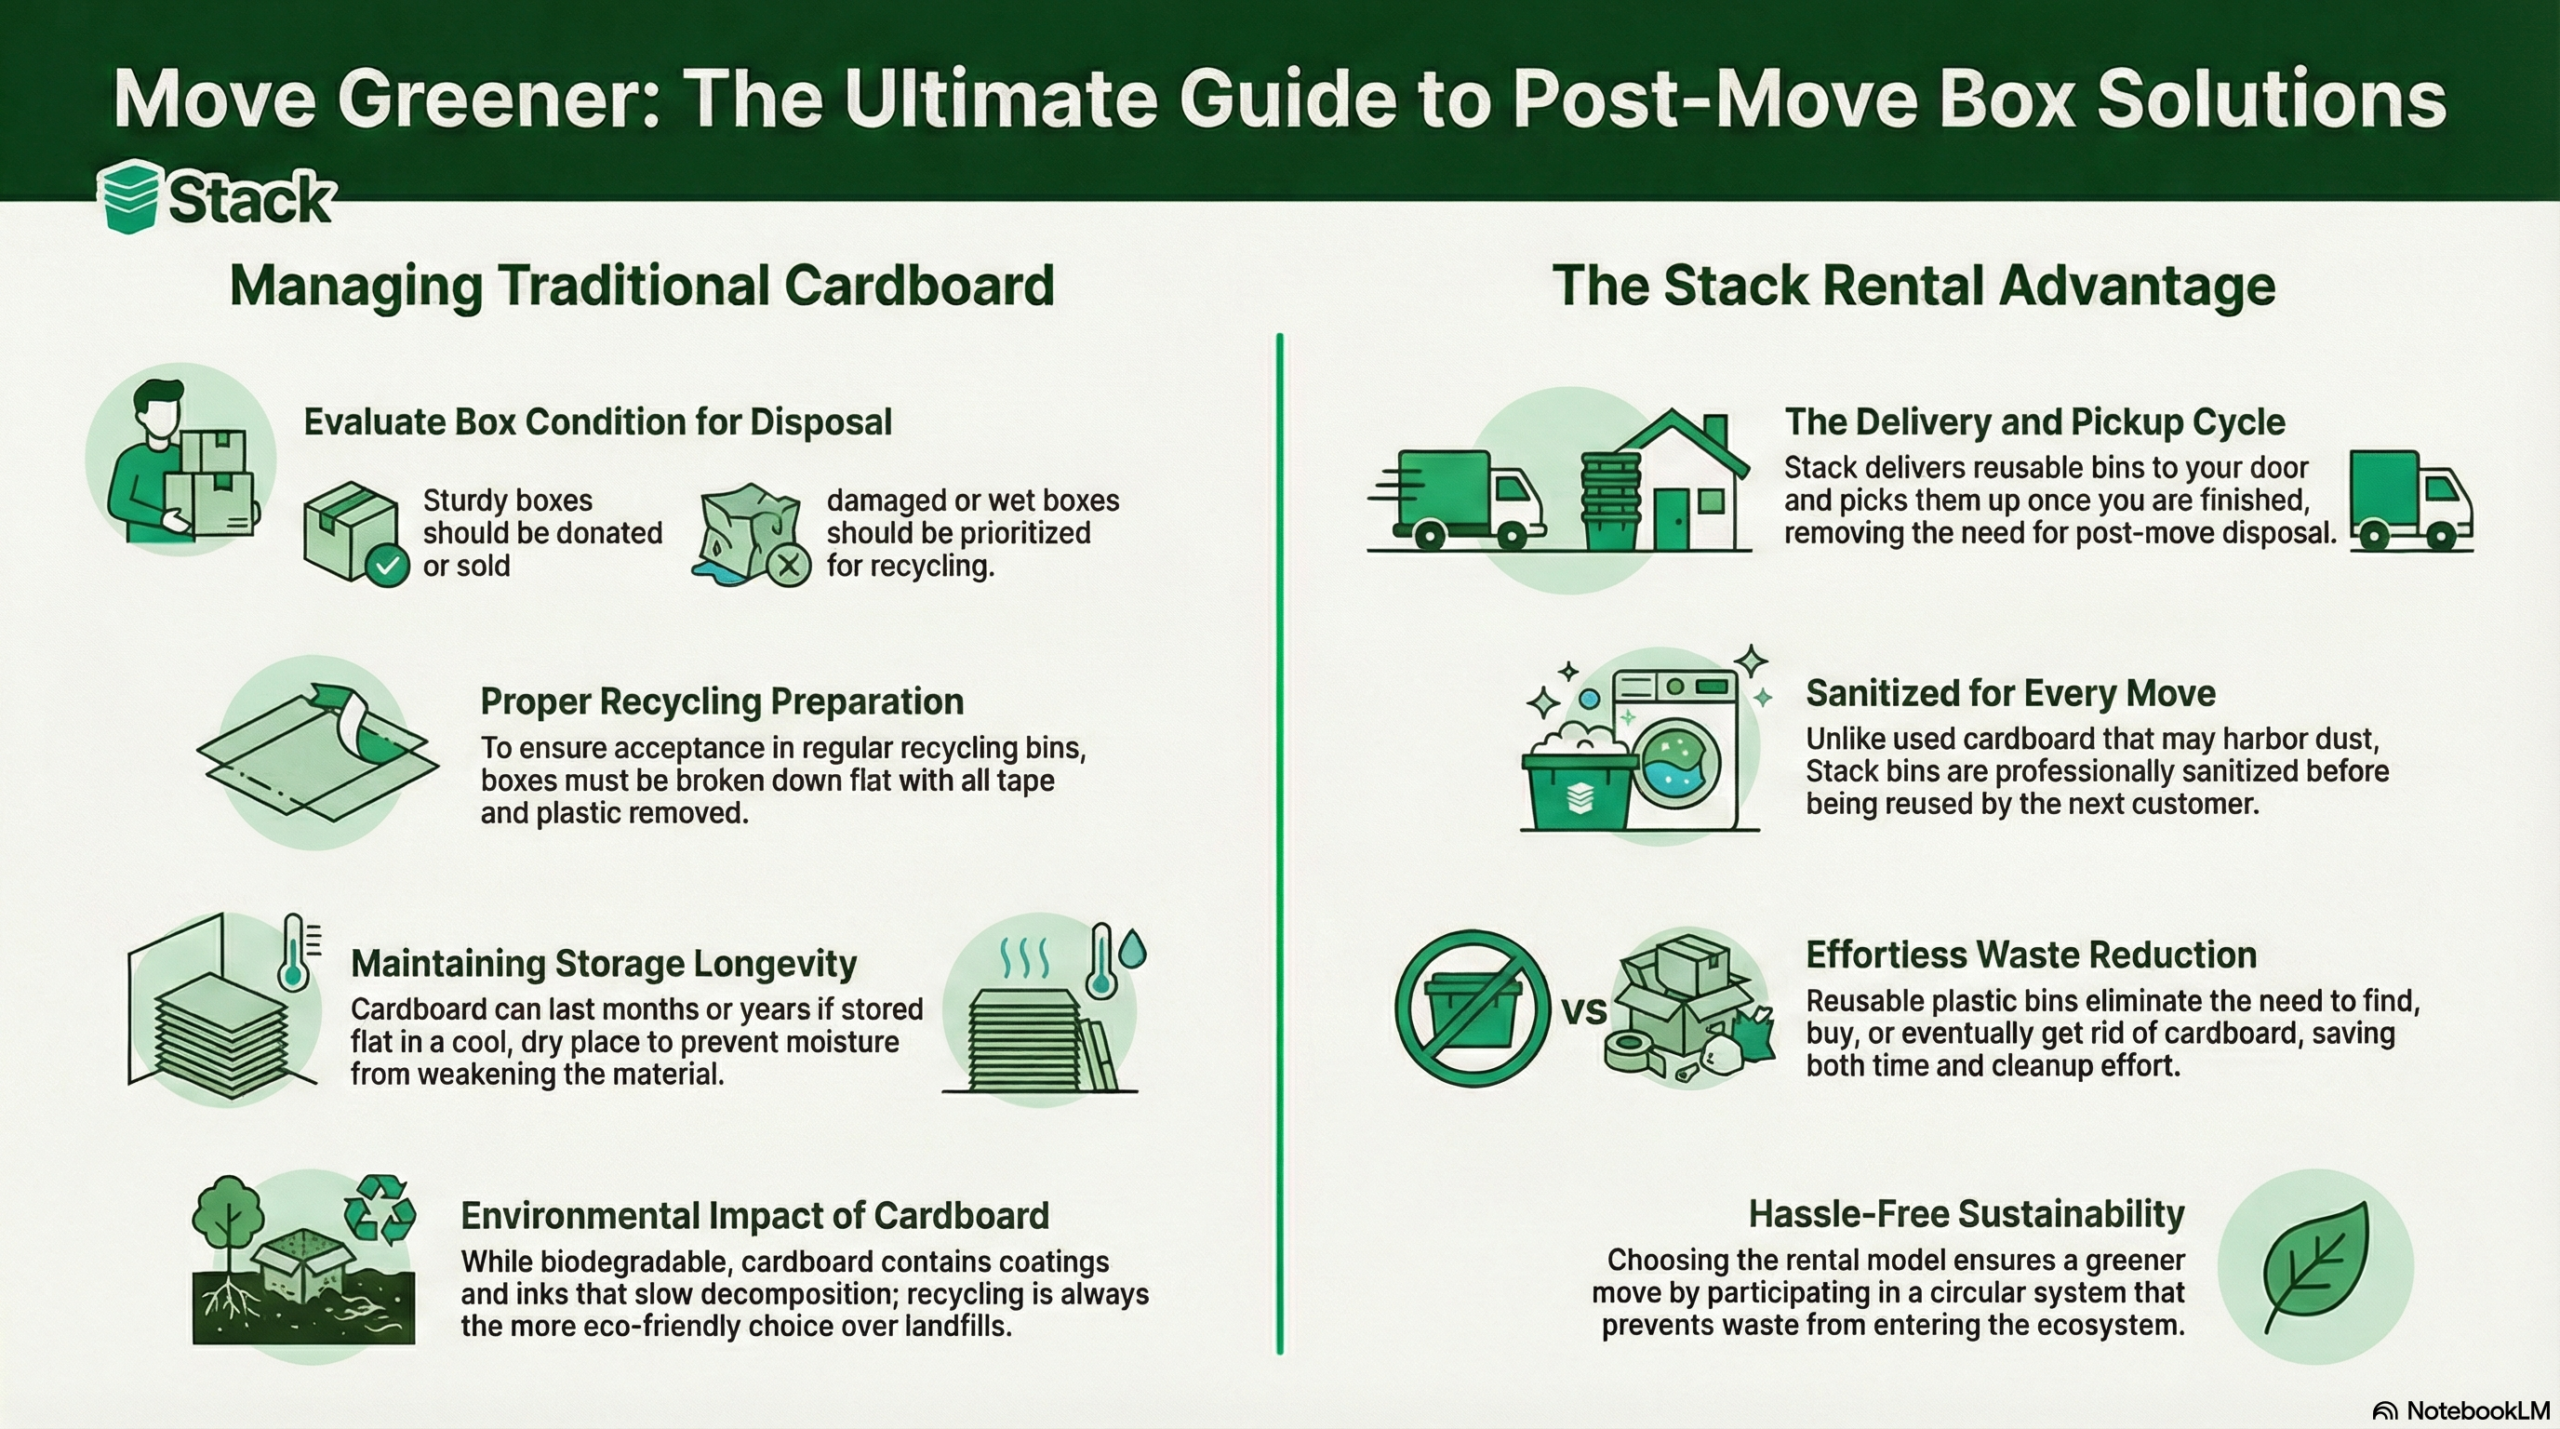
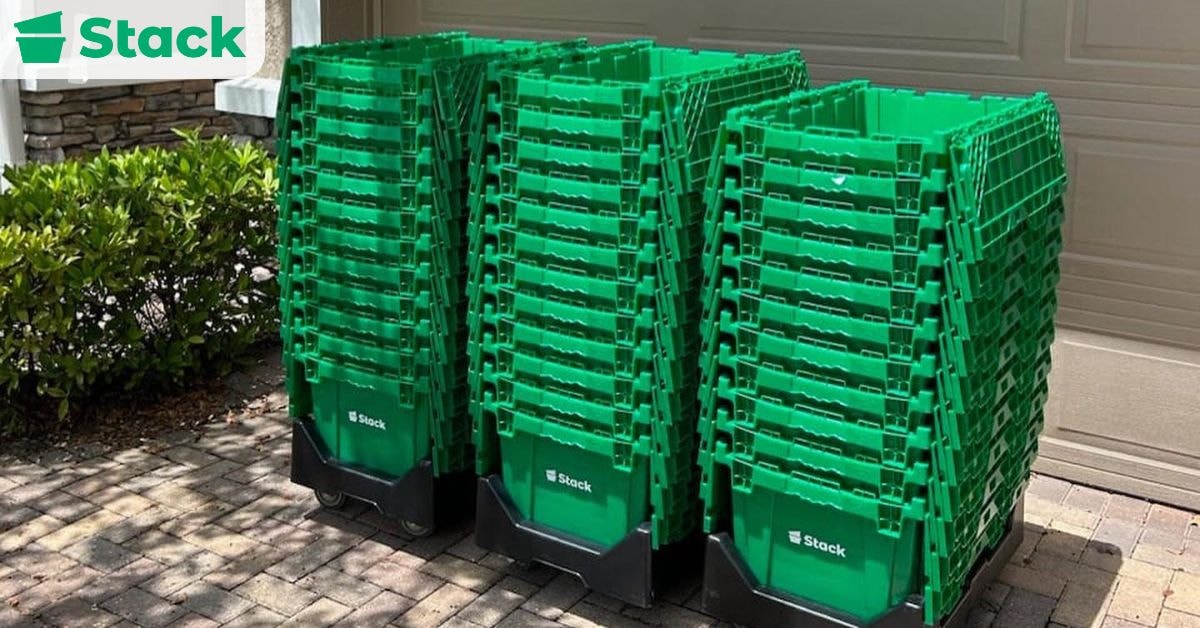
Unlike buying boxes and scrambling to dispose of them after, Stack’s rental model means the bins come to you, get picked up when you’re done, and get sanitized and reused for the next customer. At Stack we help people move easier and greener thanks to our reusable moving boxes. We deliver them to you and pick them up once you’re done. Contact us today to book your moving bins and make your next move hassle-free.
Frequently Asked Questions
Moving comes with a lot of questions, and figuring out what to do with your boxes afterward is no different. Here are answers to some of the most common questions people have about handling their moving boxes after a move.
What Is the Best Way to Get Rid of Moving Boxes?
The best way to get rid of empty moving boxes depends on their condition. If your cardboard moving boxes are still sturdy, you can donate, sell, or give away free moving boxes to someone who needs them. If they’re damaged, recycling unwanted cardboard boxes is usually your best option.
Can Moving Boxes Go In Regular Recycling?
Yes, most cardboard moving boxes can go in regular recycling as long as they’re clean and dry. You should break down empty boxes and remove tape or plastic before placing them in the bin. Greasy or wet cardboard may not be accepted.
Can I Sell Used Moving Boxes?
Yes, you can sell cardboard moving boxes if they’re still sturdy and clean. Many people look for affordable or free moving boxes before buying new ones. Listing them online is a simple way to turn unused boxes into extra cash.
How Long Can Cardboard Boxes Be Stored?
Cardboard boxes can last for months or even years if you store them in a cool, dry place. Moisture and humidity can weaken empty boxes over time, so you should avoid damp areas. Storing them flat also helps preserve their shape.
Are Moving Boxes Biodegradable?
Most cardboard moving boxes are biodegradable because they’re made from paper-based materials. However, coatings, tape, or heavy ink can slow the process. Recycling unwanted cardboard boxes is still more environmentally friendly than sending them to a landfill.
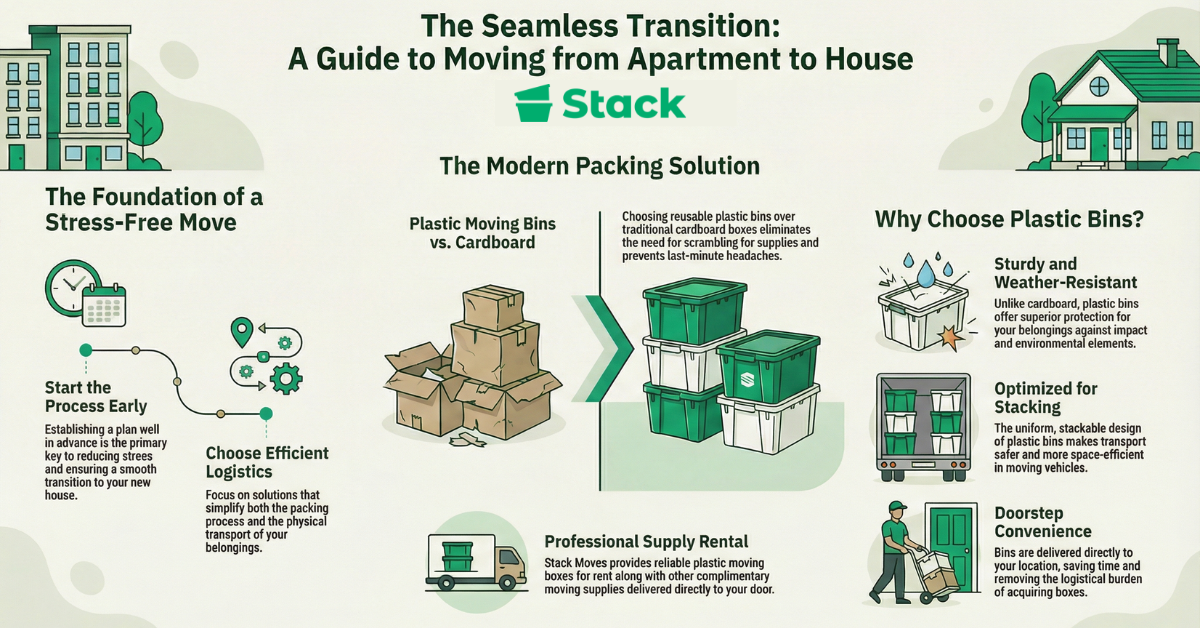
Is It Better to Rent Moving Boxes Instead of Buying?
Renting can be a smart option if you want to avoid dealing with unused boxes after your move. Reusable plastic bins from a moving container service reduce waste and eliminate the need to find free moving boxes later. It often saves time and cleanup effort.