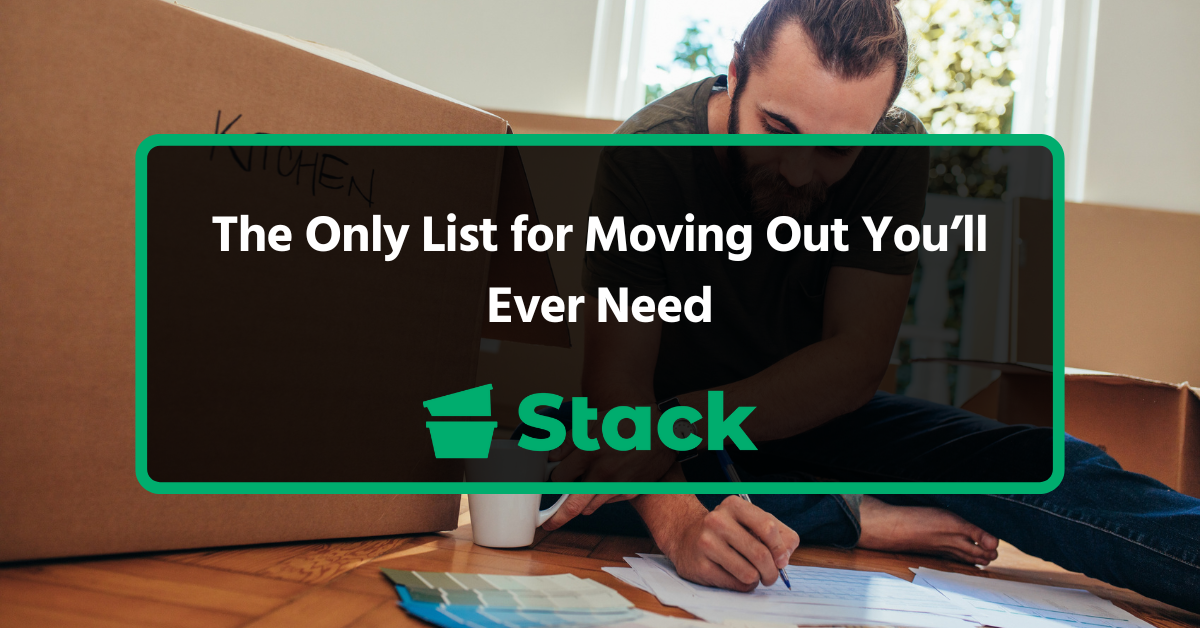
Moving Out Checklist (2026)
Table Of Contents
Complete Moving Out Checklist with Timeline
We used our hands-on experience to build this 30-step checklist that focuses on what actually happens during a move. This roadmap will walk you through every essential task to make sure nothing gets left behind.
8+ Weeks Before Moving
Think of this window as your planning or decision phase. Everything else you do will either get easier or harder depending on what you do now. It’s the best time to lock in your moving date, set a realistic budget, and start cutting clutter so you’re not paying to move things you don’t need. Aim to leave this phase with a clear picture of how you’re moving, what you’re moving, and how much it’s allowed to cost.
1) Decide on your moving date and create a rough timeline: Your moving date is the anchor for every other deadline, from utility shut-offs to truck rentals. We recommend picking a midweek date if possible, as weekends and month-ends are peak times when rates spike and availability reduces. Once that date is locked in, work backward to set your weekly goals so the final days don’t turn into a disorganized mess.
2) Set a realistic budget: Moving costs are notoriously easy to underestimate once you factor in packing supplies, transport, and professional labor. Most people forget to factor in other small but necessary moving expenses, like moving insurance, childcare, and pet transportation. To set up your moving budget, start by deciding on the maximum amount you are willing to spend and then add an extra 10% on top of that total to cover unexpected expenses like parking permits.
3) Declutter your belongings: Reducing your inventory at this stage directly lowers your shipping weight and can significantly lower your moving costs. Don’t forget that one of the major cost-contributing factors of any move is how much you are shipping. So there’s no point paying to transport items you plan to throw away or will never end up using.
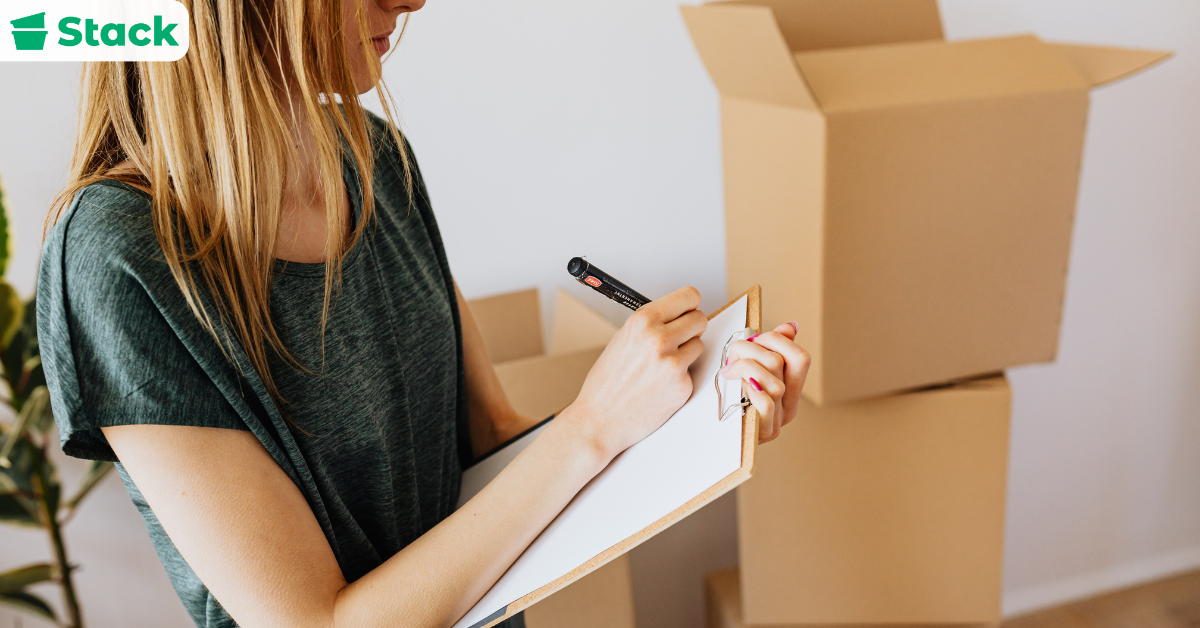
4) Create a moving inventory list: The inventory list should include all the items you plan to move, ideally grouped by room or category. You can note details like the quantity of each item, its condition, and fragile or valuable items. With an inventory list you can estimate how much space you’ll need and plan your packing more efficiently. Plus, it makes it much easier to handle insurance if something gets damaged or lost during the move.
5) Decide how you’re moving (DIY vs. professional movers): Decide early whether you want to handle the heavy lifting yourself or outsource the stress to professionals. While hiring professional movers generally costs more than planning a DIY move, keep in mind that they bring the experience and equipment needed to handle moves safely and quickly. If you can afford it, it is usually worth the investment to hire a crew. But if you’re moving out of a smaller apartment and have a few reliable friends, a DIY move can save you a lot of money. Just be sure to have some snacks and drinks ready to offer as a thank you.
6) Start comparing moving companies or truck rentals: Never settle for the first quote you receive. We advise getting at least three written estimates from different movers to have an idea of what a fair price actually looks like in your area. When you are comparing those quotes, look past the big number at the bottom and scan for hidden extras like stair fees and long-carry charges. Don’t be afraid to speak up and negotiate either. You can often land a better deal by asking for discounts or by bundling your services, like packing and transport.
7) Research packing supplies and moving box options: Decide on your supply strategy now so you have your materials in hand before the first packing session begins. Standard cardboard boxes are the traditional choice, but they often require extra packing tape and reinforcement to stay sturdy. We’ve found that renting plastic moving bins is a more efficient alternative, as they come pre-assembled and offer much better protection for fragile items.
4–6 Weeks Before Moving

Now it’s time to commit. At this stage, you’re taking action on all the plans you made earlier and making sure the logistics don’t fall apart later.
8) Book movers or reserve a rental truck: Waiting any longer than a month is a gamble, especially during peak moving seasons like summer. Locking in your deposit now ensures you don’t have to settle for last-choice providers, as most reputable crews fill up their schedules weeks in advance. Make sure to get your booking confirmation in writing, specifically noting the arrival window and any agreed-upon labor rates.
9) Gather moving supplies: You generally have three ways to go about this. Using free boxes can save you money, but it’s incredibly time-consuming, and there is no guarantee the boxes will be sturdy enough to survive the trip. To get around this, some people opt for buying cheap moving boxes from big-name retailers like Home Depot or Lowe’s. However, you still need to figure out how to dispose of the heap of boxes left after the move. Renting plastic bins is the most convenient way to bypass both of those headaches. They arrive at your door ready to go, and because they are picked up as soon as you are done, you don’t have to deal with the stress of recycling or storing old boxes.
10) Begin packing non-essential items: Knock out the low-hanging fruit by packing away non-essential items like seasonal clothing, guest room linens, and holiday decorations you won’t need for the next month. Clearing out these non-essential zones early reduces the sheer volume of work waiting for you in those final, high-stress days. It also gives you a realistic sense of how much stuff you actually have, allowing you to adjust your box count or truck size if necessary.
11) Notify landlord or property manager if required: Some areas, like Seattle, require a 20-day notice period, and others may ask for up to 60-90 days. But most leases require a 30-day written notice. To avoid the risk of losing your security deposit or paying an extra month of rent, check the specific terms of your contract. Send your notice via email or certified mail so you have a paper trail of your intent to vacate. This is also the best time to request a preliminary walkthrough to identify any minor home repairs needed to ensure you get your full deposit back.
12) Start planning utilities transfer or disconnection: The last thing you want is to arrive at your new home and realize the water or heat hasn’t been turned on. Call your providers now to schedule a transfer of service for your move-in date, and set your current accounts to shut off the day after you move out.
2 Weeks Before Moving
2 weeks is the ideal time to confirm all bookings, update your address, and pack most of your home so you’re not rushing at the last minute. Think of it as your no-surprises window. Your watchword should be, “If it’s not something you use daily, it should already be in a box.”
13) Confirm moving date, time, and services with the movers: Don’t rely solely on an email to confirm a booking. Call your moving company at least a day or two in advance to re-verify the arrival time and ensure they have the correct packing instructions. This phase is also the best time to mention any new hurdles, like a broken elevator or a fresh coat of paint that could change the crew’s approach or the final bill.
14) Submit address change requests: Start with the USPS official change-of-address portal, but don’t stop there. Make sure every institution you interact with has your new address, not just the post office. That means your bank, insurance company, and even employer’s HR department should be aware of your move to ensure tax and health documents aren’t sent to a vacant home. Don’t forget to clear out your “auto-fill” addresses on shopping sites like Amazon or DoorDash to avoid packages being delivered to your old porch.
15) Schedule move-out cleaning or plan a DIY clean: If you’re aiming for a full security deposit refund, your broom-clean effort might not cut it. Decide now if you’re hiring a professional crew for a deep clean or if you’ll be scrubbing oven interiors yourself. If you’re DIY-ing it, build a cleaning kit with heavy-duty degreasers and a vacuum that stays out of the moving truck until the very last second.
16) Pack the majority of household items: By now, your home should look like a staging warehouse rather than a living space. Focus on packing everything except your daily essentials, like one set of towels, basic cookware, and a week’s worth of clothes. This high-volume packing phase is where most damage happens, so resist the urge to rush; use plenty of padding like bubble wrap or packing paper for your “everyday” dishes just as you did for the fine china.
17) Clearly label boxes by room and priority: In our experience, the most effective way to label boxes for moving is using the “top-down” approach. Mark the destination room, the general contents, and a priority tag. For example, “Priority 1” is for the boxes you’ll need to open within the first hour of arrival. Use a thick permanent marker on the sides of the boxes, not just the tops, so you can read the labels even when they are stacked to the ceiling in the truck.
1 Week Before Moving
Your goal here should be to get the heavy lifting done so that moving day is for loading only, not last-minute packing.
18) Pack an essentials box or overnight bag: Treat the first 24 hours in your new home like a camping trip. Pack a dedicated suitcase with three days of clothes, basic toiletries, chargers, and any other thing you’ll need to get by comfortably before you’re fully unpacked. This ensures that even if the moving truck is delayed or you’re too exhausted to unpack, you aren’t digging through fifty sealed boxes just to find your pajamas.
19) Set aside important documents and valuables: Never trust the moving truck with your life’s paperwork. Important documents like birth certificates, school certificates, and even jewelry should be kept in a portable bag that stays in your personal vehicle at all times. If a logistics mishap occurs, having your core identification and high-value items within easy reach can prevent a standard move from turning into a crisis.
20) Finish packing remaining items: Use your leftover packing paper to secure small electronics and loose cords, ensuring every single item is inside a taped-up box before the morning of the move. Professional movers are paid to lift and transport, not to wait while you toss loose items into open bags at the last minute.
21) Disassemble furniture if required: If you aren’t paying for a full-service white-glove move, the clock is ticking on your bed frames and dining tables. Take apart any oversized items now, placing all screws, bolts, and Allen wrenches into labeled plastic bags taped directly to the corresponding furniture piece. This “pre-work” saves hours of labor on moving day and prevents the crew from charging you extra for technical assembly.
Moving Day
Your biggest concern should be making sure nothing gets left behind and that fragile or valuable items are handled properly. Try not to disappear so you can guide your movers and answer any questions they may have as the move progresses.
22) Perform a final walkthrough of the home: Check every hidden spot. It’s easy to overlook items tucked away in the very back of deep kitchen cabinets or overhead garage racks. Go through areas that are easily overlooked, like the high shelves in the laundry room, the back of the dishwasher, and the floor of the coat closet. Open every single door and drawer one last time to confirm nothing has been missed during the morning rush. One final sweep ensures you aren’t leaving behind a crucial charger or a set of spare keys that will be a nightmare to retrieve once the locks are changed.
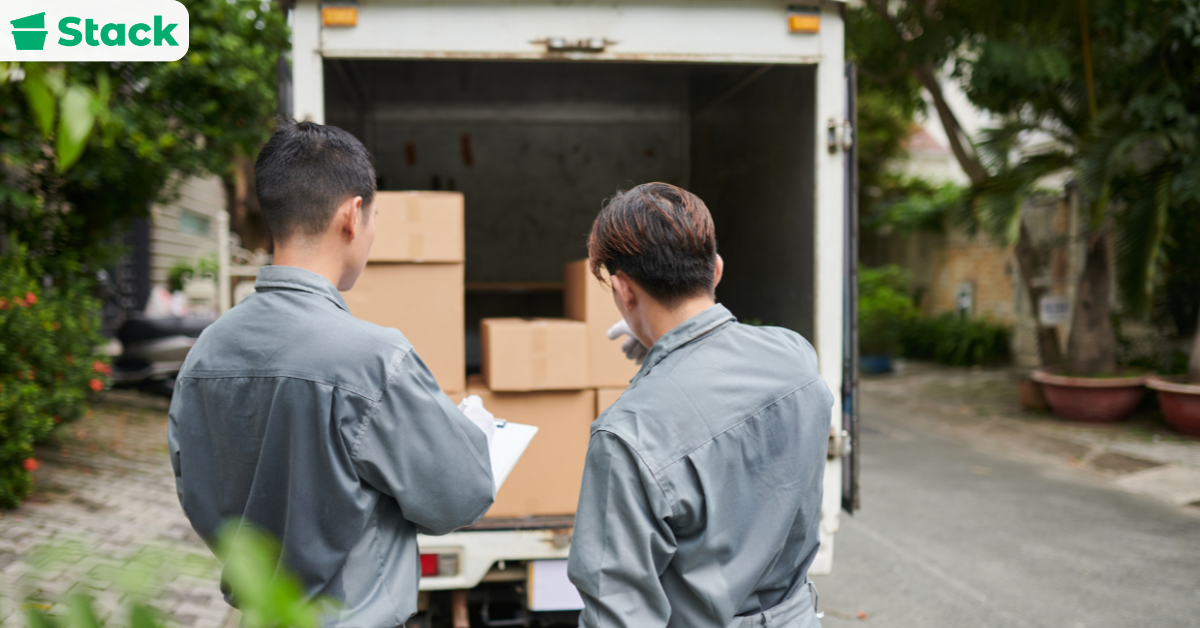
23) Supervise loading and confirm box labeling: You might be one of the many people who aren’t sure what to do while movers are moving your stuff. The simple answer? Be available. Stay present to guide the movers on which items are fragile and ensure the “Priority 1” boxes are loaded last so they are the first off the truck at the new house. But also try to stay out of their way so they can do the job you paid them for. You can also offer them refreshments and just try to ensure they have all they need to get their job done efficiently.
24) Take photos of empty rooms for records: Once the last box is out, use your phone to document the condition of every room, focusing on floors, walls, and any appliances staying behind. These photos serve as your time-stamped evidence in case a landlord tries to claim damages that occurred after you handed over the keys. It’s a five-minute task that provides massive legal protection for your security deposit.
25) Lock doors and windows before leaving: Before you pull out of the driveway for the last time, do a final lap of the exterior and interior to secure the property. Ensure all windows are latched, the thermostat is set to an energy-saving level, and every exterior door is properly locked. Confirming the home is secure is the final step in officially transferring responsibility back to the owner or the next resident.
After You’ve Moved Out
The move isn’t officially over until the boxes are gone and your security deposit is back in your bank account. Use this time to inspect your new home for any damages, start unpacking, and figure out what to do with your moving boxes.
26) Unpack essentials first: The temptation is to start with the big furniture, but your first priority should be the survival items in your overnight bag. Set up the beds, unpack the toiletries, and get the kitchen basics ready so you can eat and sleep comfortably after a grueling day. A functional bathroom and a made bed are the two biggest factors in reducing post-move exhaustion during the first 24 hours.
27) Confirm utilities are active at the new home: Run a quick test of the taps, lights, and HVAC system in your new home immediately upon arrival to ensure the transfer was successful. If the hot water isn’t running or the internet technician hasn’t shown up, you want to address it with the provider while it’s still business hours.
28) Return keys, access cards, or garage remotes: Failing to return every piece of access hardware can lead to hefty replacement fees deducted from your security deposit. Bundle all keys, gate fobs, and garage openers into a labeled envelope and hand them directly to the property manager or leave them in the agreed-upon lockbox. Take a quick photo of the returned items as proof of delivery to avoid any “missing key” disputes later.
29) Confirm utility shutoffs at the old residence: Log into your utility portals or call your old providers to confirm that your stop-service orders were processed for the day after your move. You want to be absolutely certain that the account is closed and that you aren’t being billed for the new tenant’s electricity or water usage. This final check prevents zombie bills from popping up in your mailbox months down the line.
30) Follow up on security deposit return: Most states have a legal window (usually 14–30 days) in which a landlord must return your deposit or provide an itemized list of deductions. Set a calendar reminder to check in with the property manager if you haven’t received your funds or a statement within three weeks. Having your “move-out photos” ready at this stage gives you leverage if any unfair charges appear on the final settlement.
Cardboard Boxes vs. Plastic Moving Boxes: Which is Better?
Knowing how to pack is a great start, but if your supplies are flimsy, your belongings will be in ruins by the time you reach your new home. In our opinion, high-quality materials are the only thing standing between your dishes and a cracked mess, so choosing the right gear is the most important decision you’ll make. Most people instinctively reach for cardboard because it is the traditional choice, but more movers are shifting to plastic moving boxes. But are plastic boxes really better than cardboard boxes?
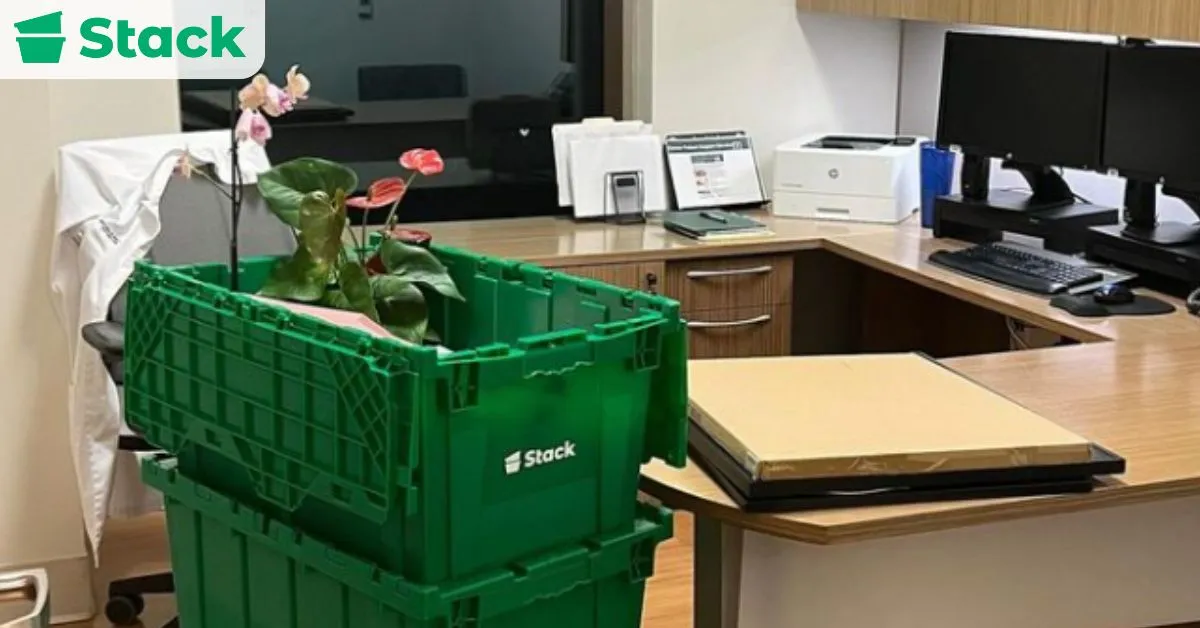
In most cases, plastic boxes are often the better option because their rigid walls are crushproof. They are also completely waterproof, so you don’t have to worry about a sudden rainstorm turning your boxes into a soggy disaster on the sidewalk. And since they are reusable, you won’t have to deal with deciding what to do with the mountain of boxes you’re left with after moving.
Despite these benefits, there are still some instances where cardboard boxes are the better option. For example, when packing very awkwardly shaped items like floor lamps, a traditional box might be necessary. Our advice is to use a mix of plastic boxes for the bulk of your move and then keep a few cardboard boxes on hand for the oddballs.
5 Expert Moving Tips That Can Save You Money, Time, and Stress
We’re sharing a few of the most overlooked details that usually cause the most frustration on moving day. These expert tips are designed to help you sidestep those common headaches and keep your entire move running as smoothly as possible.
1. Measure Furniture and Entryways in Advance
Before moving day, confirm that large furniture will actually fit through doorways, hallways, and stairwells at your new place. Don’t assume your sectional or king-sized headboard will glide through your new front door. Measure your largest pieces and the narrowest hallways or stairwells at the new place before the truck arrives. Catching these tight fits early gives you the chance to disassemble furniture or find a new home for items that won’t fit, saving you from a mid-move meltdown on the sidewalk.
2. Back Up Important Files and Keep Documents With You
Moving is physically rough on electronics, and boxes can occasionally go missing. Back up your computer to the cloud or an external drive, and keep a dedicated bag for your most sensitive items. Things like your driver’s license, passport, lease, and medical records should stay in your sight at all times rather than being buried in a box on the back of a truck.
3. Use Up Pantry and Freezer Items Before Moving
The less food you have to move, the better. Half-used bottles and frozen goods are heavy, prone to leaking, and a pain to keep cold during a long day. Start “eating down” your kitchen two weeks out by planning meals around what you already have, which reduces your load and saves you money on groceries during a busy month.
4. Protect Floors, Walls, and Doorways on Moving Day
Even the most careful movers can scuff a wall or scratch a hardwood floor when maneuvering heavy crates. Use floor runners or blankets in high-traffic paths and consider cardboard corner protectors for tight door frames. A few minutes of prep can be the difference between getting your full security deposit back and paying for expensive repairs.
5. Inspect Items for Damage as They’re Delivered
The moment your belongings arrive is the best time to check their condition. Keep an eye on anything marked “fragile,” and do a quick scan for new dents or scratches as items come off the truck. Noting these issues immediately makes the claims process much smoother than trying to prove a moving company was responsible days or weeks after they’ve left.
Want to Make This the Easiest Move You’ve Ever Done?
While a solid checklist is the best way to keep moving mishaps at bay, even the perfect plan can fall apart if your supplies aren’t up to the task. Moving boxes are the most critical part of any move because they don’t just transport your belongings but also protect them throughout the moving process. Although cardboard boxes remain the traditional choice for plenty of people, they often struggle with heavy loads and can easily collapse when stacked in a moving truck.
Plastic moving boxes, like the ones from Stack Moves, are more sturdy. They also save you the time and frustration of taping together dozens of flimsy cardboard containers. By combining our battle-tested 30-step checklist with professional-grade bins, you can finally take the guesswork and the heavy lifting out of your moving day. Get your durable rental bins delivered and picked up from your new address.
FAQ
We know that even with a solid 30-step plan, you’ve probably still got a few “what if” questions floating around. To help clear things up, we’ve rounded up the most common things people ask us at Stack Moves about moving out.
What Should Be Included in a Moving-Out Checklist?
A solid checklist should cover every phase of your journey, starting with administrative tasks like utility transfers and mail forwarding. It needs to include a packing schedule to keep you on track and a final cleaning list to ensure you get your security deposit back. Having these elements organized in one place prevents the small, essential details from slipping through the cracks during the moving day chaos.
How Early Should I Start Packing for My Move?
You should ideally start the process about eight weeks out by decluttering and packing away non-essential items like seasonal decor or books. By starting two months early, you can tackle one small area at a time rather than facing a week of frantic, all-night packing sessions. This timeline gives you the breathing room to stay organized and ensures that by moving week, you only have your daily essentials left to box up.
Where Can I Get Cheap or Free Moving Boxes?
Sourcing free boxes from local grocery stores, community groups, or online marketplaces is a great way to shave off some of your initial moving costs. You can also find standardized, inexpensive options at big-box retailers if you need specific sizes that are easier to stack. However, while these methods save money upfront, they often cost you more in time spent hunting them down and tape spent trying to keep them together.
What Expenses Should I Expect When Moving Out?
Every move will require you to spend on the basics like truck rentals or professional movers, along with the cost of packing supplies and insurance. You should also prepare for hidden fees such as utility connection deposits, parking permits, and professional cleaning services for your old place. Survey results from Forbes showed that 80% of people underestimated their moving costs and needed additional money to fund their move. Setting aside as little as a 10% buffer of your total budget will help cover these sneaky costs and any last-minute emergencies that pop up.
Do Moving Companies Provide Packing Supplies?
Yes, most companies provide supplies, but it often depends on the specific type of service package you have booked. Full-service movers typically include boxes, tape, and blankets as part of their fee, while budget-friendly “labor-only” moves may require you to provide everything yourself. It is always best to confirm what is included in your quote so you aren’t stuck buying expensive, last-minute materials on moving morning.
What Should I Do With the Rental Boxes After Unpacking Them?
Since you would have scheduled a pickup at the time of your booking, you don’t have to do anything other than stack the empty crates neatly. Once you’ve emptied your last bin, just let us know they are ready, and we will come grab them from your new front door. This saves you the headache of breaking down cardboard or finding a way to haul a mountain of trash to the local recycling center.
Rent Plastic Bins for Your Move!
Moving with cardboard boxes is a pain. Get pre-assembled bins delivered to your door and move hassle-free with Stack!
Stack eliminates the need for you to source, break down, or fill up your trash can with cardboard boxes.